Growing up doesn't have to suck

Disclaimer: Links on this page pointing to Amazon, eBay and other sites may include affiliate code. If you click them and make a purchase, we may earn a small commission.

ivin74

05 NBS Nali
Joined
Aug 3, 2014
Posts
2,372
Reaction score
2,479
Location
Htown, Texas
Since I finally got the all hose clamps I needed from the salvage yard, I was able to install the heater hose connectors. I definitely wanted this to be done before the engine was back in.


3/4" heater core connectors and 1/2" rear heater core connectors. The hoses to the two nipples on the water pump are 5/8":

View attachment 248936


About 12" each of 3/4" and 1/2" heater hoses and box of 3-way Ts and factory hose clamps (factory from GM, Ford and Honda :D)
View attachment 248937


Semi-comfy seat on cross member in engine bay:
View attachment 248938


The 1/2" tubes were too close, so I trimmed them down:
View attachment 248939


Minimal, but adequate gap and perfect alignment:
View attachment 248940


Chris
Can you share the link to the t's
 
OP
OP
iamdub

iamdub

Full Access Member
Joined
Apr 23, 2016
Posts
20,821
Reaction score
44,943
Location
Li'l Weezyana
Been too busy to upload pics and post updates so I have a lot of catching up to do in this thread. I'll break it up into a multiple posts. I have to anyway because of the pic-per-post limit.

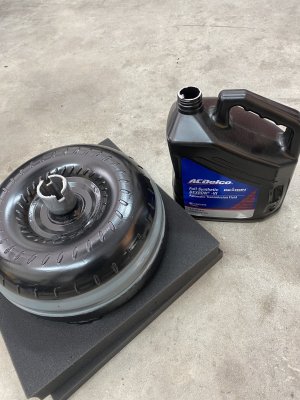
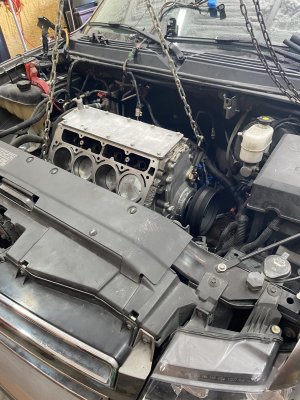
Going back to last weekend, I hit the shop around 10AM Saturday morning starting with an empty engine bay. I installed the LS3 valley cover with new gasket then hung the engine on the chainfall so I could get the engine stand outta my way. Then I installed the torque converter-

Filled it with a little over a quart of Dexron VI full synthetic:

IMG_2057.JPG


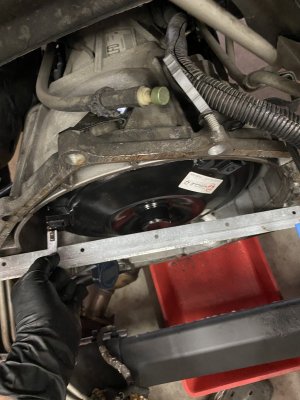
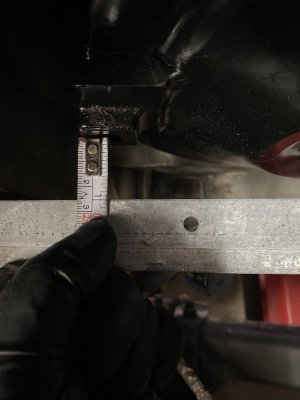
All the specs I read online called for 1.125" +/- .125" recess. After sliding it on, turning, removing and repeating a couple times, I came up with 1" every time. I expected it to be closer to the 1.25" max spec. But, it clicked/clunked as it should every time and was at least in spec, so I moved on.

IMG_2061.JPG

Up close:

IMG_2060.JPG
 
OP
OP
iamdub

iamdub

Full Access Member
Joined
Apr 23, 2016
Posts
20,821
Reaction score
44,943
Location
Li'l Weezyana
When a Honda fanboi helps you drop the engine into your GM truck:

IMG_2053.JPG


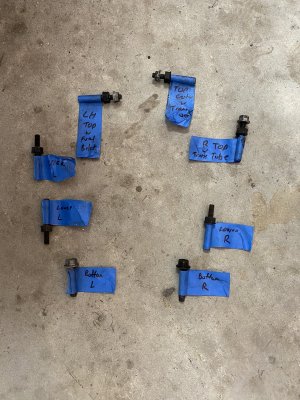
EVERY bolt has it's own place @tgui:

IMG_2062.JPG


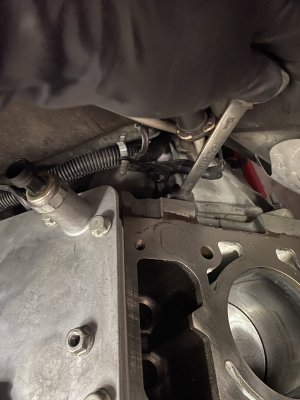
This is why I install the heads after I have the block bolted up. Super easy access to the top four bellhousing bolts and the nuts that hold the various brackets:

IMG_2064.JPG


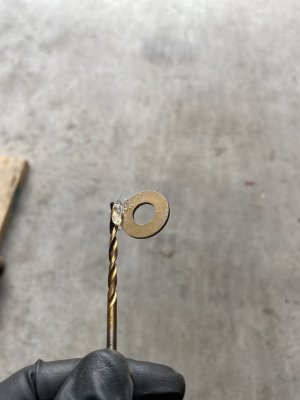
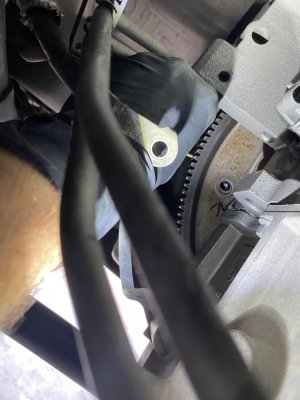
After using a set of drill bits to measure the gap between the flex plate and converter pads, I determined that the thinner shims provided by Circle D would net me right at the spec'ed .125" gap. I hot-glue the shims to a drill bit to hold it in place while I get the bolt started:

IMG_2067.JPG


...Works like a champ!

IMG_2070.JPG
 
OP
OP
iamdub

iamdub

Full Access Member
Joined
Apr 23, 2016
Posts
20,821
Reaction score
44,943
Location
Li'l Weezyana
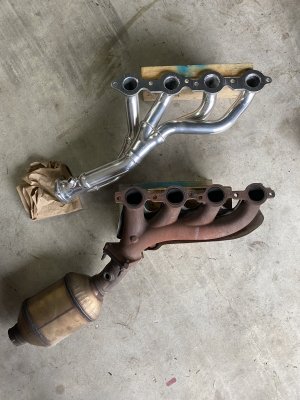
Comparing the Doug Thorley Tri-Y to the stock manifolds:

IMG_2071.JPG


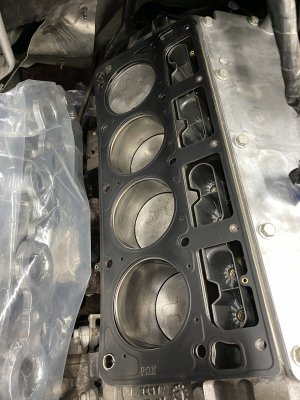
Wrapped the headers to protect them from scratches and slid them in to rest on the engine mounts while I continued on with the new OEM "LS7" lifters, new OEM lifter trays and Cometic .045" head gaskets:

IMG_2076.JPG
 
OP
OP
iamdub

iamdub

Full Access Member
Joined
Apr 23, 2016
Posts
20,821
Reaction score
44,943
Location
Li'l Weezyana
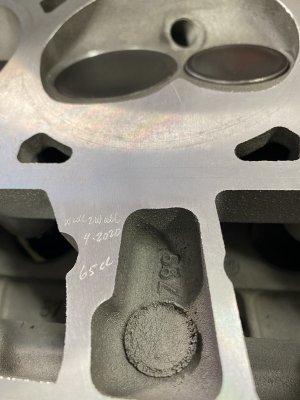
Head work performed by Wall2Wall:

IMG_2077.JPG


Marked each bolt hole with a "0" mark and 70° mark:

IMG_2073.JPG


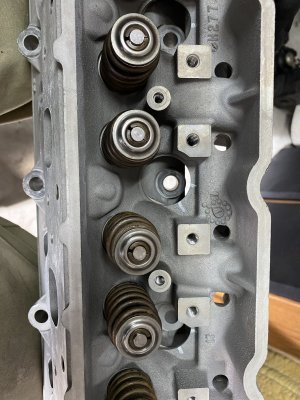
Then installed the heads, torquing the bolts to their initial value of 22 ft. lbs, following the specified sequence. I marked the bolt heads 90° counter clockwise from the "0" mark on the cylinder head, then tightened them all in proper sequence until those marks aligned, achieving the first torque-to-yield spec. The black on the valve stems is just ink from when I was checking the wipe pattern when measuring for pushrods:

IMG_2080.JPG

Then turned them all, in sequence, 70° further to their final TTY spec then slid in those fat pushrods:

IMG_2085.JPG
 
OP
OP
iamdub

iamdub

Full Access Member
Joined
Apr 23, 2016
Posts
20,821
Reaction score
44,943
Location
Li'l Weezyana
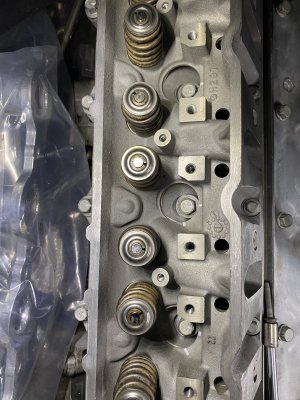
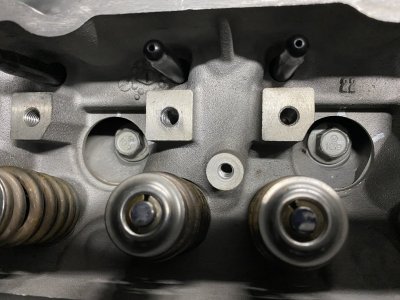
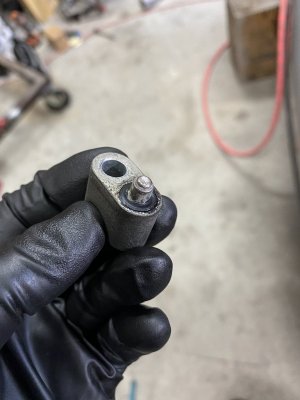
Old, crushed steam port gasket:

IMG_2078.JPG

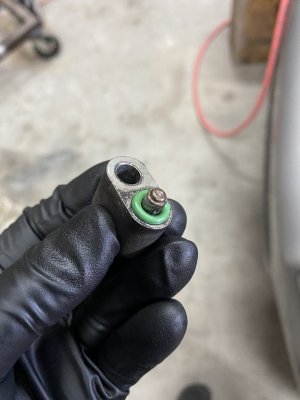
New gasket found at Napa. I grabbed eight of these in case I find a four-port steam tube one day:

IMG_2079.JPG

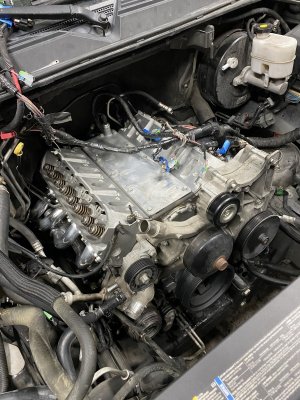
Heads on, steam port block-offs and tube installed, headers and front accessories installed:

IMG_2083.JPG

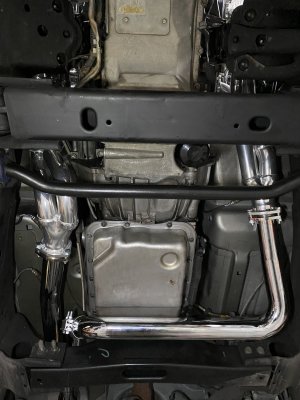
Headers and Y-pipe underneath:

IMG_2081.JPG

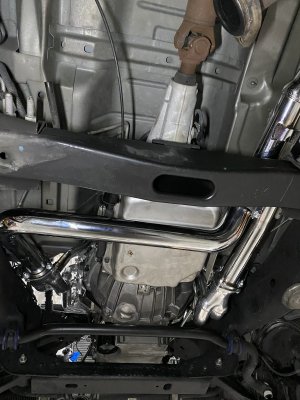
...And from the back:

IMG_2082.JPG
 
OP
OP
iamdub

iamdub

Full Access Member
Joined
Apr 23, 2016
Posts
20,821
Reaction score
44,943
Location
Li'l Weezyana
All the rest is just reassembly of stock components in the reverse of their removal, so no need for boring pics. All reassembly took place throughout that Saturday and the following Sunday.


On Sunday evening, around 1900, after priming the oil and fuel systems and filling it with two bottles of coolant system flush and hose water, I went for the first start:


It fired right up with no hesitation or stumble or lifter tick- all why I prime those systems first. I topped off the coolant and let it come up to temp while keeping an eye on all the vitals:

 
OP
OP
iamdub

iamdub

Full Access Member
Joined
Apr 23, 2016
Posts
20,821
Reaction score
44,943
Location
Li'l Weezyana
After a short drive around the block to watch the vitals and test the trans, I stopped in at the local Community Center for another vid. Tropical Storm Cristobal was still visiting so we were getting intermittent bands of rain. Also, neighbor wasn't around to help me reinstall the hood:


...And that sexy idle vid I posted elsewhere earlier in the week:


Forum statistics

Threads
132,308
Posts
1,865,733
Members
96,897
Latest member
Trin
Top