Joseph Garcia
Supporting Member
- Joined
- Aug 2, 2018
- Posts
- 7,279
- Reaction score
- 9,807
Hi Folks,
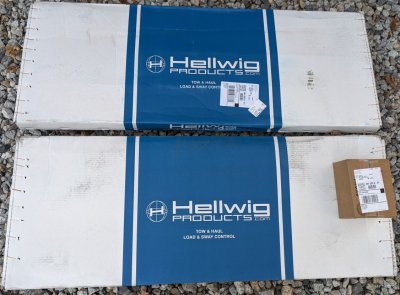
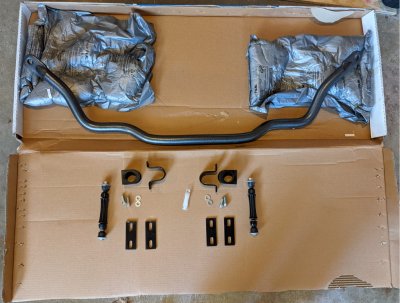
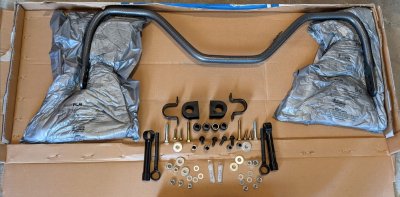
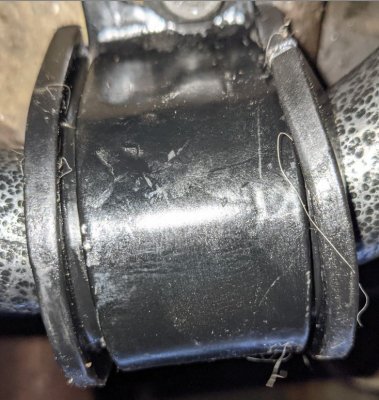
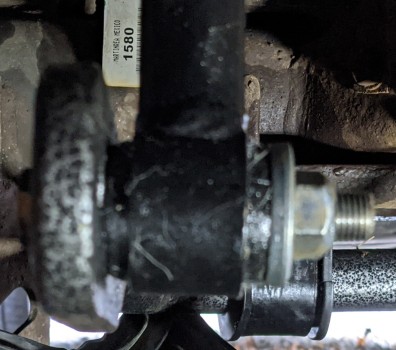
I completed my Hellwig sway bars installation, and apart from getting the old sway bar components removed, the installation went reasonably smoothly.
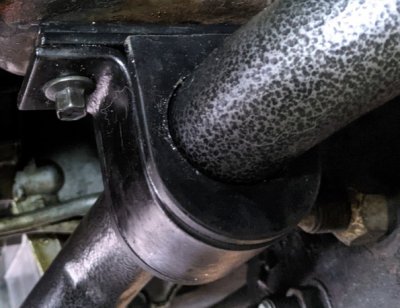
I am not a patient uninstaller, so I snapped one U bracket bolt and bent 3 others, during the old sway bars removal process. Hellwig instructions state that these bolts need to be re-used in the installation of the new sway bars, so I had to purchase new bolts. Of course, they were not in stock, so that cost me one day, waiting for them to arrive from the regional warehouse.
To be clear, working under the truck on a creeper is NOT the easiest way to install these sway bars. They are HEAVY, particularly the front sway bar. I actually needed to use a jack to lift and hold the front sway bar in place, so that I could connect the U bracket bolts.
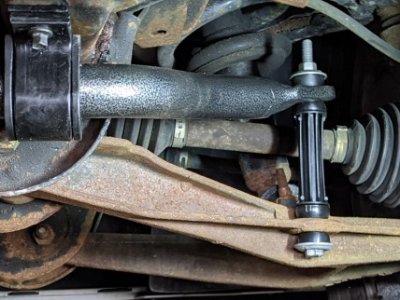
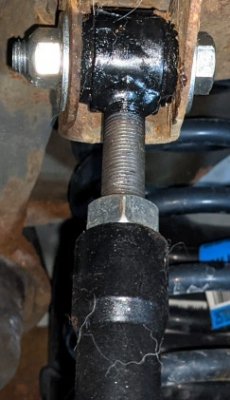
One item to note is that the rear sway bar end links use bolts and nuts require an 18mm socket and wrench. In all of my tools, I have never had an 18mm wrench, as they did not come standard with the sets that I have purchased over the years, and I have never had an occasion to need one. I did not want to use an adjustable wrench on these new fasteners, though I certainly could have. So, in the middle of the rear sway bar installation, I had to go to Lowes and pick up an 18mm combo open and box wrench and an 18mm combo open and ratchet box wrench.
Another item to note for the front sway bar installation is that if you have the 6 speed transmission, you need to place 2 metal plates between the U brackets and the frame, to drop the sway bar slightly to allow adequate clearance, so that the sway bar does not contact the 2 transmission cooler lines.
I drove the truck briefly to get an initial feel of the Hellwig sway bars, and my initial reaction is WOW!! I could not really stress test them out, as I had my 2 90+ lb. White Shepherds in the truck with me, and they don't appreciate it, when I squeal around tight turns, causing them to roll about in the back, slamming into each other. So, I'll stress test them out in greater detail, without the dogs in the truck, over the next few days.
After the installation, I did not notice any unanticipated effects, when driving on a relatively straight road. The feel of the truck, and the minimal steering associated with driving on a straight road, was about the same as it had been with the original sway bars. That is good.
Driving on a winding road, or taking a turn was another whole different experience with these sway bars, however. My initial experience with these sway bars on these roads is that they virtually eliminate any body roll, as @PNW VietVet had previously stated in his initial assessment of these sway bars. As I would go into a turn, my body would automatically start to lean to adjust to the truck's roll, but the truck did not roll. So, here I was leaning over in the driver's seat, but the truck was virtually straight upright! The centrifugal force is still there, of course, in the turning process, but you can experience that force sitting straight upright.
These Hellwig sway bars, so far, are worth every dollar invested in them, and worth the PIA experience in installing them without using a lift. I will report back, after I've had a chance to stress test them. I want to thank @PNW VietVet for making me aware of these sway bars, and for reporting his experiences, and making me become interested in them.
Photos to follow.
Last edited:

