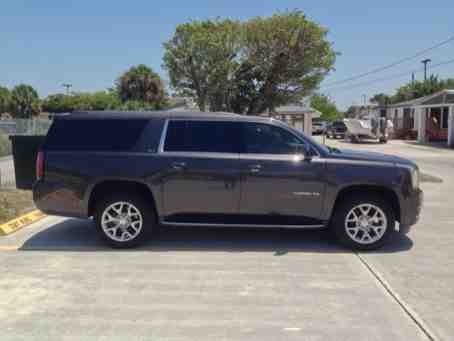
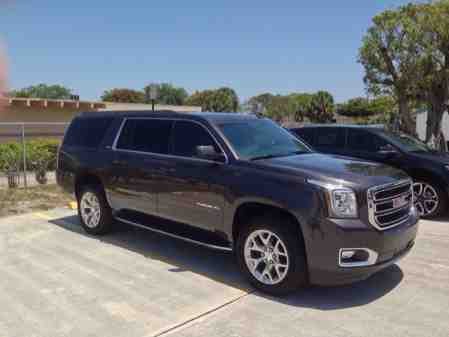
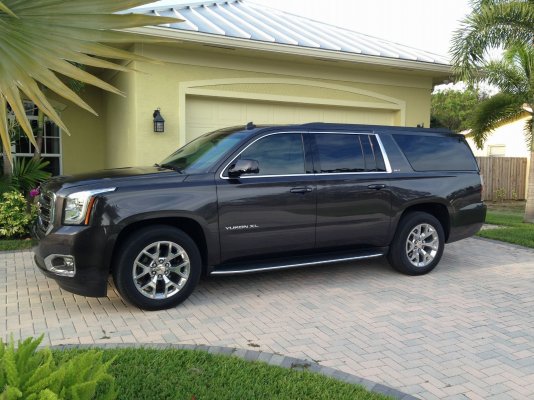
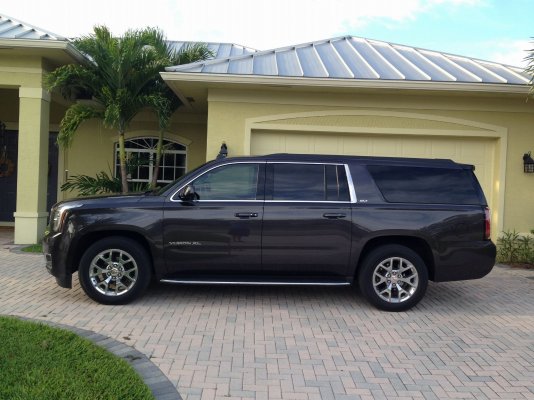
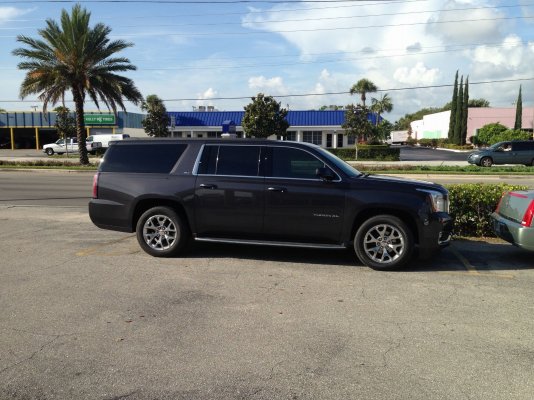
needs another 4" all around imo...
You are using an out of date browser. It may not display this or other websites correctly.
You should upgrade or use an alternative browser.
You should upgrade or use an alternative browser.
Lowered my '15 Yukon XL SLT 1" / 2"
- Thread starter Steve1081
- Start date
Disclaimer: Links on this page pointing to Amazon, eBay and other sites may include affiliate code. If you click them and make a purchase, we may earn a small commission.
Bruizza
Full Access Member
- Joined
- May 20, 2011
- Posts
- 507
- Reaction score
- 89
Looks good and will look even better when you drop the front!
Update 5/28/14:
Installed the mcgaughy's spring relocators tonight. Took me quite a long time...
But came out great! I got about 1.5" of
Drop with both spacers in. So it seems to get a little more drop than advertised.
Before After
Front 36 1/2 35
Rear 38 36
I have a few tips for this install as well:
- don't do this without an impact wrench or at very least a 2 foot torque wrench or similar if you want an upper body workout too. I spent way too long cranking on spring compressors!!! (I suggest you youtube strut replacement before doing this as well)
- I used these spring compressors from amazon because they were cheap with decent reviews ($36 bucks from amazon warehouse deals). They handled the heavy duty springs without a problem. But... See above about impact wrench.
Advanced Tool Design Model ATD-3054 MacPherson Strut Spring Hook Compressor by Advanced Tool Design http://www.amazon.com/dp/B000OUW78O/ref=cm_sw_r_udp_awd_-hyHtb1DF6Z47
- make sure you have several socket extensions totaling about 18". This makes it way easier to remove the 3 bolts on the top strut mounts. I found a few worked better than one long one because that gives it some flexibility to get around stuff.
- I cut down the bump stops to the 2nd notch... Removing about an inch and a half. I was worried about a worse ride if it was riding on the bumpstops often... I didn't have instructions so I have no idea what the kit tells you to do.
- pay attention to the way the strut is lined up and assembled before tearing it apart. I used blue painters tape to help remember how everything lined up.
Here is a picture of one modified strut and one pre modification:
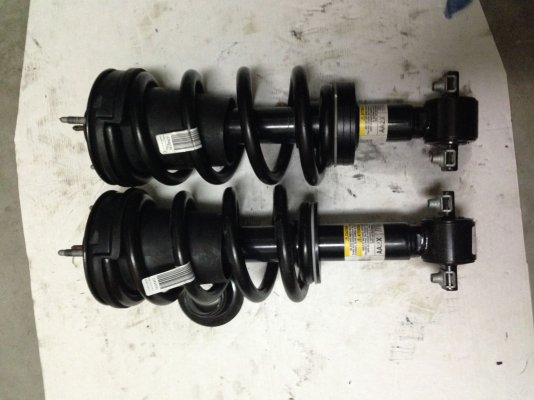
Before (about 7" from perch to mount)
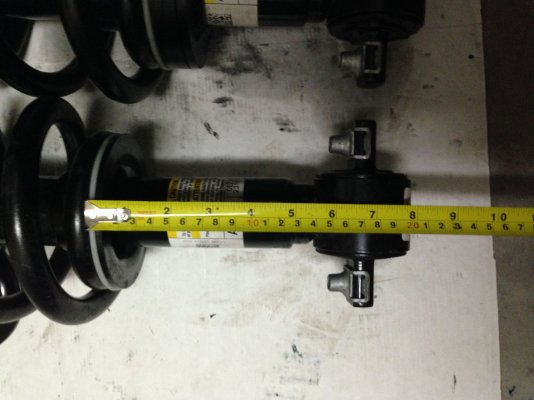
After (about 6" from perch to mount)
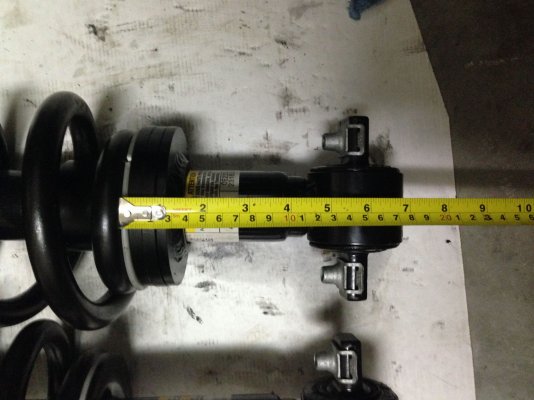
You can see that you could remove the 2 spacers and get about 2.5" of drop with this kit... Seems you would be riding on a really short amount of shock travel. I am happy I went with both spacers in.
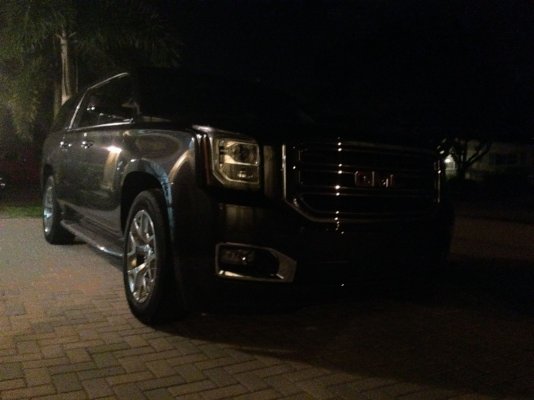
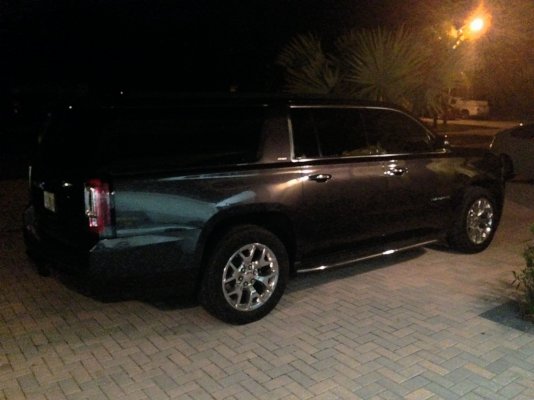
Late night shots of the final product:
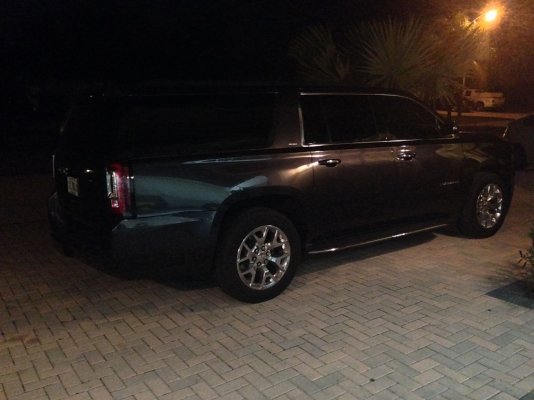
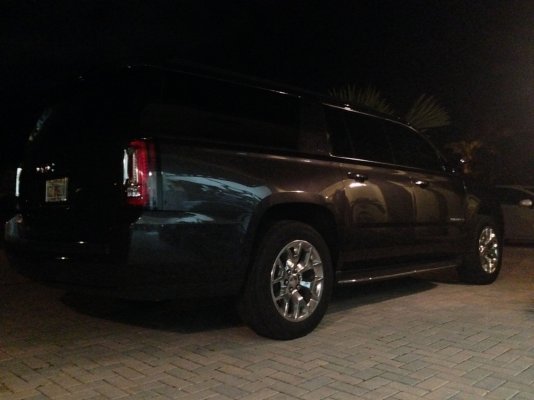
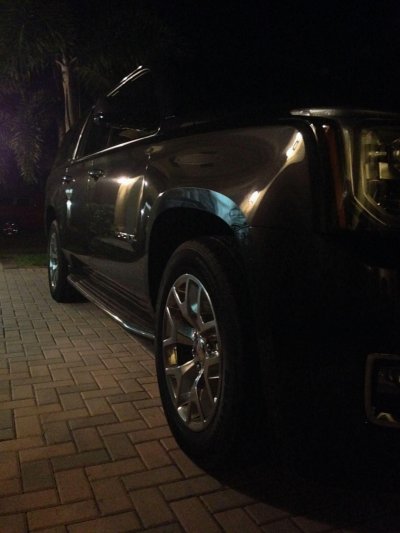
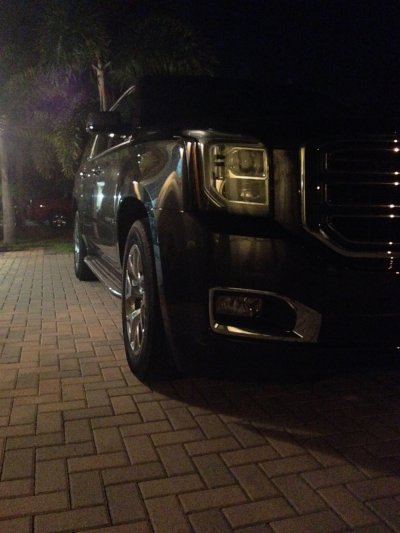
Installed the mcgaughy's spring relocators tonight. Took me quite a long time...
But came out great! I got about 1.5" of
Drop with both spacers in. So it seems to get a little more drop than advertised.
Before After
Front 36 1/2 35
Rear 38 36
I have a few tips for this install as well:
- don't do this without an impact wrench or at very least a 2 foot torque wrench or similar if you want an upper body workout too. I spent way too long cranking on spring compressors!!! (I suggest you youtube strut replacement before doing this as well)
- I used these spring compressors from amazon because they were cheap with decent reviews ($36 bucks from amazon warehouse deals). They handled the heavy duty springs without a problem. But... See above about impact wrench.
Advanced Tool Design Model ATD-3054 MacPherson Strut Spring Hook Compressor by Advanced Tool Design http://www.amazon.com/dp/B000OUW78O/ref=cm_sw_r_udp_awd_-hyHtb1DF6Z47
- make sure you have several socket extensions totaling about 18". This makes it way easier to remove the 3 bolts on the top strut mounts. I found a few worked better than one long one because that gives it some flexibility to get around stuff.
- I cut down the bump stops to the 2nd notch... Removing about an inch and a half. I was worried about a worse ride if it was riding on the bumpstops often... I didn't have instructions so I have no idea what the kit tells you to do.
- pay attention to the way the strut is lined up and assembled before tearing it apart. I used blue painters tape to help remember how everything lined up.
Here is a picture of one modified strut and one pre modification:

Before (about 7" from perch to mount)

After (about 6" from perch to mount)

You can see that you could remove the 2 spacers and get about 2.5" of drop with this kit... Seems you would be riding on a really short amount of shock travel. I am happy I went with both spacers in.
Late night shots of the final product:


Last edited:
Had the truck aligned today and they were able to get it back in line with no issues.
Also tested out autoride and reducing the autoride link to 3" seems to be perfect for the 5305 with the 1" spacer. Seems it would need to be even shorter if running no spacer to avoid the pump running all the time.
The rear sits right at 36"with no pump running. Loading things in the back (me in this case) the pump kicks on at about 35" (dead even with the front) and pumps it back to 36".
I've been running around in the truck all day today and I think the ride is exactly the same if not better with this setup. I am very happy with it.
Now I need to remove the assist steps, find a grill and get some 22s!
Similar threads
- Replies
- 14
- Views
- 2K
- Replies
- 39
- Views
- 5K


