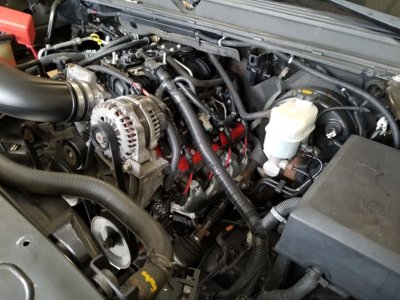
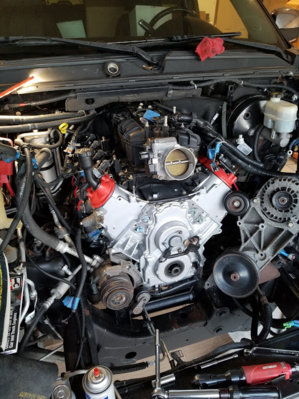
Nadthomas 2007 Yukon Denali 200k Mile Re-build

Disclaimer: Links on this page pointing to Amazon, eBay and other sites may include affiliate code. If you click them and make a purchase, we may earn a small commission.

OP
OP
nadthomas

nadthomas

Full Access Member
Joined
Dec 1, 2017
Posts
158
Reaction score
177
Yeah, I thought about it but this is all taking me too long as it is. I need to get this project done and out of the garage. I need to replace and paint a lot of the trim on my house, and I'm running out of days that it will be warm enough to paint. It feels like refreshing the Denali has really become much more of a cleaning project then a rebuild. Also, if I was driving it I probably would take the extra time, but my wife has claimed this vehicle, and she has already questioned me several time asking "Is all this really necessary".:derp:
 
OP
OP
nadthomas

nadthomas

Full Access Member
Joined
Dec 1, 2017
Posts
158
Reaction score
177
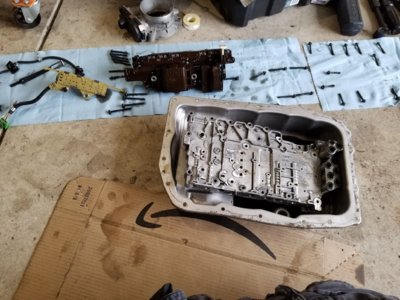
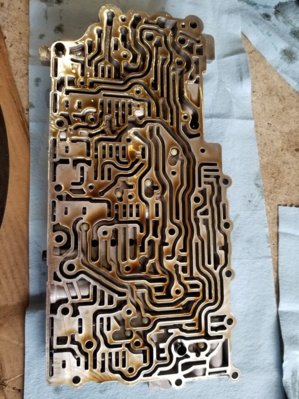
Wow, did an entire month really slip by already? Ugh. Friends kids bday parties, 10 year anniversary vacation with my wife, and my daughters b-day has all kept me from getting any time on this. That, and I wasn't looking forward to the next step of draining the transmission and pulling the valve body. I hate the smell of transmission fluid. Once again my Hayes book was wrong saying I needed to disconnect other things in order to pull the pan. Since I already had the exhaust disconnected from the manifold everything was easily accessible, and nothing else had to be disconnected to drop the pan. Pulling the valve body was easy enough, as well separating it to inspect the check balls thanks to a couple of youtube videos I watched.

20180922_150752.jpg
20180922_151342.jpg

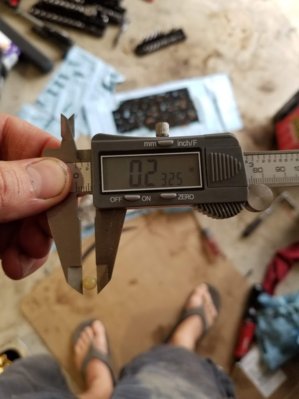
I did find the #1 check ball had shrunk slightly to .233, all of the other measured out to .248-.249. Although, I'm not sure the .233 is small enough to actually cause a problem, as it wasn't nearly small enough to get stuck in the separator plate. I'm going to replace it anyways.

20180922_151819.jpg

Since I kept forgetting to order some new check balls, that is all I got done this weekend. I hope to have it mostly back together by the end of this coming weekend.

Anyone have the torque specs for reassembling the valve body?
 
OP
OP
nadthomas

nadthomas

Full Access Member
Joined
Dec 1, 2017
Posts
158
Reaction score
177
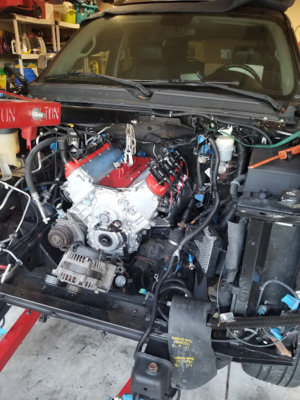
Well, I kind of made my goal of getting the motor back in last weekend. Its at least sitting in the engine bay on its mounts. Although its not aligned correctly with the trans or anything else at this point. Right as I was swinging the hoist around to drop it in my wife came out begging for a break from our 2 year old.

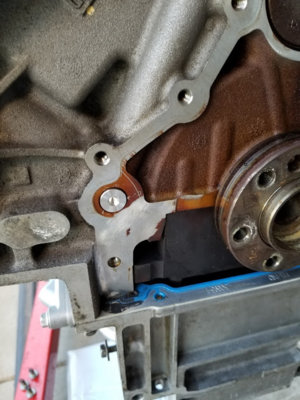
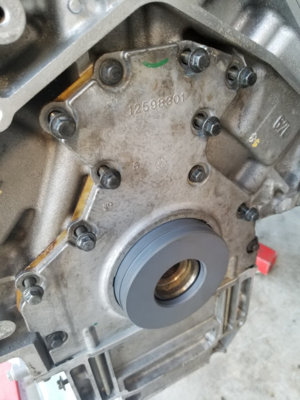
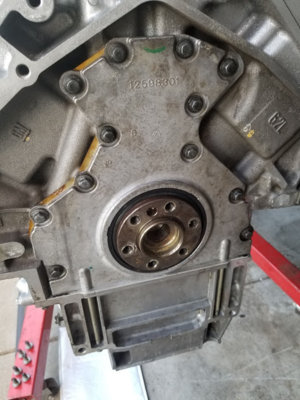
Backing up a step, I did replace the rear cover gasket, oil passage barbell, and rear main seal. I suspect the sac city barbell is overkill, but it wasn't very expense. I also used the Sac city alignment tool for the rear cover. I was surprised to find how much I needed to tighten the long oil pan to rear cover bolts to compress the oil pan gasket and to get the alignment tool in. That being said, I'm glad I bought the alignment tool because I doubt that I would have had it aligned correctly without them.

20180930_173042.jpg

20180930_174818.jpg 20180930_175728.jpg

And finally back where she belongs.
20180930_184800.jpg

Now the fun part of getting everything back together.
 
Last edited:

Rocket Man

Mark
Supporting Member
Joined
Dec 25, 2014
Posts
26,004
Reaction score
50,862
Location
Oregon
Well, I kind of made my goal of getting the motor back in last weekend. Its at least sitting in the engine bay on its mounts. Although its not aligned correctly with the trans or anything else at this point. Right as I was swinging the hoist around to drop it in my wife came out begging for a break from our 2 year old.

Backing up a step, I did replace the rear cover gasket, oil passage barbell, and rear main seal. I suspect the sac city barbell is overkill, but it wasn't very expense. I also used the Sac city alignment tool for the rear cover. I was surprised to find how much I needed to tighten the long oil pan to rear cover bolts to compress the oil pan gasket and to get the alignment tool in. That being said, I'm glad I bought the alignment tool because I doubt that I would have had it aligned correctly without them.

View attachment 208694

View attachment 208695 View attachment 208696

And finally back where she belongs.
View attachment 208697

Now the fun part of getting everything back together.
I bought the rear main cover with the gasket and main seal already installed. It came with a simple alignment “tool” that worked good. Glad to see yours coming along.
 

petethepug

Michael
Joined
May 4, 2016
Posts
3,014
Reaction score
3,267
Location
SoCal
Lol, I hate painting! Opted to paint our 2 story house that was mostly stucco and some wood siding. Knew I was in for some dicey work replacing trim on 2nd story 2x7” trim. Yea, I rolled it all but spent money on good paint.

Also went on Amazon and got a new version of 6005-T5 aluminum wheeled 49lb Lil Giant 23ft extension ladder bundle. Saved $2.5k on painting cost and got to keep the ladder. The drink holder & platform to keep your feet off the rungs at full extension height are game changers.

Neighbor one up’d me and got one of these for a week for all the inaccessible eaves on 2nd story.

SevereImmediateBrownbutterfly-mobile.jpg


Sent from my iPhone using Tapatalk
 
OP
OP
nadthomas

nadthomas

Full Access Member
Joined
Dec 1, 2017
Posts
158
Reaction score
177
Not a ton of progress made since I'm getting over bronchitis, but I did get the engine bolted up to the transmission. Which is probably the crappiest part of this job, as it requires squeezing your hand into a few tight spots. While I'm sure it can be done alone, a helper here is useful to help get the engine and trans aligned while you start a few of the bolts. The engine mounts are now also bolted down, valley cover, and intake manifold are reinstalled. I also replace a few more of the places where the split loom on the wiring was degrading. Now I just need to get all of the electrical and hoses routed back to the right spots. With all the cleaning and painting I did things are way out of place at the moment.

20181008_184215.jpg
 
OP
OP
nadthomas

nadthomas

Full Access Member
Joined
Dec 1, 2017
Posts
158
Reaction score
177
I got everything reconnected that is needed to fire her up, and added all the necessary fluids this past weekend. Reconnected the battery and...................... no start, no crank. :banghead: Dropped the battery off at Autozone to have them test and charge it. Dropped it back in, and still no start, no crank. I'm thinking its some sort of communications issue with the computer. I'll start a separate thread to discuss the diagnosis of this issue to not clutter this thread up.

Stepping back to the final steps or getting things buttoned up. I used the free loaner tools from Autozone to install the crank pulley. The "Long Reach Harmonic Balancer Installer" #27306 works great for getting the pulley most of the way on, then I used the old bolt, and the Autozone loaner torque wrench to torque it down to 240ft/lbs. My own torque wrench only does a 150ft/lbs, so it was nice not needing to buy a much more expensive torque wrench for just one bolt. I then remove the old bolt and installed the new one to 47ft/lbs plus 140 degrees (I think that is right, going off memory).
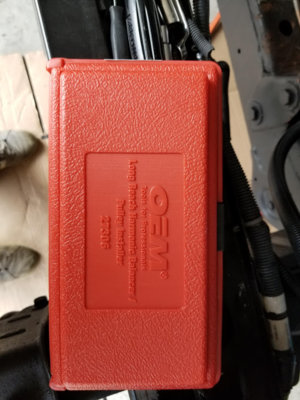
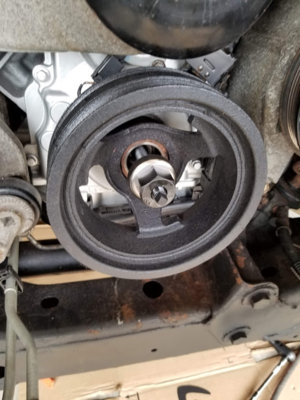
20181014_135429.jpg20181014_135728.jpg


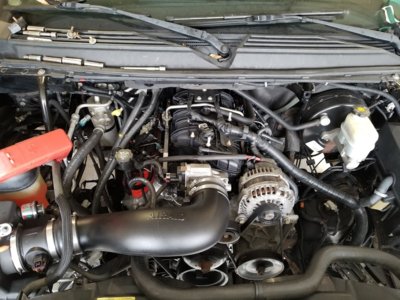
Finishing things off, I reinstall the coolers on the front end, install new accessory belts, new starter, and finish connecting the hoses and wiring. To de-cluter the engine bay a little, and make fun sounds I install an Airaid intake tube, with a K&N filter in stock air box. The fitment on the Airaid is great and its super simple to install. I'm happy I went this route over a full K&N intake. Its simple, clean, and I believe one of the cheapest options.
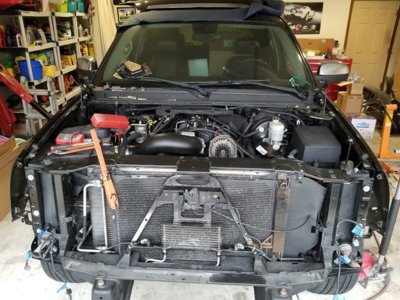
20181015_161312.jpg 20181015_161319.jpg 20181015_161336.jpg

Now if I could just get the dang thing to do something besides flash a few lights on the dash.......

Here's the thread I started to help diagnose the no start. Your help is appreciated.
https://www.tahoeyukonforum.com/thr...e-now-no-cranck-no-start.107442/#post-1281092
 
Last edited:
OP
OP
nadthomas

nadthomas

Full Access Member
Joined
Dec 1, 2017
Posts
158
Reaction score
177
Over the weekend I put everything else back together while I was waiting for a new pre-programed ECM to arrive. I came to a conclusion last week, that if a new computer didn't fix the no start/no crank issue that I was going to need to send it off to a shop to finish diagnosing. I got the trans oil pan back on, and refilled the fluids. I reinstalled the bumper, and headlights, and the front fender liners. The Denali was looking pretty good put back together, and I was feeling pretty good too. So, for giggles I decided I would try to start it one last time. Turned the key to on, and found I lost communication to the TCM again, with no gear indicator on the dash. Connected my Tech2 and verified no communication with TCM. So, now I'm back to no communication with the TCM and ECM. Hopefully the new ECM will fix at least half that equation, so hopefully I will be back to just diagnosing the TCM issue.....ugh.
 
Last edited:

Forum statistics

Threads
132,329
Posts
1,866,129
Members
96,943
Latest member
dda1
Top