Paint correction process

Disclaimer: Links on this page pointing to Amazon, eBay and other sites may include affiliate code. If you click them and make a purchase, we may earn a small commission.

VA929RR

Full Access Member
Joined
Mar 26, 2015
Posts
107
Reaction score
8
From my limited time here, I've gained tons of knowledge about my new to me Denali. Some go big on mods. Some on systems... My thing is paint... I HATE seeing a vehicle with thousands spent on mods meanwhile the paint looks like someone washed it with sandpaper..... So I'm going to try to pay back some for the help with a DIY on my correction process. I'll try to be as detailed as possible but will probably skip some common sense things.

I can't stress enough the need for good equipment... Nothing will deflate your confidence and results worse than using $1 microfiber towels from China or rushing... This is not a weekend project to do it right. I figure it will take a good 16 hours per quarter on this big ass truck. So you do the math. Good thing is, once it's done, take care of it and you'll be good till you sell it and get the next project. As will anything, they'll be maintenance....

I'll start with a pic of the truck and the "REAL" look of the paint. This is after it's been washed and blown dry... Looks great right??
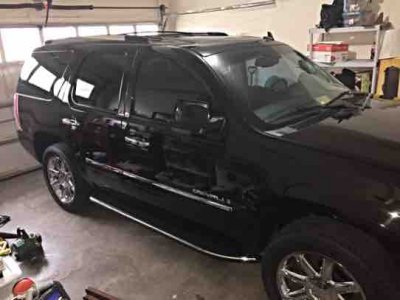
ImageUploadedByTapatalk1430051955.811693.jpg


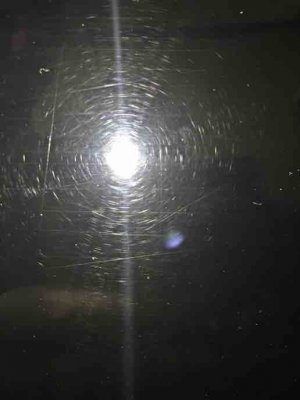
Now really look at the paint... It looks like Charlotte's web after an all right party...
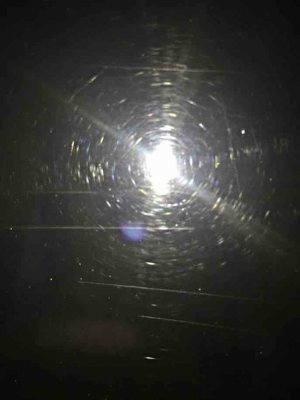
ImageUploadedByTapatalk1430052012.904120.jpg
 
OP
OP
VA929RR

VA929RR

Full Access Member
Joined
Mar 26, 2015
Posts
107
Reaction score
8
Yeah.. Those scratches are almost non existent looking from 5' away... But I assure you, they are nasty and are there.... So first step is to clay bar the hell out of the pass side rear qtr... I'll start the process now. I'm pretty sure I don't have to explain the clay bar process. It's pretty self explanatory... Just when you think you've got all the contamination off, do it again... You should be able to put a plastic bag on your hand and gently rub your hand across the paint. If it's smooth, you're done. If you still feel rough spots, you're not done.....

Now that I've got this started I'll update it about once a day when working on it...

Just so everyone knows what I'm using for the claying process.

2 60gram bars of clay.. The clay maker is irrelevant as all US clay is made by the same company and repackaged. Mothers quick detailer for the clay lube (any auto detail juice will do. Anything cheap is fine. I just had a shit ton of mothers laying around received as gifts) and a few *********** towels from The Rag Company for "clean up"..

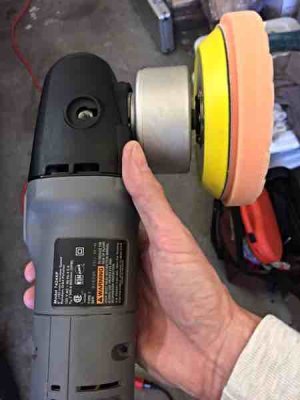
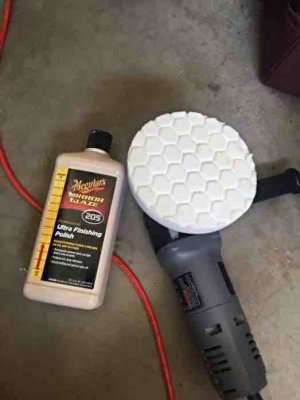
For the actual correction process... I'll use a Porter Cable 7424XP and 5.5" orange and white hex logic pads.

The compounds I'll use are Meguiars m105 as a first step and Meguiars m205 as a 2nd step... Other than a final wax or sealer when I'm done, that all folks... I say that's all, but if it was that easy, we'd all do it....

I'll update as I go along. Before and after each step.

If there are questions, feel free to fire away........
 
Last edited:
OP
OP
VA929RR

VA929RR

Full Access Member
Joined
Mar 26, 2015
Posts
107
Reaction score
8
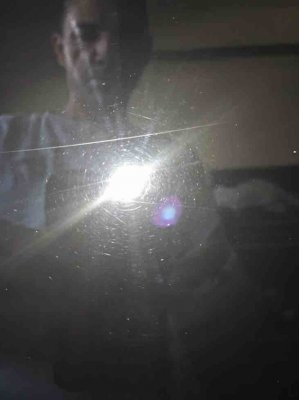
In case there were any "thoughts" that clay baring your car would remove scratches, here's your proof it removes NON of them... And the paint "feels" smooth as glass after I clay'd it...
ImageUploadedByTapatalk1430056363.422937.jpg
 
Joined
Feb 25, 2015
Posts
80
Reaction score
4
I'm probably going to be tackling this on my next long weekend. The previous owner for my Denali took pretty good care of it, but it looks like they liked to use automatic car washes only.
 
OP
OP
VA929RR

VA929RR

Full Access Member
Joined
Mar 26, 2015
Posts
107
Reaction score
8
The above paint condition is exactly what an auto car wash does......
 
OP
OP
VA929RR

VA929RR

Full Access Member
Joined
Mar 26, 2015
Posts
107
Reaction score
8
The PC I'm using... Orange pad with M105ImageUploadedByTapatalk1430062109.624092.jpg

First few passes on M105
ImageUploadedByTapatalk1430062162.369055.jpg

After last pass with M105...

ImageUploadedByTapatalk1430062208.069721.jpg


Now on the the M205 on this small section..

I'm doing about a 2X2 section at a time..
 
OP
OP
VA929RR

VA929RR

Full Access Member
Joined
Mar 26, 2015
Posts
107
Reaction score
8
Just keep in mind, while the Orange pad and the 105 will remove scratches, it will create its own also. Hence the second pass with a less course white pad and a polishing compound like 205.
 
OP
OP
VA929RR

VA929RR

Full Access Member
Joined
Mar 26, 2015
Posts
107
Reaction score
8
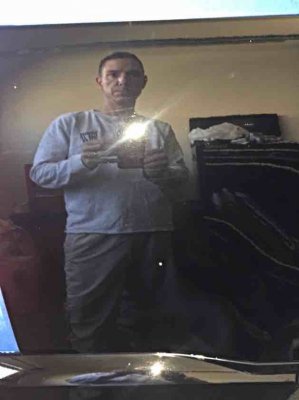
And a small section, completed.... Sigh... So much more to do.... [emoji17]
ImageUploadedByTapatalk1430070210.972856.jpg
ImageUploadedByTapatalk1430070238.748978.jpg

The way paint should look... Like you're looking into a mirror....

I'll finish the qtr and then seal it... Then get a beer and wish I would have done more.... Ha
 

Goodinblack

I Like Tacos
Supporting Member
Joined
Oct 27, 2011
Posts
22,295
Reaction score
3,040
Location
Dirty South
I use ultimate compound and ultimate polish from megs. Which is the consumer version of 105 205
 

Forum statistics

Threads
132,200
Posts
1,863,955
Members
96,728
Latest member
redman1

Latest posts

Top