RENAMED!! The adventures of Chase and his 2006 Yukon XL Denali!! Follow along on my travels!

Disclaimer: Links on this page pointing to Amazon, eBay and other sites may include affiliate code. If you click them and make a purchase, we may earn a small commission.

OP
OP
adventurenali92

adventurenali92

Full Access Member
Joined
Feb 16, 2015
Posts
7,390
Reaction score
8,619
Location
Big Bear Lake, ca
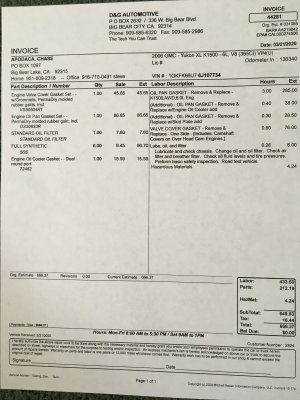
Well... Window bezel switches will have to wait til tomorrow. Dropped the Nali off today because I’m sick of seeing oil spots in the driveway. Turns out oil was leaking from the oil pan gasket, the oil cooler plate, and the passenger side valve cover. Sucks on the valve cover because I just did those myself in April of last year. Not even a full year ago... Oh well. I just want it done. Dropped the truck off a little after 2pm and he said it will be done some time tomorrow. He’s handling the valve cover and oil cooler plate without charging me because it’s so minimal and he’s already gonna be in there. Which is cool.
 
Last edited:
OP
OP
adventurenali92

adventurenali92

Full Access Member
Joined
Feb 16, 2015
Posts
7,390
Reaction score
8,619
Location
Big Bear Lake, ca
Got the truck back from the oil leak shenanigans. It still had a few drips underside when I got in the driveway. Hoping it’s just extra oil running off from the cracks and crevices and that it’s not still leaking. Kinda painful putting this much on my credit card. But a necessary expense.

1BBB84DF-3183-46CC-AF2B-A65BCA8AEBEE.jpeg
 
Last edited:
OP
OP
adventurenali92

adventurenali92

Full Access Member
Joined
Feb 16, 2015
Posts
7,390
Reaction score
8,619
Location
Big Bear Lake, ca
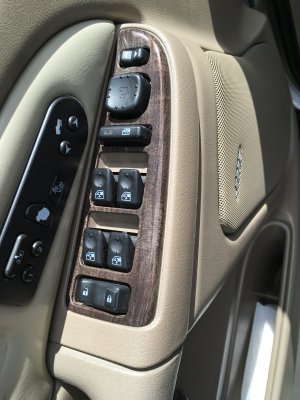
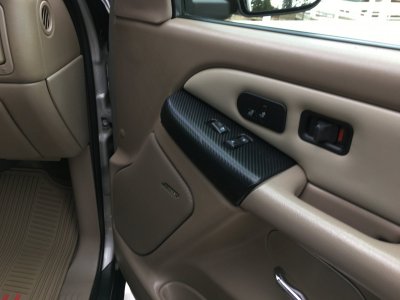
Gave the Nali a bath and swapped out my front window switch bezels. I gotta say, the way the switch bezels are mounted to the door panels are a major pain in the ass....
before the swap:

6A368316-A4AF-4E87-8284-EE24054CEBF7.jpeg
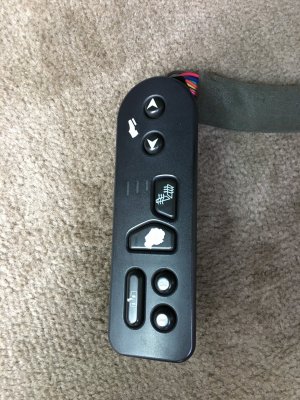
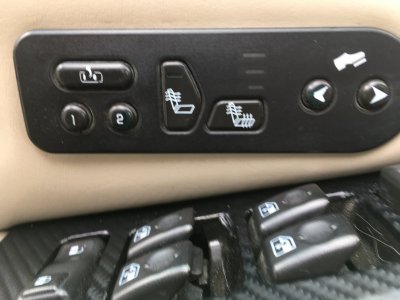
Also my seat heater switch had a button that had worn off. Been that way I think since I bought the truck. I picked up a replacement some time last year and never got around to swapping it out. B1EB4F17-696F-4915-8482-E25A051ED42C.jpeg
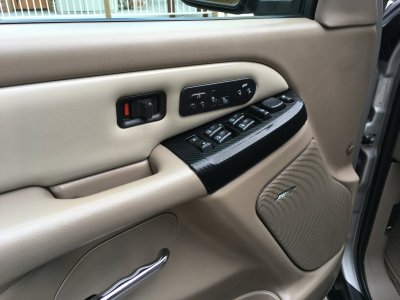
Figured since the door panel was off it was a good time swap it out and the switch is good. It all works. here’s the bezels: C1233D9A-465E-49E7-A23C-E40526C447BF.jpeg 046DDF0D-5F5B-4110-9EF8-A4861CD46A63.jpeg
And the replacement switch with all the proper button faces: BCFC96AE-763E-48C4-80A4-EE3727F8C26F.jpeg
 
Last edited:
OP
OP
adventurenali92

adventurenali92

Full Access Member
Joined
Feb 16, 2015
Posts
7,390
Reaction score
8,619
Location
Big Bear Lake, ca
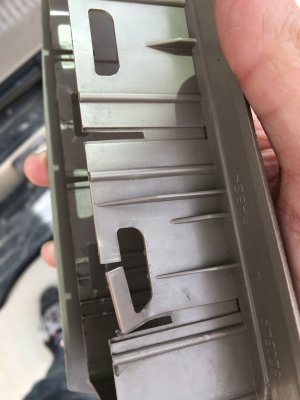
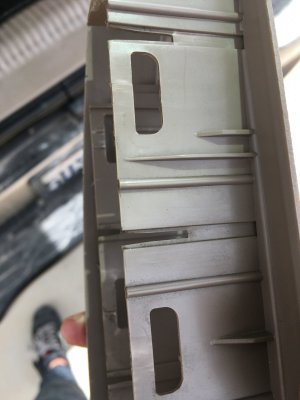
I forgot to mention that on my master window switch bezel a couple of the clips that hold the switch to the bezel were broken at the bottom near the lock button. So I had picked up NOS bezel off eBay that looked like Chevy colors with no Denali dark wood. And then as I was wrapping the cupholder bezel it dawned on me to wrap the master switch bezel. And then I had found randomly a bezel for passenger side window switch in full Denali wood grain thinking I was gonna use it. And then I wrapped the other, and thought hmm better match both of these pieces. So that’s how I had two bezels to replace the two that came out. I took pics of the broken tabs on the original Denali bezel:

C155AAF9-60A6-4575-A3CC-A1186CC5F19E.jpeg F221579D-05D3-46B4-979E-439BF036FB8C.jpeg
 
Last edited:
OP
OP
adventurenali92

adventurenali92

Full Access Member
Joined
Feb 16, 2015
Posts
7,390
Reaction score
8,619
Location
Big Bear Lake, ca
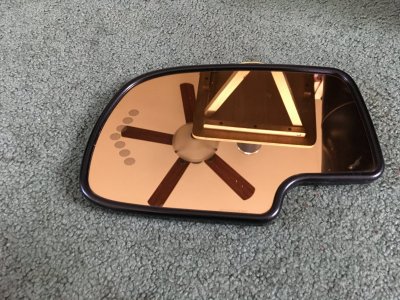
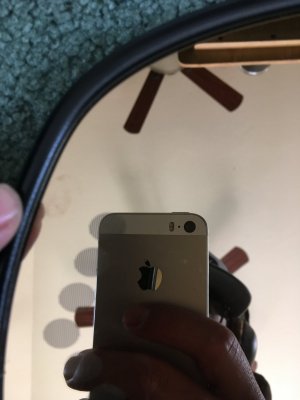
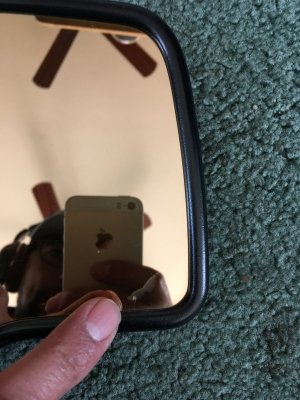
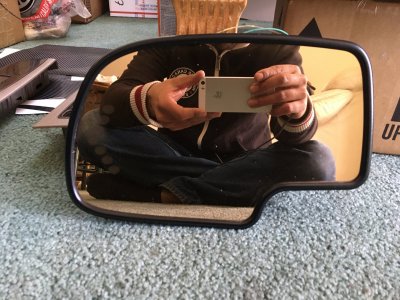
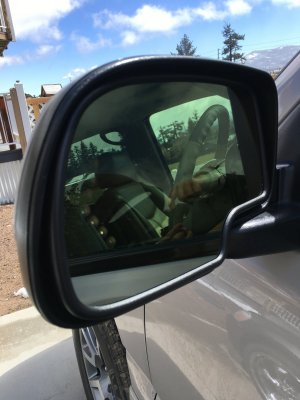
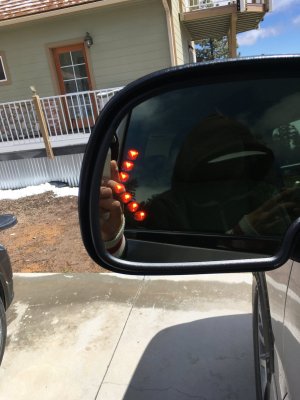
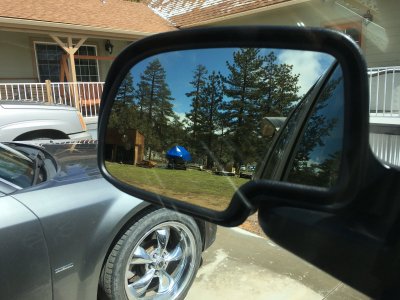
Took some research to find the correct part, but I had ordered a new mirror glass replacement for my drivers side DL3 mirror. It was starting to get the typical brown fade, and it had a few little scratches in the glass that annoyed me enough to want to grab a new one. New piece got delivered late Saturday evening to my post office box. So I grabbed it this morning. Just finished getting the swap done. It’s a pretty easy swap. Took me about a half hour but that’s just because I was being careful not to break any of the factory glass, and I was being really careful releasing the mounting tabs. Took the new piece that has the turn signal, heat and auto dim functions retained, and cleaned it and ceramic coated it with CG hydroslick product, before install. Let the ceramic coat cure onto the new piece while I was removing the factory glass out of my mirror. Cleaned out the inside of my mirror, reconnected the heat function plugs, and the harness that powers the auto dim and turn signal LED, and popped it into place. Love the clean reflection! Old mirror where you can see the fading and scratches:

2BA0F977-B0F2-4824-B185-BE3AA9D8D057.jpeg 2C367183-F6C6-4D2A-8730-D0D87B2B8196.jpeg F7CD26BE-99B6-499C-A456-EEC34508B735.jpeg 5CAD2558-8C3A-44D8-BC91-E5AC23A52950.jpeg
 
Last edited:

Rocket Man

Mark
Supporting Member
Joined
Dec 25, 2014
Posts
26,004
Reaction score
50,862
Location
Oregon
Agreed, the little things matter. The rear view mirror is important to me considering how many times I use it. I bought a super cheap one once because the OEM ones are big bucks and it took me 3 replacements ( under warranty) to get one that wasn’t all distorted. That distortion drove me crazy, it was like one of those funhouse mirrors.
 

915_Tahoe

Your GM Parts Specialist
Joined
Jul 1, 2018
Posts
1,349
Reaction score
1,901
Location
HELL PASO, TX
Took some research to find the correct part, but I had ordered a new mirror glass replacement for my drivers side DL3 mirror. It was starting to get the typical brown fade, and it had a few little scratches in the glass that annoyed me enough to want to grab a new one. New piece got delivered late Saturday evening to my post office box. So I grabbed it this morning. Just finished getting the swap done. It’s a pretty easy swap. Took me about a half hour but that’s just because I was being careful not to break any of the factory glass, and I was being really careful releasing the mounting tabs. Took the new pics that has the turn signal, heat and auto dim functions retained, and cleaned it and ceramic coated it with CG hydroslick product, before install. Let the ceramic coat cure o to the new piece while I was removing the factory glass out of my mirror. Cleaned out the inside of my mirror, reconnected the heat function plugs, and the harness that powers the auto dim and turn signal LED, and popped it into place. Love the clean reflection! Old mirror where you can see the fading and scratches:

View attachment 243105 View attachment 243106 View attachment 243107 View attachment 243108
If i was you i wouldn't throw that mirror away. it can be used again, i noticed there is a glass on top of the mirror glass, if you careful enough you can break the top glass and remove it piece by piece and have a spare mirror. did the same to mine, there a liquid in between the mirror glass on top glass that reacts to the currant to dim the mirror.
 

Forum statistics

Threads
132,391
Posts
1,867,322
Members
97,039
Latest member
Kp7tahoe
Top