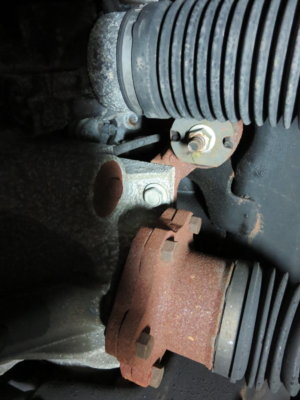
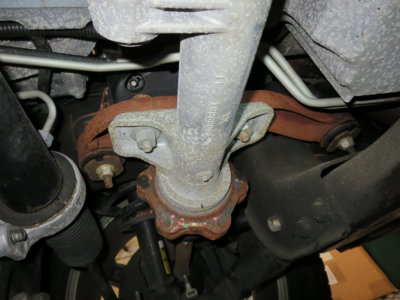
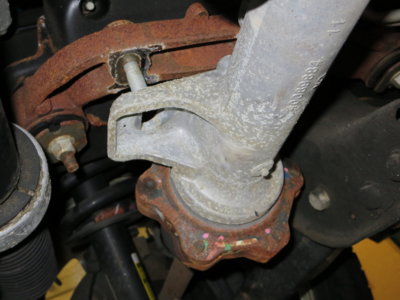
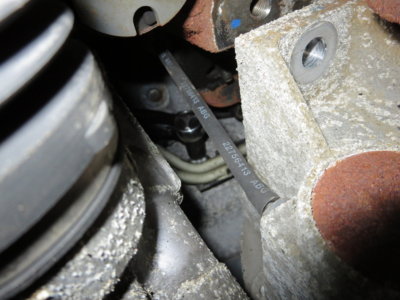
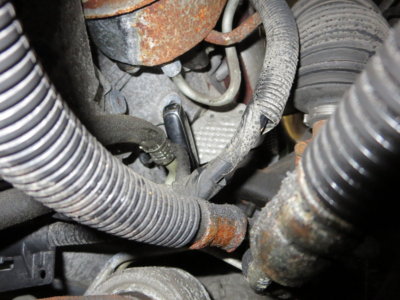
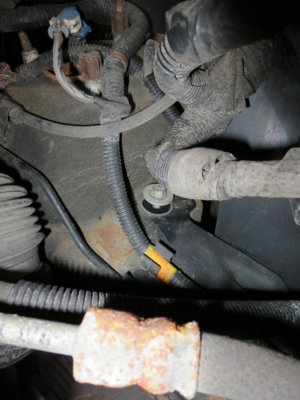
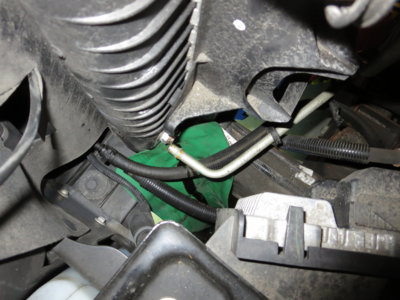
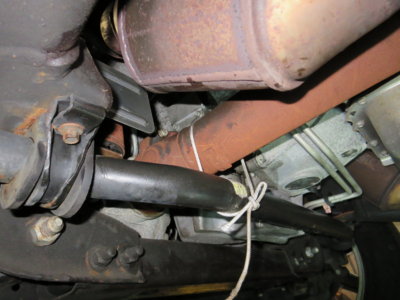
So, I finally got to do my oil cooler lines yesterday. Lifted one side of the car and used jack stands so I could go under it easily, front air dam keeps me from getting under. Started by removing the plastic belly pan. I then lowered the front axle via (2) 22mm nuts and (2) 18mm bolts that held it to the frame. Watch the vent tube, looks like there is enough slack to lower the axle. I was able to rock the axle backwards and pull the driveshaft down and secure it to give me more room where the lines attach to the block.
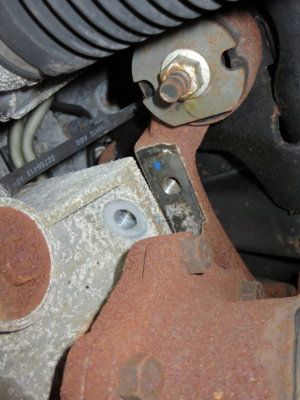
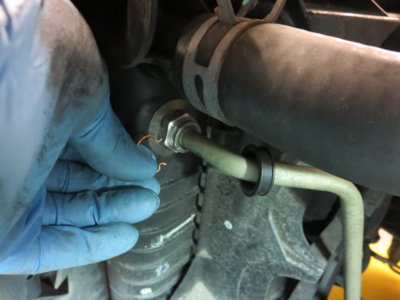
You need to remove the cooler lines to radiator by undoing the 2 spring clips under the plastic covers. There is one bolt that holds the lines to the block under the PS pump, accessible from the front with your arm. You will see the bracket in the new lines. Also undo the plastic clips that attach the lines to fan assembly.
I decided to remove a small plastic cover just under the lower line, by radiator (just 2 bolts). Did not know how much oil would drain from radiator and I did not want to have a mess. I used a gadget to divert oil into catch bucket. I was surprised at the little amount of oil that came out. I was expecting a lot more. I did the lower one first so eliminate splashing as the top one would prevent air from allowing full oil flow.
Once I got everything loosened, I was able to pull the lines out from the front. You need to snake the lines past the upper rad hose and manhandle them a bit. I ended up undoing an electrical connector under front pulley as I was concerned with pulling the cables. I got it to come out by wiggling it around. Definitely doable without removing the fan assembly. Be aware that once you crack open eng block connector oil will start flowing. Be prepared to catch it, use you head if needed

I also had some oil spill as I tilted the line up during the final removal step.
Installation was basically the reverse procedure. Went in from the front and I was able to position the line and jiggle it around. New flexible hoses helped. I temporarily placed the lines in plastic holder by fans and push them in into rad to help positioning them (with no clips yet) The hardest part was to align the mounting block (where gasket is) to the engine block. Need to make sure that it is square and that the bolts go in by hand first. Do not want to cross thread them. I used my left arm to move the front of the line while I watched and used my right hand by the connector. Once the bolts went in, I placed the bracket bolt loosely in place.
I tightened the connector at the block (10mm bolts), then the bracket and finally reinstalled the rad clips and pushed in the lines (they snap in with a click) . Use some oil in them as there is an o-ring in rad connector. Tug on them to make sure they are secure. Cover them with the plastic covers. Reinstall the plastic clip holding the lines to fan assembly.
Reinstall the axle and torque to 75 ft#. Check for leaks and double check all fittings. Eventually, recheck oil level as there will some loss from tank and lines.
I have included pictures showing bolt locations and highlights of the procedure. BTW, it looks like the oil cooler mounting block has a built in thermostat under the circular cover. It was surprisingly loose and can be removed with a 3/8” allen wrench. It has a built in rubber seal. Took me about 3.5 hours including taking pictures as I went along.
Have fun!
