Rocket Man's 2008 Bagged CC Silverado Build AKA "THE MACHINE"

Disclaimer: Links on this page pointing to Amazon, eBay and other sites may include affiliate code. If you click them and make a purchase, we may earn a small commission.

Sam Harris

Supporting Member
Joined
Sep 26, 2018
Posts
7,427
Reaction score
14,911
Location
Texas
If things work out the way I think, I might be ok on this whole interior swap by the time I sell everything. I still have lots of interior pieces, the jumpseat, the seat leather, plus I sold the old dash for $375 and turned down an offer of $100 (mistake) for the dash that came with the Tahoe dash assembly that I paid $150 for. I think I’ll be able to get another $1000-1200 out of stuff. That would be a total of $1400-$1600 so the whole thing would cost me around $400-600. Not bad.
Hell yes! That’s the way to do it..!
 
OP
OP
Rocket Man

Rocket Man

Mark
Supporting Member
Joined
Dec 25, 2014
Posts
26,004
Reaction score
50,862
Location
Oregon
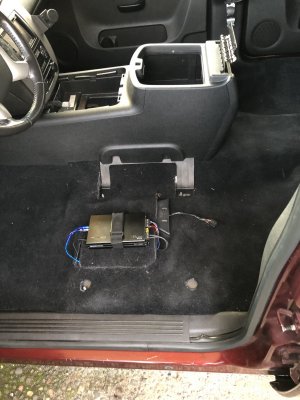
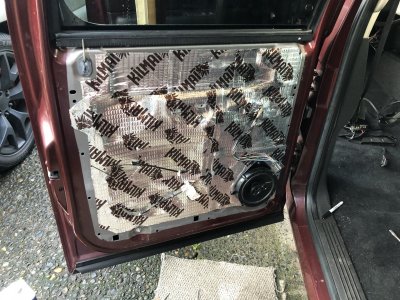
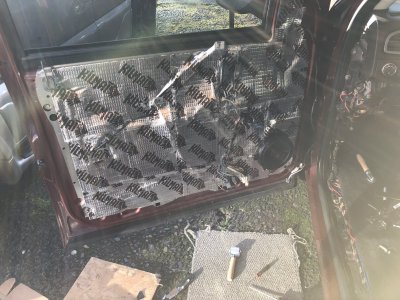
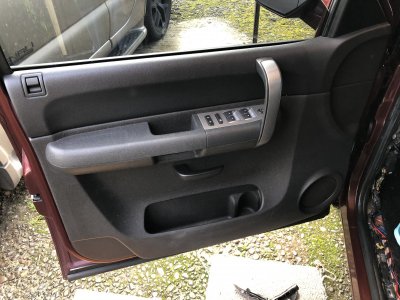
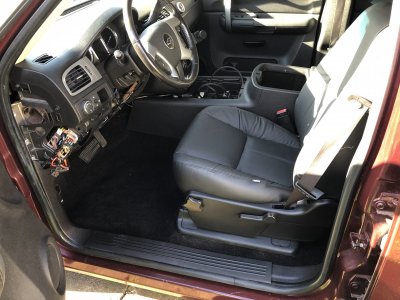
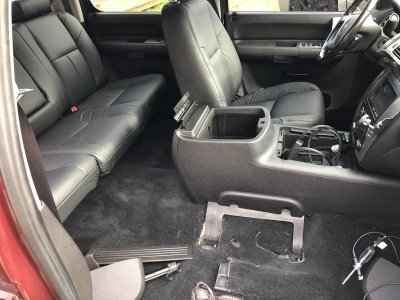
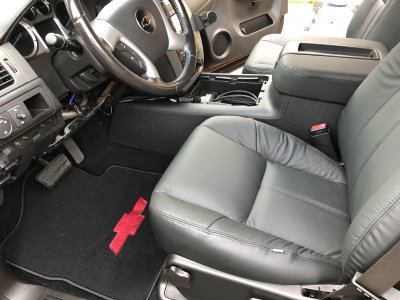
Started on the Kilmat on the doors. I got the DS done and had to move the truck so I could open the PS doors all the way so I decided to install the driver seat. So first the console. Then the seat. I’m loving how it’s looking.

83669E6C-047B-4F6B-AC37-F819FCC68A33.jpeg 0CE087F6-33D9-4062-A131-B2C8263903FE.jpeg 2AB32617-9783-4861-9598-7A211BEDB88B.jpeg D63916E8-B313-487D-B161-14D3B0F0EDEF.jpeg D11941EE-8825-49B6-8CAE-5132B86870A7.jpeg
 
OP
OP
Rocket Man

Rocket Man

Mark
Supporting Member
Joined
Dec 25, 2014
Posts
26,004
Reaction score
50,862
Location
Oregon
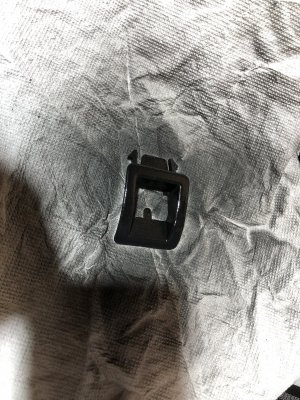
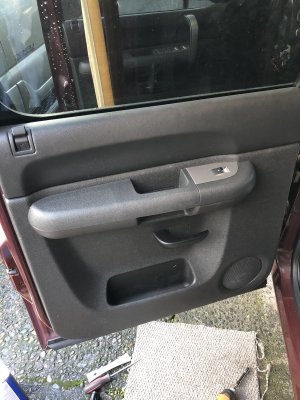
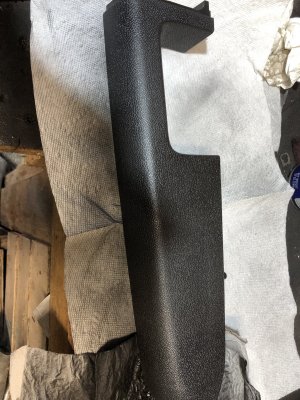
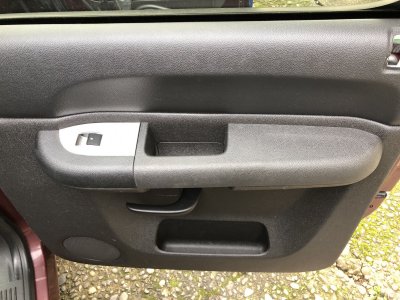
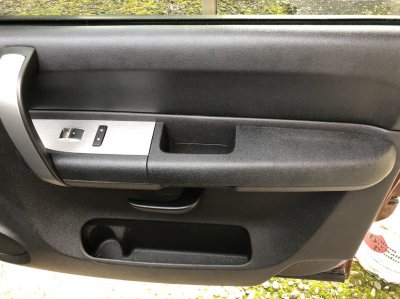
I painted the door lock trim on the DS doors but forgot I was going to repaint the switch housings. Then on the PS I painted the rear one and was working on the front one when I noticed the armrest looked faded next to the new paint. I decided to see if that part was removable and it is. Great. Now I need to remove the other 3 door panels so I can repaint the armrests. Maybe I can just tape them off but I’d rather do it the right way.

C182B4B4-012B-4380-9FB6-DC5E5E3A7339.jpeg CDF0989A-B75C-4817-B043-C64ABA98B414.jpeg 120E93DA-72AB-461A-86FD-CF551C7B2B86.jpeg
 
OP
OP
Rocket Man

Rocket Man

Mark
Supporting Member
Joined
Dec 25, 2014
Posts
26,004
Reaction score
50,862
Location
Oregon
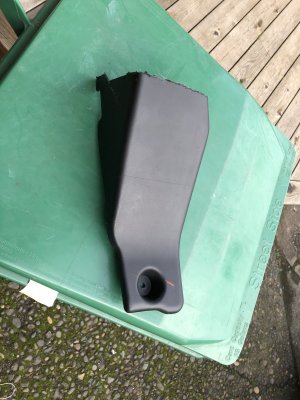
Painted the passenger front armrest. I tried installing the trim under the dash on the passenger side that covers up the fan but there was no way it was going to fit behind the console and sub box. I measured and was getting ready to mark it for cutting when I noticed a line on the thing just about where I figured it needed to be cut. I followed it on a hunch and it fit perfect, so I’m thinking it was there for a console install cut line.

04D4A680-2378-425A-9922-96AEC5E46D22.jpeg 72C9CE83-92DC-49BB-B07D-D02EF41676A1.jpeg 7AC85E3F-8D9C-467B-8996-07B4BC410693.jpeg 8FEA5F29-6DEA-4C17-89FA-12B5016E7C44.jpeg
 

wjburken

Supporting Member
Joined
Dec 26, 2017
Posts
9,957
Reaction score
27,558
Location
Eastern Iowa

kbuskill

***CAUTION*** I do my own stunts!
Joined
Mar 11, 2017
Posts
5,307
Reaction score
8,316
Location
NE. FL.
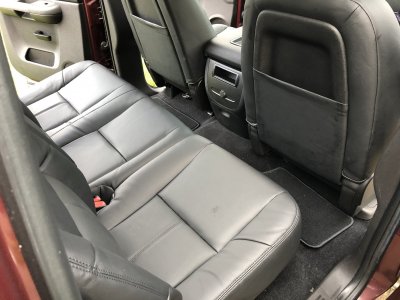
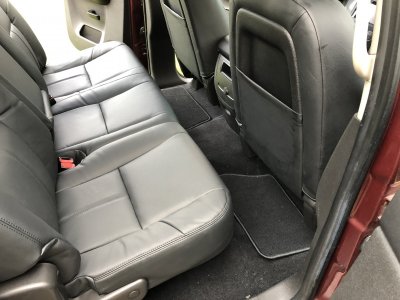
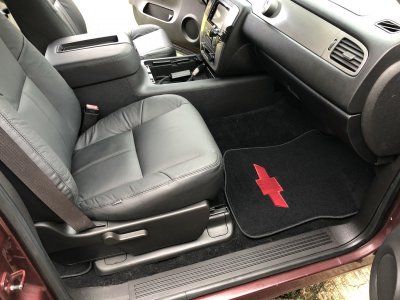
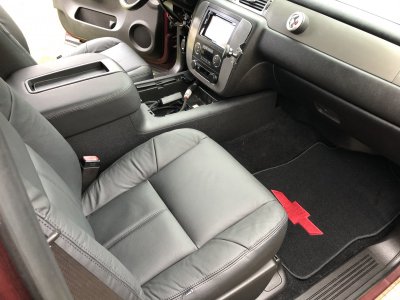
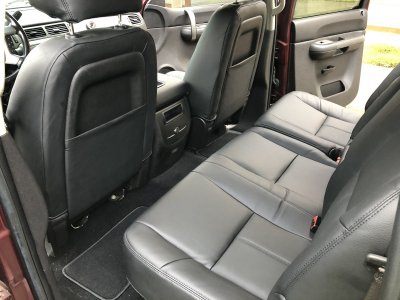
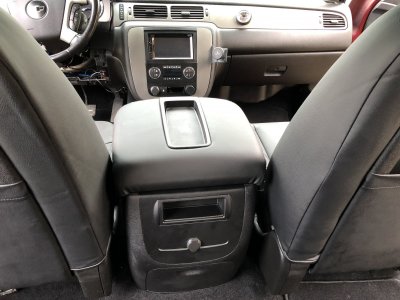
Installed the other front seat and a few bits on the console. Threw the mats in and took a few pics. It still needs a few things but it’s close. More parts are coming Monday/Tuesday.

View attachment 239339 View attachment 239340 View attachment 239341 View attachment 239342 View attachment 239343

Truck is looking great!

When I first saw your new leather on the seats I thought perhaps you were going to leave the headrests off but I see you decided to keep them.

I thought in one of the pics I saw that it looked like there were no holes for the headrests.

Did these covers come with holes for the headrest posts already in them or do you have to cut them yourself?
 
OP
OP
Rocket Man

Rocket Man

Mark
Supporting Member
Joined
Dec 25, 2014
Posts
26,004
Reaction score
50,862
Location
Oregon
Truck is looking great!

When I first saw your new leather on the seats I thought perhaps you were going to leave the headrests off but I see you decided to keep them.

I thought in one of the pics I saw that it looked like there were no holes for the headrests.

Did these covers come with holes for the headrest posts already in them or do you have to cut them yourself?
I had to cut the holes for the headrests as well as a few others. Every time I cringed, since like the dude in the video said, “you can’t put it back”. I almost messed up the one for the lumbar knob since I ended up re-stretching the cover there but it was ok.
 

kbuskill

***CAUTION*** I do my own stunts!
Joined
Mar 11, 2017
Posts
5,307
Reaction score
8,316
Location
NE. FL.
I had to cut the holes for the headrests as well as a few others. Every time I cringed, since like the dude in the video said, “you can’t put it back”. I almost messed up the one for the lumbar knob since I ended up re-stretching the cover there but it was ok.

It might have been cool to leave the headrests off for a low profile look.... but maybe to old school for the look your going for... it used to be kinda popular/cool back in the day to loose the headrests.
 

Forum statistics

Threads
132,354
Posts
1,866,542
Members
96,978
Latest member
bmurphy211

Latest posts

Top