You are using an out of date browser. It may not display this or other websites correctly.
You should upgrade or use an alternative browser.
You should upgrade or use an alternative browser.
Rocket Man's 2008 Bagged CC Silverado Build AKA "THE MACHINE"
- Thread starter Rocket Man
- Start date
Disclaimer: Links on this page pointing to Amazon, eBay and other sites may include affiliate code. If you click them and make a purchase, we may earn a small commission.
iamdub
Full Access Member
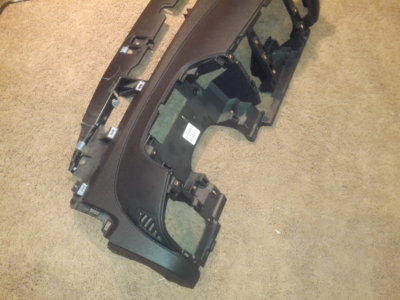
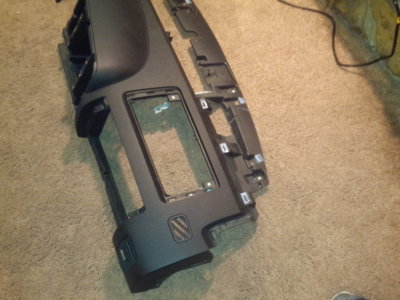
There's several problem areas, not to mention it wraps down at each end to the fuse box areas. I don't see it happening like I said. If you do it, I'd be interested to see how it comes out.
View attachment 199629 View attachment 199630
Those are the angles I haven't seen this dash from. Hmmm... It'll certainly be a challenge, but I'm still convinced it's doable. I didn't even use heat on the XJ headliner, other than the warmth it got from sitting in the sun.
I wonder if that wrap they use on car bodies is a viable option for the tight radii and compound curves?
Tonyrodz
Resident Resident
Gonna have to put a bunch of those little relief cuts going around those curves, and pulling it tight, just to avoid that bunched up look.Those are the angles I haven't seen this dash from. Hmmm... It'll certainly be a challenge, but I'm still convinced it's doable. I didn't even use heat on the XJ headliner, other than the warmth it got from sitting in the sun.
I wonder if that wrap they use on car bodies is a viable option for the tight radii and compound curves?
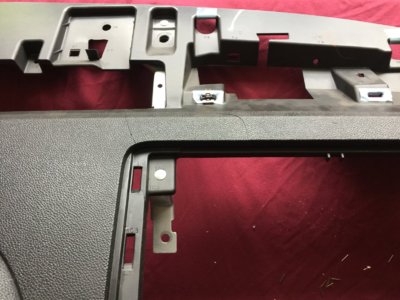
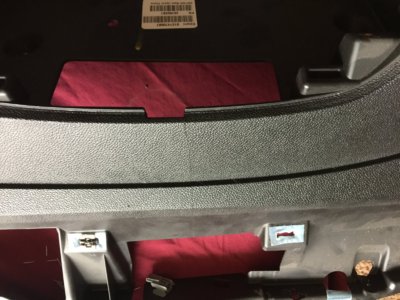
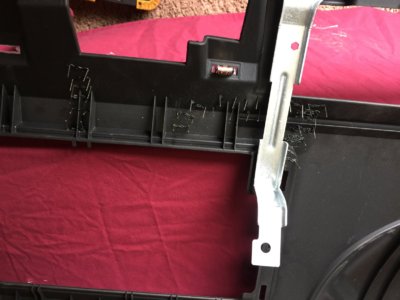
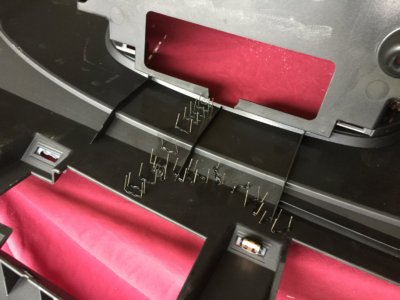
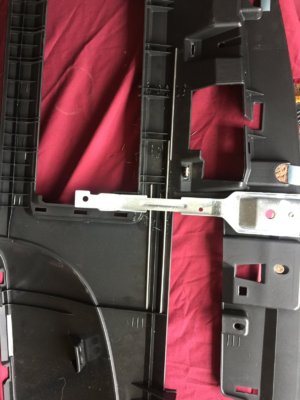
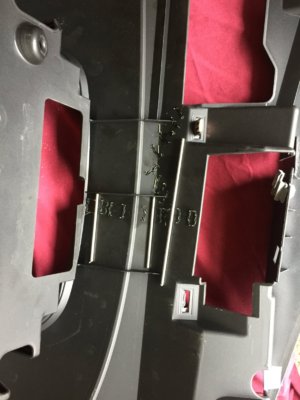
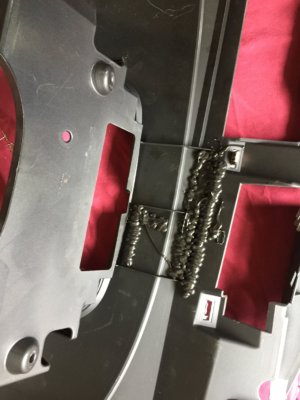
I repaired the main dash today. It didn't come out as good as the dude in the video did. But mine was broken to hell by the time it came out so I guess it's OK. I really needed another person to hold the cracks together as I stapled them. And the front flat dash piece is kinda looking bad now because I tried some different stuff to try and hide the cracks and made it worse. I'm thinking I might be able to fill or not fill the cracks and use adhesion promoter and paint it. Anyway, today's progress. I'll probably end up getting new pieces, these will drive me nuts I'm sure. We'll see how it looks once it's installed. Also, like I said, I'm going to experiment with filling and painting.


PG01
Supporting Member
Not bad tho
HiHoeSilver
Away!
Not bad tho
Agreed. Pretty good for what you're dealing with, I'd say.
Not bad tho
Agreed, just not what I was originally thinking when I watched the video. But then when I was removing it and it kept breaking I wondered if I would be able to save it at all. It's still better than the cracks it originally had.Agreed. Pretty good for what you're dealing with, I'd say.
PG01
Supporting Member
Like x2....

Tonyrodz
Resident Resident
You could alway spray grained texture on it to hide the cracks, then paint it like you did with the beast.
Similar threads
- Replies
- 38
- Views
- 2K
- Replies
- 2
- Views
- 108

