You are using an out of date browser. It may not display this or other websites correctly.
You should upgrade or use an alternative browser.
You should upgrade or use an alternative browser.
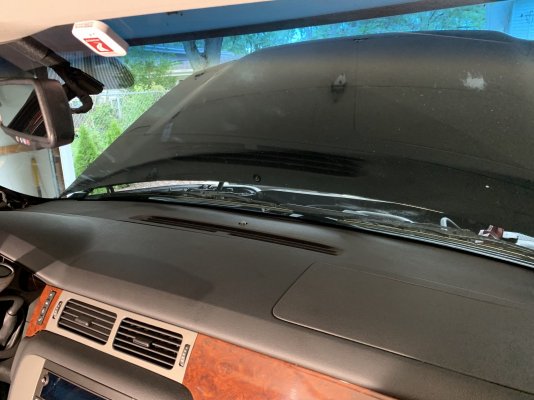
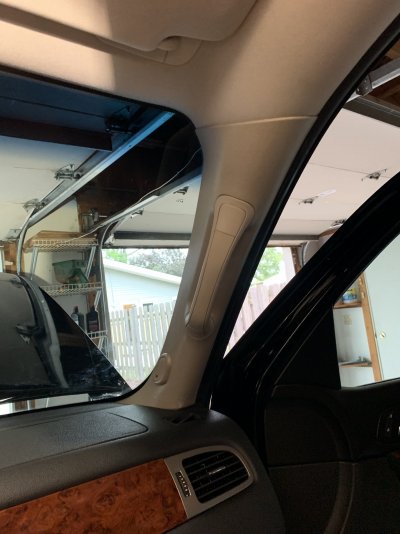
Dashboard Replacement 2013 GMT900 Yukon/Tahoe
- Thread starter t_bergman
- Start date
Disclaimer: Links on this page pointing to Amazon, eBay and other sites may include affiliate code. If you click them and make a purchase, we may earn a small commission.
t_bergman
Full Access Member
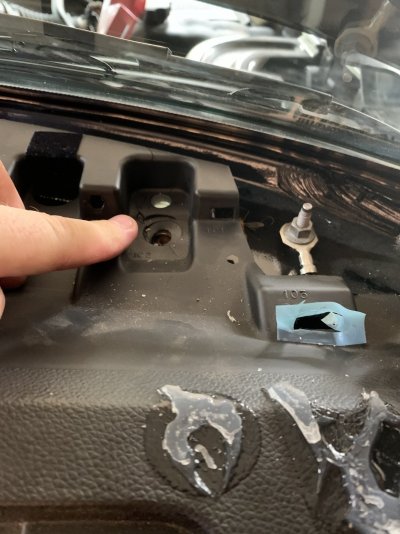
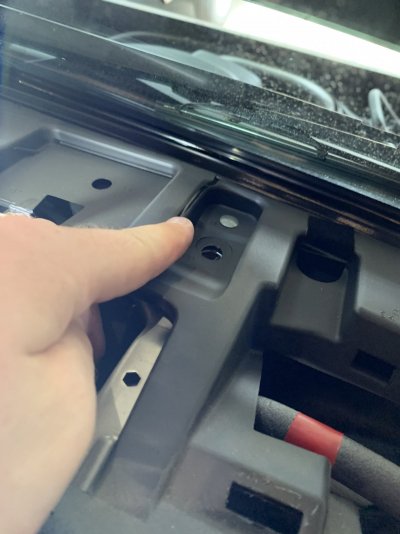
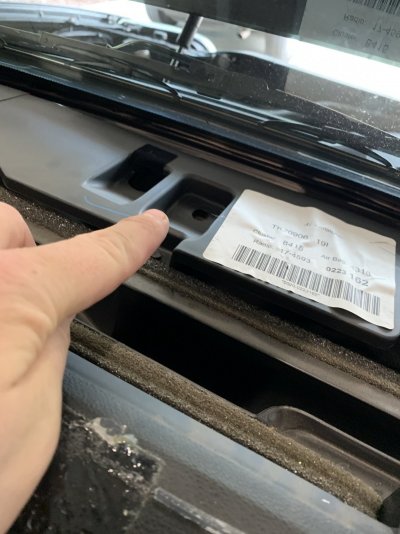
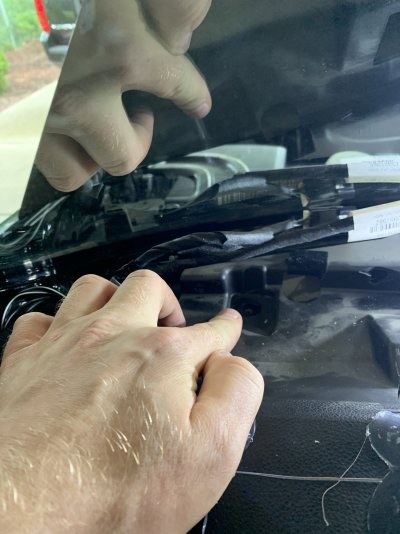
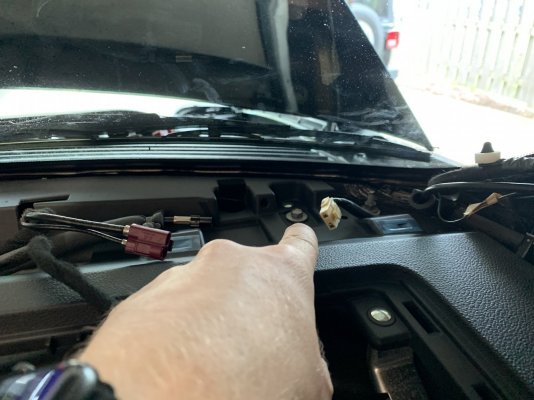
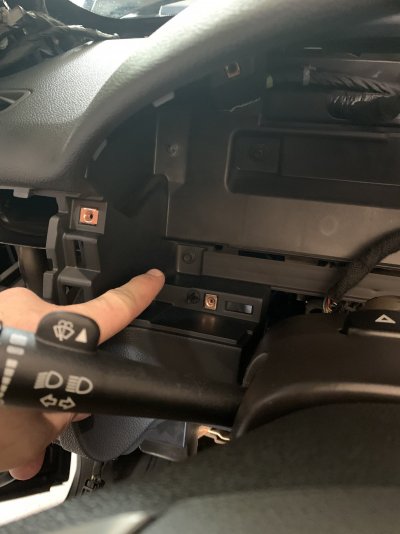
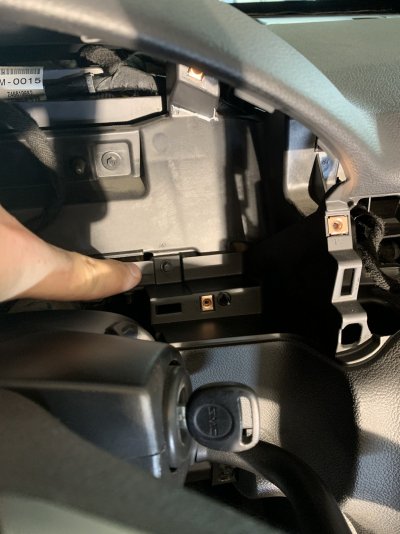
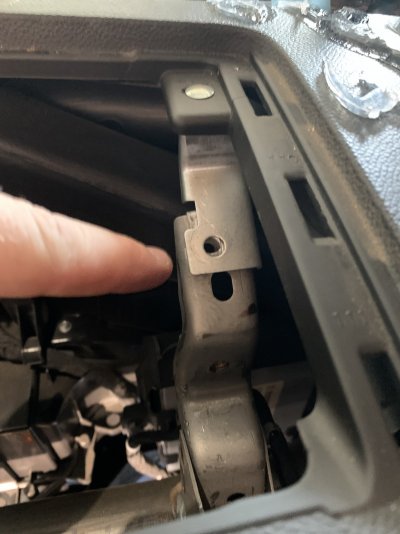
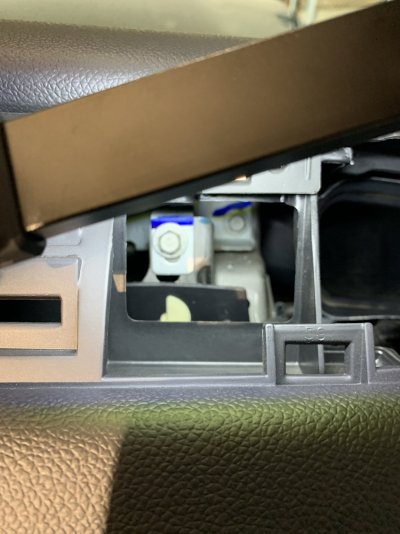
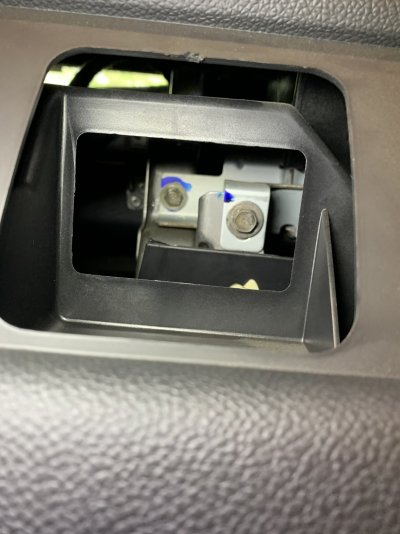
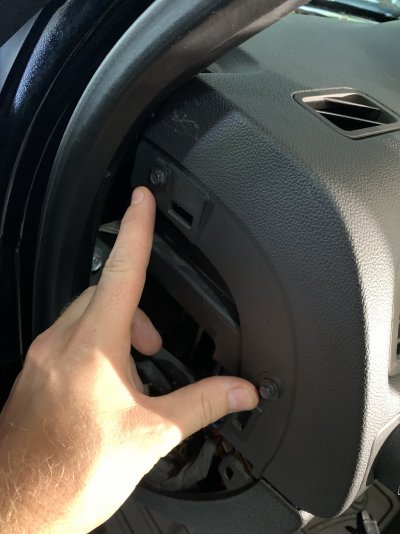
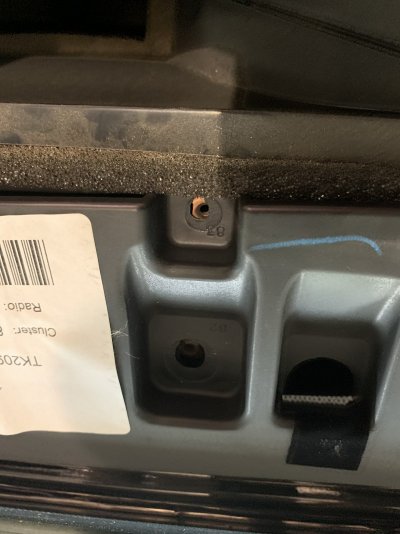
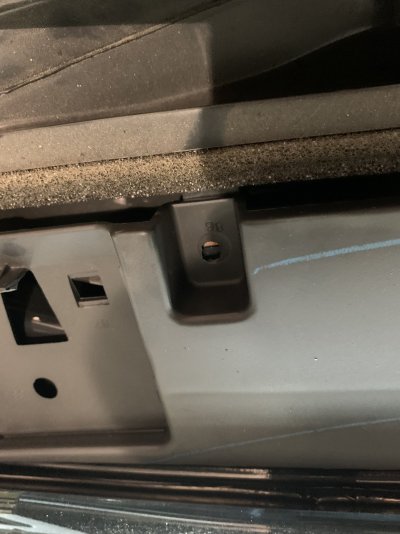
Now to the windshield defrost outlet there are two screws which need to be removed:
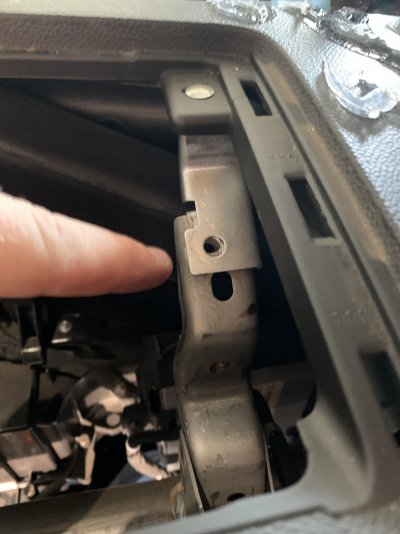
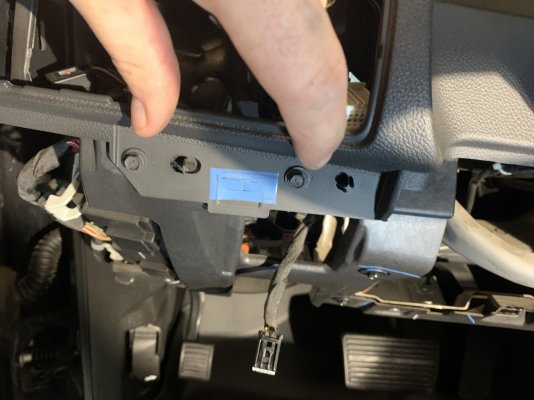
At this point, the dashboard should be free and you are ready to remove it. Two people removal would be best, if I were to do it again I'd wrap my steering wheel with blue painters tape as I scuffed up the back a bit but no big deal.
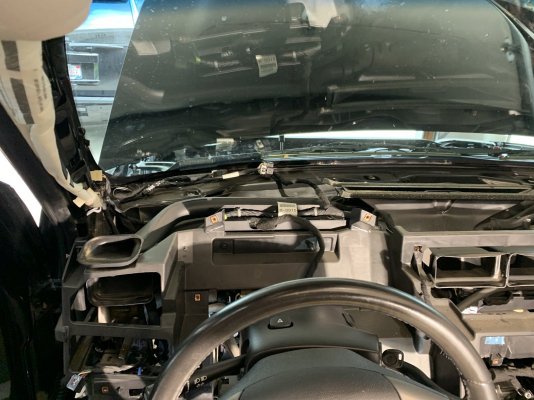
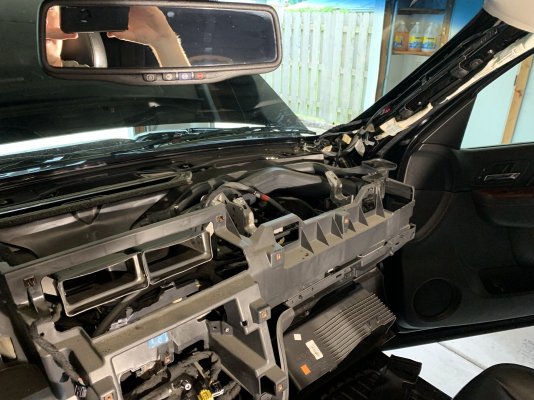
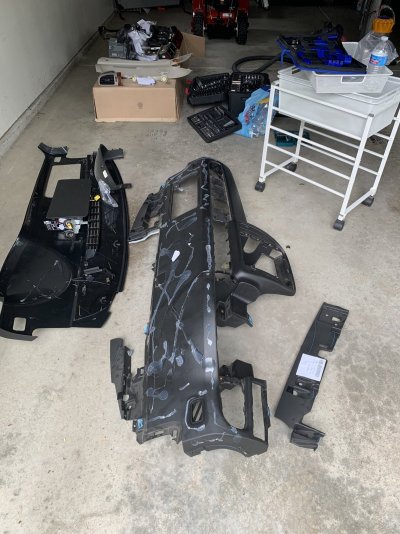


At this point, the dashboard should be free and you are ready to remove it. Two people removal would be best, if I were to do it again I'd wrap my steering wheel with blue painters tape as I scuffed up the back a bit but no big deal.


Last edited:
t_bergman
Full Access Member
It's now time to put the new dashboard in, it takes some finessing to get it in and two people should do it although possible with one. Please see the second YouTube at the start of this thread at 6:30 as I got mine in with the same positioning.
I put all of the screws back in based on how the new dash aligned to the plastic aligners. This is how I put things back together but you may find it easier to put all parts back together in a different way.
Time to put in the four silver bolts with the two screws by the defroster outlet.
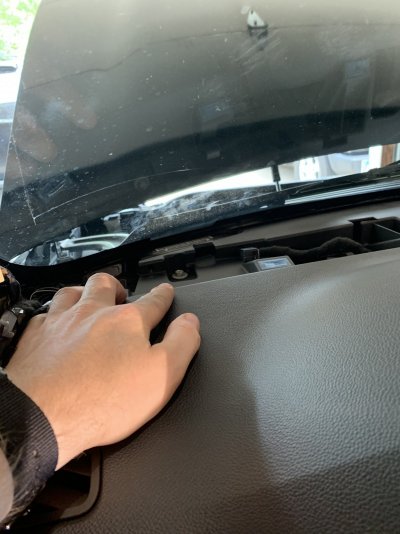
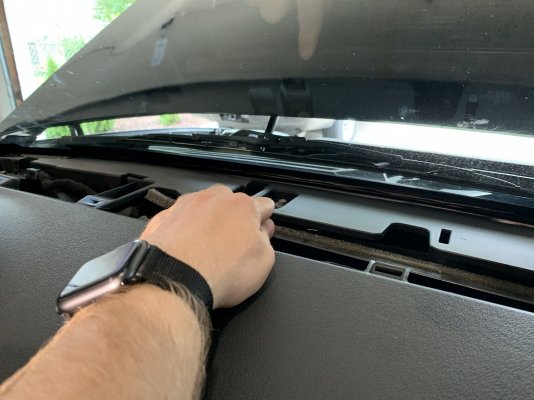
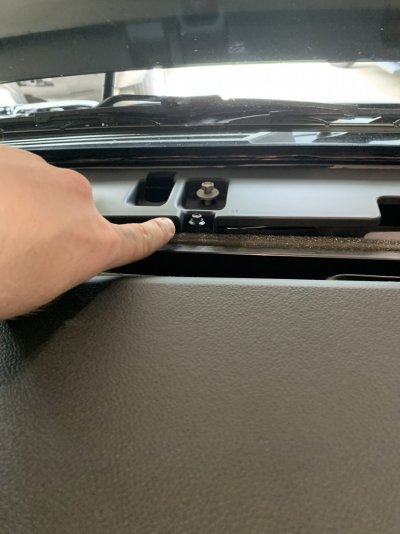
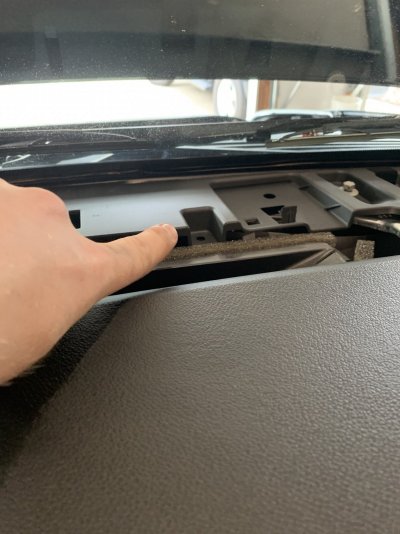
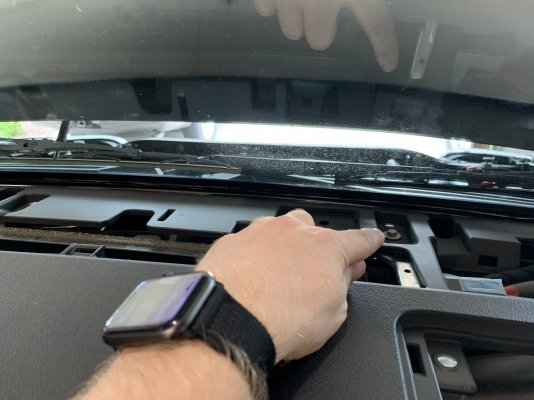
I put all of the screws back in based on how the new dash aligned to the plastic aligners. This is how I put things back together but you may find it easier to put all parts back together in a different way.
Time to put in the four silver bolts with the two screws by the defroster outlet.


Last edited:
t_bergman
Full Access Member
t_bergman
Full Access Member
Put the cluster back in, put all four screws back in and then press the black trim piece back in.
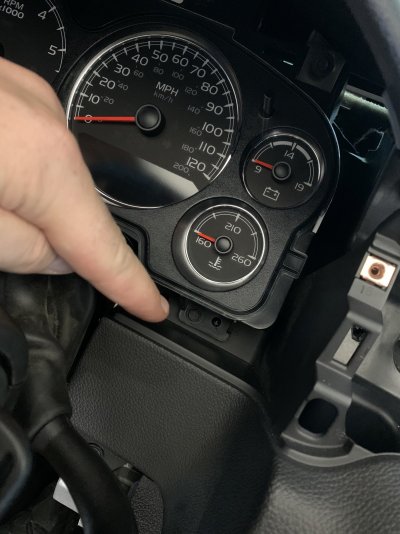
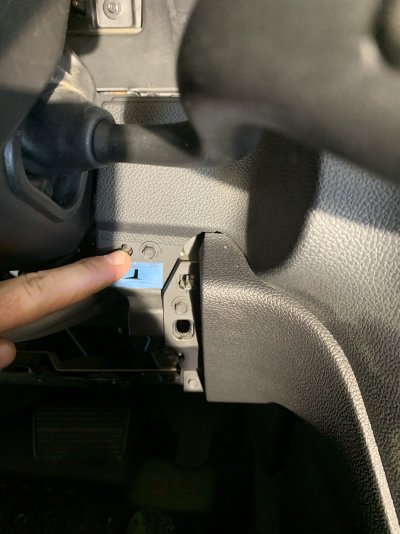
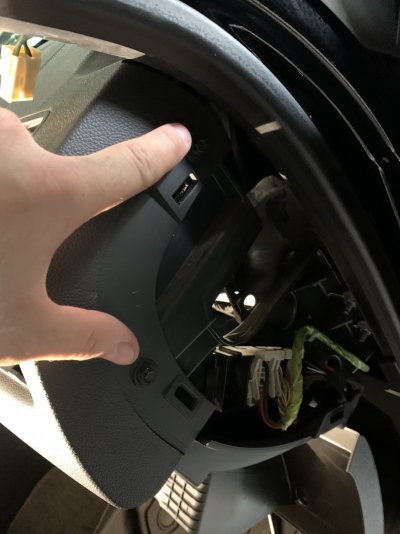
Put the half circle trim piece back in using the Torx #6 screws and normal two 7mm screws on the bottom left and right.
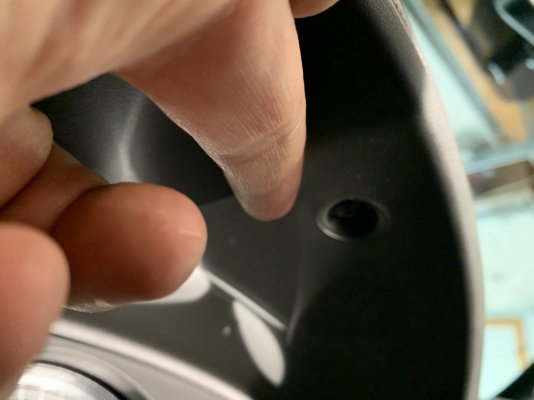
Connect the two harnesses and push in the Christmas tree plugs above the drivers side.
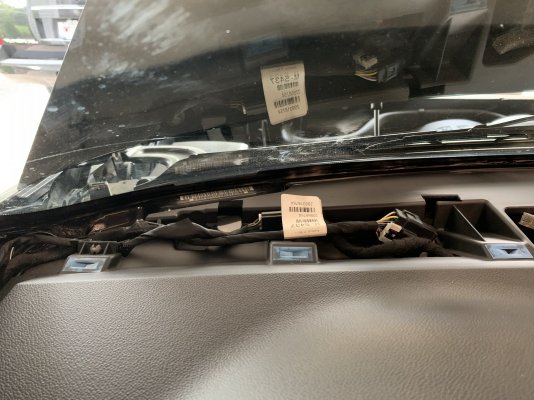
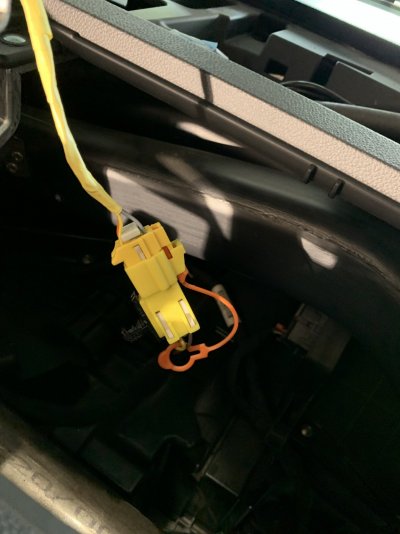
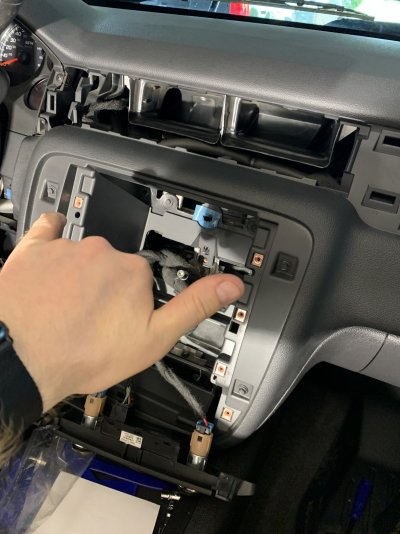
Head to the passengers side and connect the three harnesses in the extension area cavity.
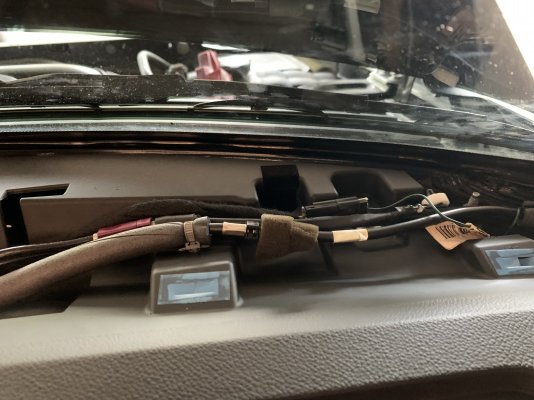
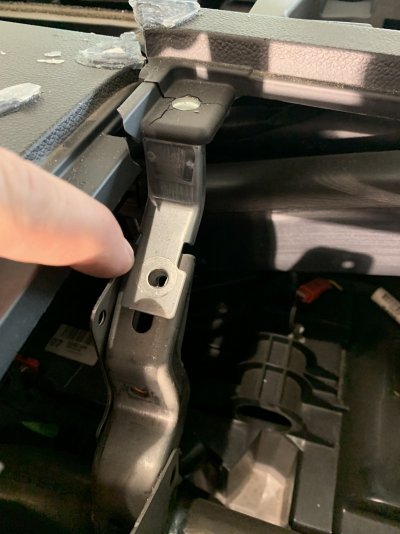
Put in the two silver bolts which sit behind the airbag. Re-used picture from removed***

Put the half circle trim piece back in using the Torx #6 screws and normal two 7mm screws on the bottom left and right.

Connect the two harnesses and push in the Christmas tree plugs above the drivers side.

Head to the passengers side and connect the three harnesses in the extension area cavity.

Put in the two silver bolts which sit behind the airbag. Re-used picture from removed***

Last edited:
t_bergman
Full Access Member
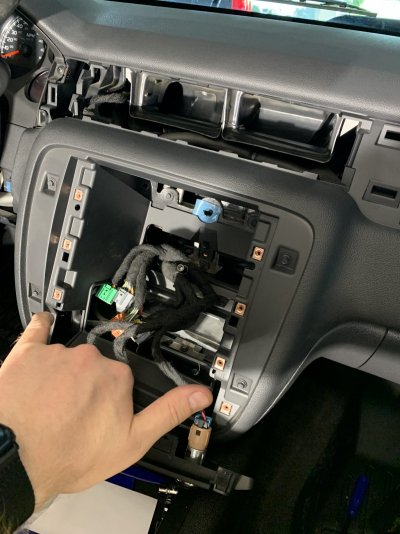
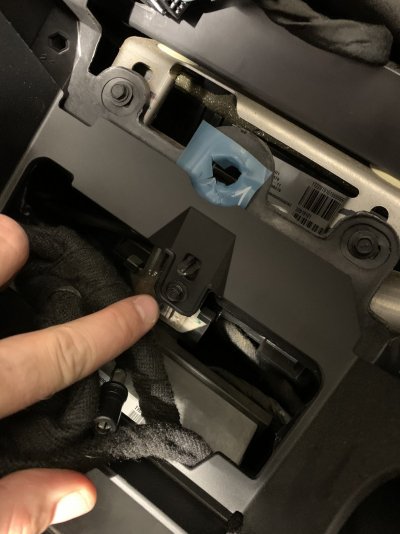
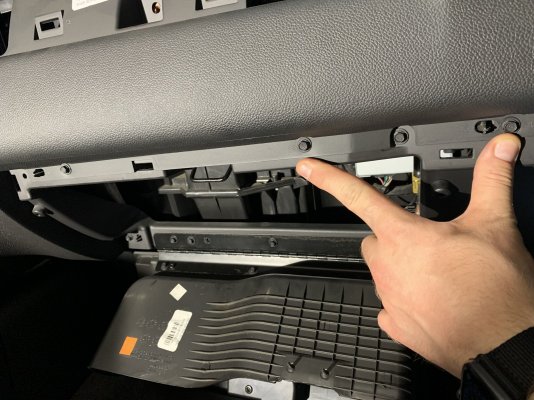
Put in the three screws behind the thin trim piece above the glovebox. Then attach the thin trim piece.
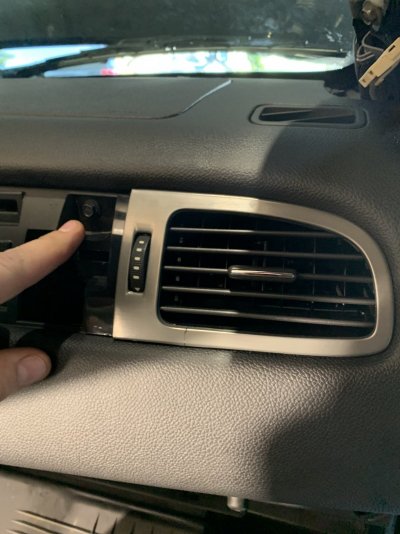
Put in the passenger's side right air vent and place the single screw.
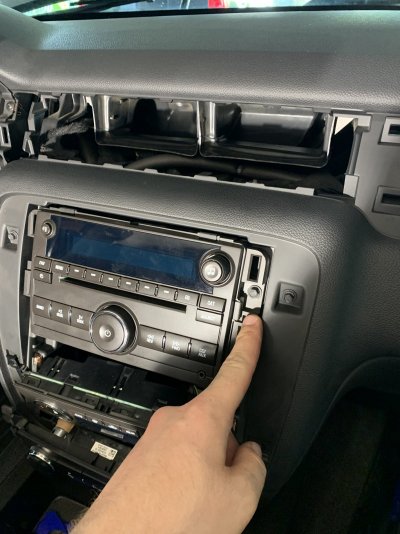
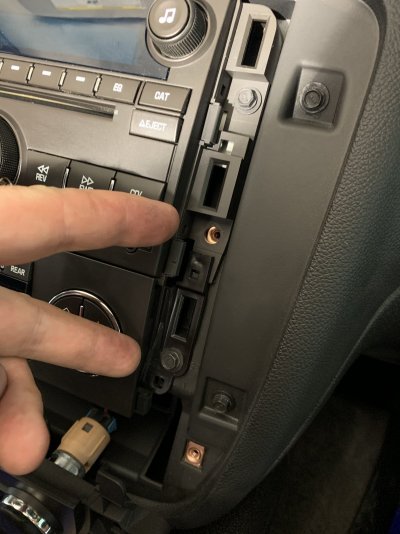
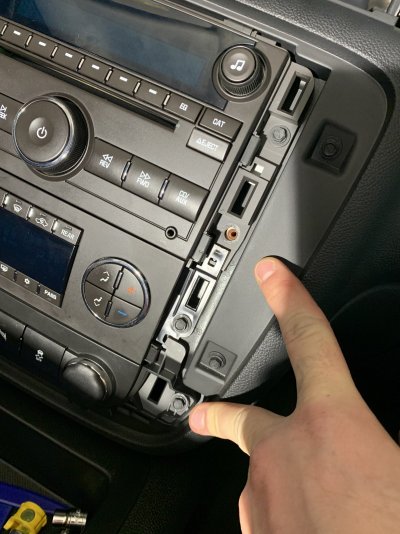
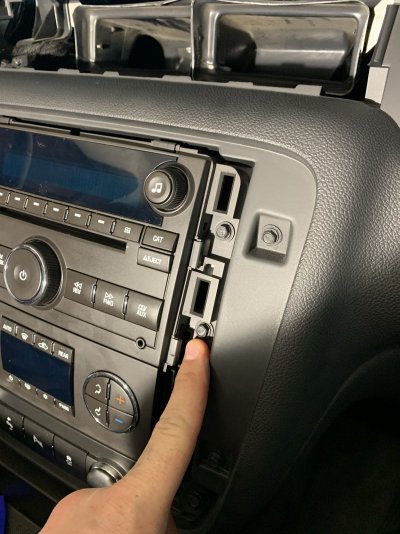
Place the two screws which sit behind the wood trim panel, the right screw is already in as above.
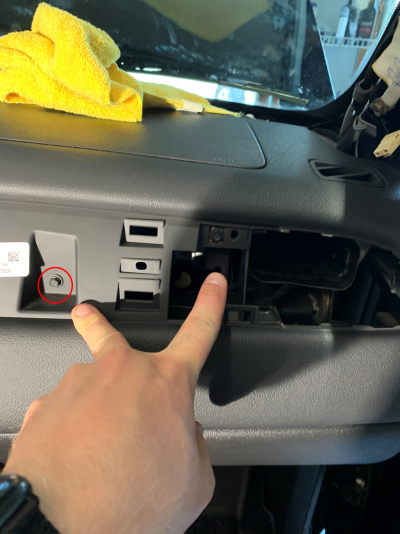
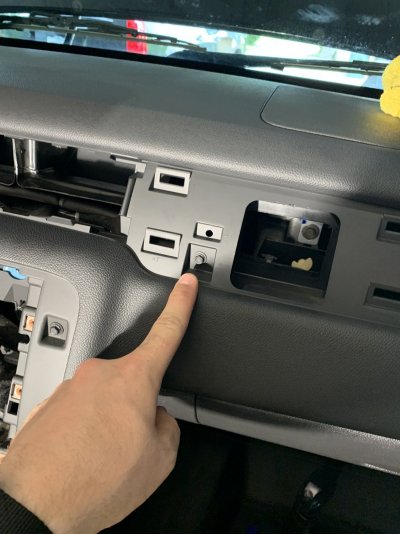
My pictures will be backwards on this step, but looking back I would put in the center vents, DIC (Don't forget the cable) as you can use your hand from below to position the vents.
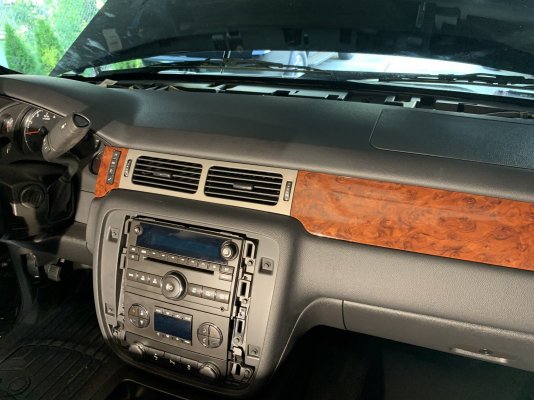

Put in the passenger's side right air vent and place the single screw.

Place the two screws which sit behind the wood trim panel, the right screw is already in as above.


My pictures will be backwards on this step, but looking back I would put in the center vents, DIC (Don't forget the cable) as you can use your hand from below to position the vents.

Last edited:
t_bergman
Full Access Member
t_bergman
Full Access Member
t_bergman
Full Access Member
Similar threads
- Replies
- 38
- Views
- 3K
- Replies
- 15
- Views
- 937
- Replies
- 5
- Views
- 324

