Going 17"s - Update!

Disclaimer: Links on this page pointing to Amazon, eBay and other sites may include affiliate code. If you click them and make a purchase, we may earn a small commission.

OP
OP
ScrewbenSS

ScrewbenSS

Member
Joined
Apr 19, 2016
Posts
87
Reaction score
35
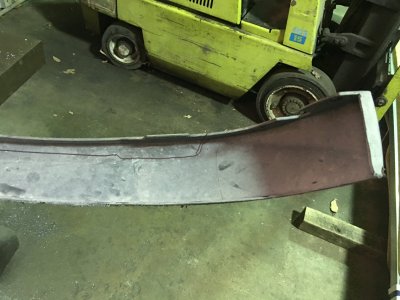
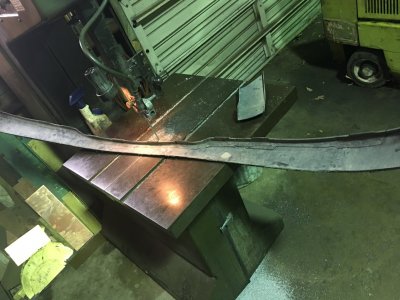
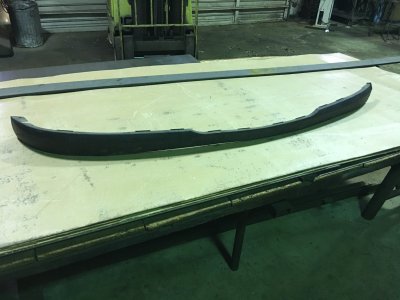
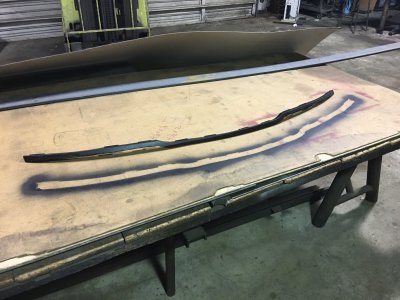
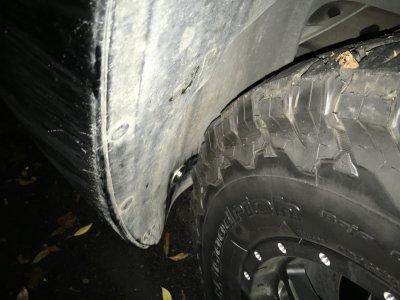
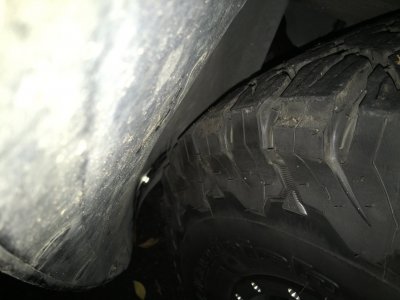
Well finally got around to finishing the truck up. Cut the lower valence, painted it(it looked horrible), and did some fender liner trimming. Having a fab shop at my disposal made all of this very easy and an afternoons work. Even with my bad ideas taking up time. I'll get into that later....
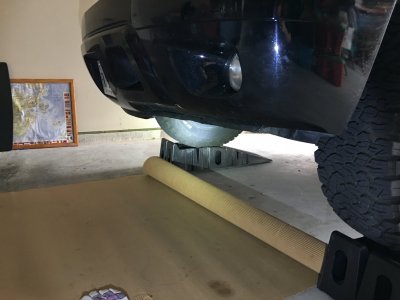
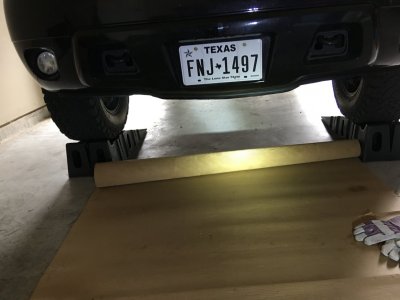
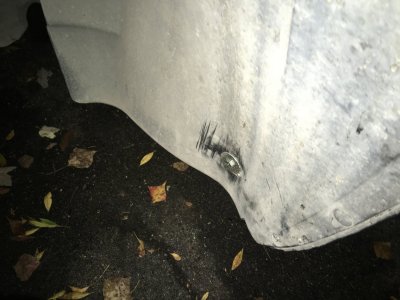
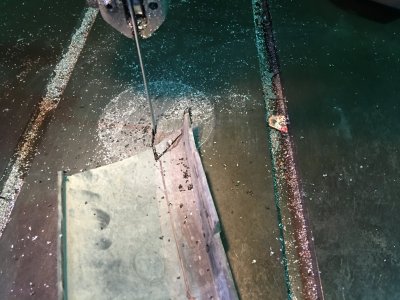
I'll start with the valence. Easy as hell. Was done in 5 min. The band saw made the job a breeze of course. And cleaned it up on the table grinder. Then did 4 coats of black plasti dip. Probably wont last but made me happy for the moment.IMG_2153.JPGIMG_2153.JPG IMG_2154.JPGIMG_2155.JPGIMG_2156.JPGIMG_2159.JPG
 
OP
OP
ScrewbenSS

ScrewbenSS

Member
Joined
Apr 19, 2016
Posts
87
Reaction score
35
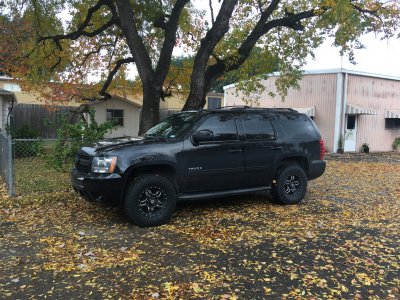
And the finished product. I'll try to get pics in better lighting soon. But at the moment the truck is clean and its raining outside so its gonna have to wait.

IMG_2201.JPG

IMG_2202.JPG
 
OP
OP
ScrewbenSS

ScrewbenSS

Member
Joined
Apr 19, 2016
Posts
87
Reaction score
35
Next is the bad idea!
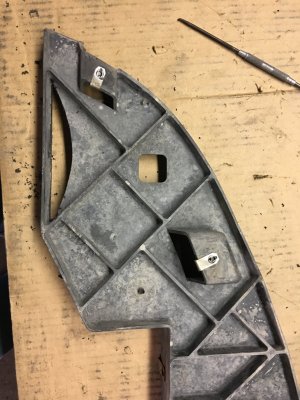
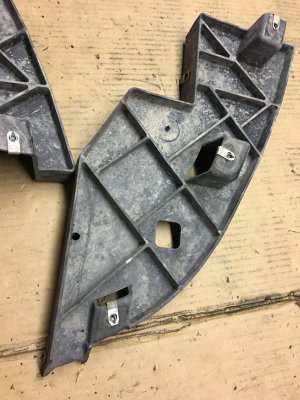
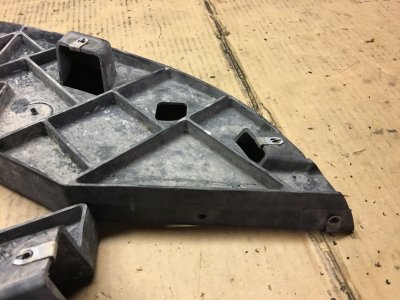
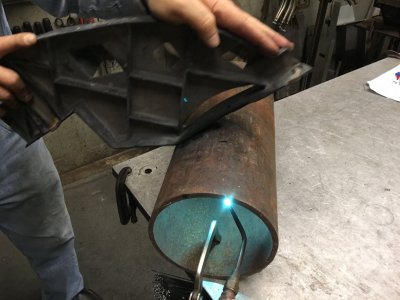
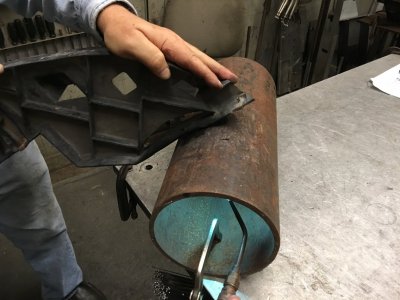
Had a thought that I could cut a slot out of the brackets and heat the remaining plastic and reshape it to retain the original mounting holes. This did not work. Dont do this. It was a waist of time. Here are picks of me attempting this with my dad giving me a hand. In the end it just burned and melted rather than reshaped. So no harm done other that waisted time. I just cut it all out and went on with the original plan.

IMG_2166.JPG

IMG_2167.JPG

IMG_2168.JPG

IMG_2169.JPG

IMG_2170.JPG
 
OP
OP
ScrewbenSS

ScrewbenSS

Member
Joined
Apr 19, 2016
Posts
87
Reaction score
35
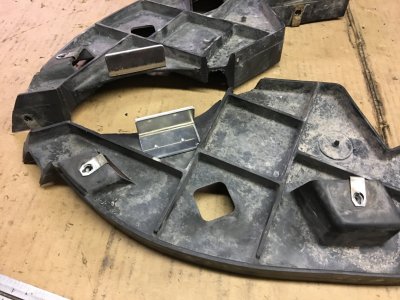
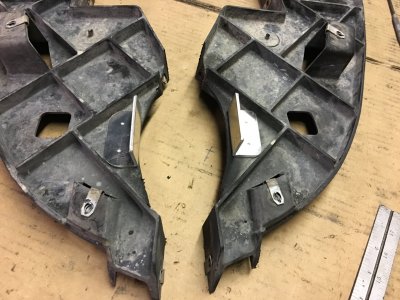
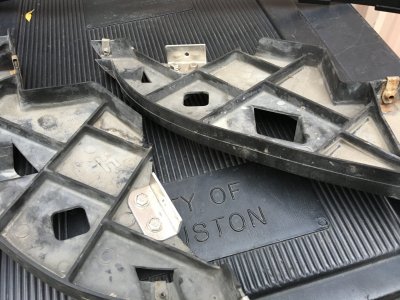
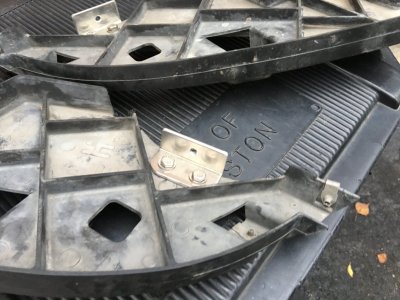
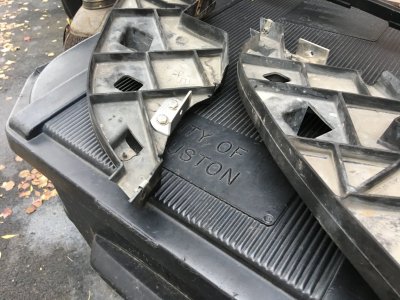
Ok so back to plan A that 01Konvict told me to do in the first place. Make some 2" brackets and mount them. This is not my best work as I was kind of running out of time so I was more or less eyeballing things from here but it honestly doesn't matter as long as it works. Brackets are 1/8 thick aluminum and I made them roughly 2 1/8" square and made a 90* bend right down center. I used 1/4-20 stainless steal bolts and matching harware. Once again real easy to do thanks mostly to having access to my dads fab shop.

IMG_2172.JPG

IMG_2173.JPG

IMG_2174.JPG

IMG_2175.JPG

IMG_2176.JPG
 
Last edited:
OP
OP
ScrewbenSS

ScrewbenSS

Member
Joined
Apr 19, 2016
Posts
87
Reaction score
35
IMG_2177.JPG IMG_2178.JPG IMG_2179.JPG And finally I mounted them up. Used a pick tool to scratch the fender liner through the bracket hole and drilled. Ran a bolt through with a decent size washer and used a heat gun to soften up the liner to take the new shape. Very easy to do.
 
OP
OP
ScrewbenSS

ScrewbenSS

Member
Joined
Apr 19, 2016
Posts
87
Reaction score
35
Good work on the valance and bumper fender bracket. Easy to use a L bracket to retain factory liner hole.
Thanks! I also had a little bit of rubbing on the rear of the fender. I didnt get any pics but I just removed the liner and used the old BFH method to massage it back a little and now everything clears.
 
Last edited:
OP
OP
ScrewbenSS

ScrewbenSS

Member
Joined
Apr 19, 2016
Posts
87
Reaction score
35
Slowly coming along. Gonna drive it like this for a little while as I have some work to do to my car.

IMG_2152.JPG
 

01Konvict

Boats n Hoes
Joined
Jan 16, 2011
Posts
2,740
Reaction score
691
Location
Raleigh/SML
Thanks! I also had a little bit of rubbing on the rear of the fender. I didnt get any pics but I just removed the liner and used the old BFH method to massage it back a little and now everything clears.

Yeah I might need to do the small NorCal mod when I go to x12 wheels. A little rubber mallet on the inner corner does the trick.
 

Forum statistics

Threads
132,955
Posts
1,877,212
Members
97,871
Latest member
keonisb
Top