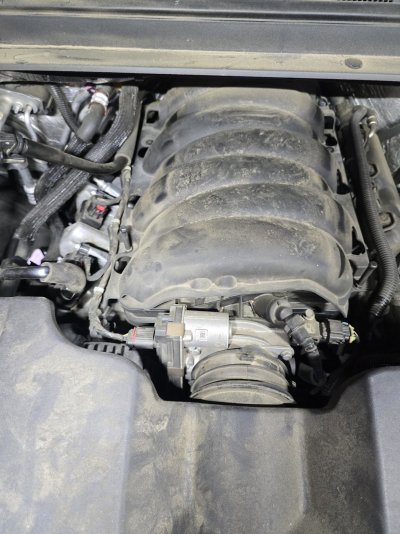
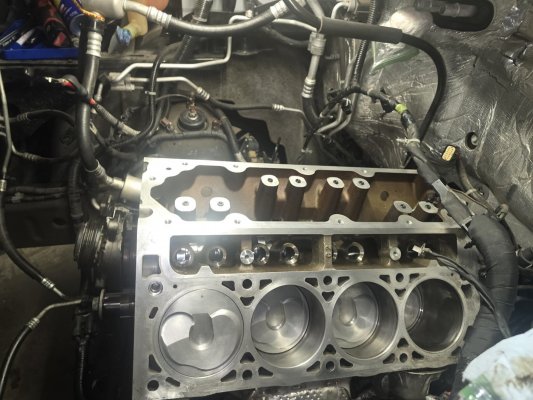
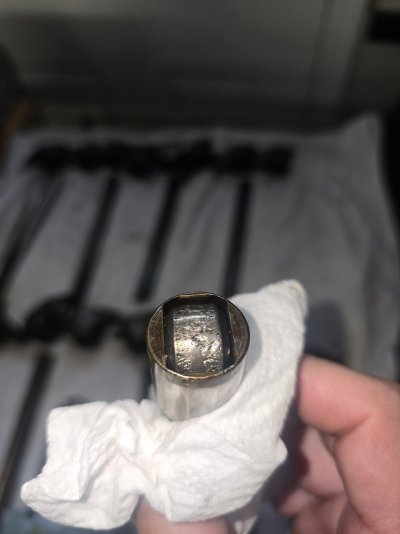
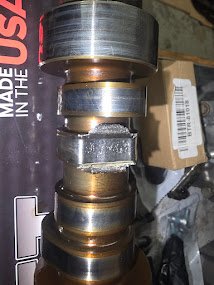
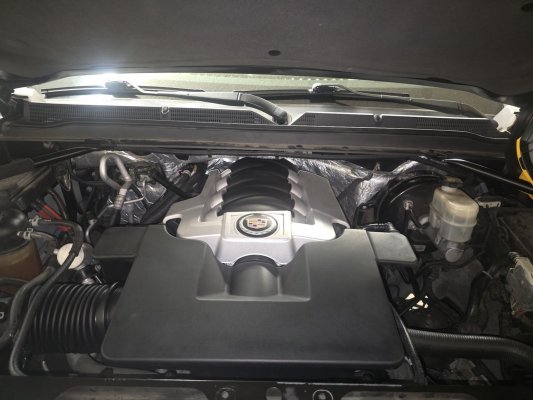
Well, I finished up last week, and it seems to be running fine. I really appreciate your support there,
@Geotrash. Here are a few lessons learned that I will watch for next time.
1. Make sure your crank seal is installed correctly. After starting it, I noticed a small leak. It turns out that I put it backward. I'd also recommend the press-in seal adapter over the tap-in types. Thankfully, I only had to remove the belts and pull the balancer. At first, I thought I would have to remove much more, but replacing the seal was pretty easy. The flywheel break that goes where the starter is is a must-have.
2. Make sure that when you put the high-pressure fuel lines back in, you torque them correctly to 22 ft-lbs. When I put mine on, I didn't know that using a crowfoot on a torque wrench required that it be 90 degrees for it to be accurate. I had to pull the intake back off and found that I'd actually only tightened the connections to about 15 ft-lbs, which caused a small leak. The leak was evident due to the strong gas smell. I still smell slightly gas because of the pad over getting sprayed.
3. When putting the heads back on, ensure you have a good 1/2 torque wrench that does angle. I put mine on with a Quinn from Harbor Fright, and although I think it does the torque aspect just fine, the angle part is sketchy. I wish I had scribed each bolt head after the second pass. After I was done, I found a deal on a 1/2 Snap-on digital, and now I wish I'd found the deal beforehand because there is no comparison between the two wrenches. That Snap-on made it incredibly easy and accurate to put that crank bolt back in and turn it 125 degrees on the third pass.
4. Take the time to pull the oil pan and replace the oil pump. In the video I followed, they walked the chain off the cam, and when I attempted to do that, I didn't like the feel of it, so I decided to drop the pan. It takes a little longer, but if you do, you can clean out anything inside the pan and replace all the rubber seals. A new oil pump also means that reinstalling is very easy, rather than trying to line it all up again. I went with a Fel-pro gasket instead of the gasket maker, and it seems to be doing great, but we'll see how long that lasts. I suspect it'll be fine. I put it back on after I put the timing chain cover back on. That way, I ensured the gasket maker went well into the joints. And if you've gone that far, spend the extra $20 and replace the chain.
I'm sure there are things I forgot to add because all of this happened over about 5 weeks. I went slow and labeled everything in baggies. I also took pictures from all angles as I went, and it was helpful to go back and review and see the way wires were routed and parts that I didn't remember even taking out. I want to say that this was a pretty fun job, and I purchased some new tools that I'll use in the future. I've also got a 2001 Tahoe that I'm contemplating changing out the cam on for more HP and this job was a hug confidence booster for that future job.

