reedal's '03 Tahoe build

Disclaimer: Links on this page pointing to Amazon, eBay and other sites may include affiliate code. If you click them and make a purchase, we may earn a small commission.

OP
OP
reedal

reedal

Full Access Member
Joined
Sep 20, 2015
Posts
265
Reaction score
88
Location
Virginia Beach, VA
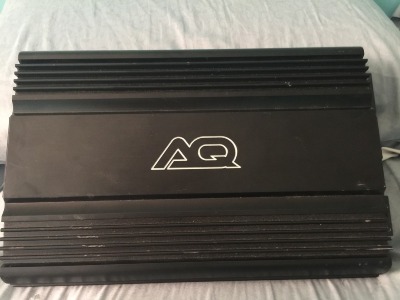
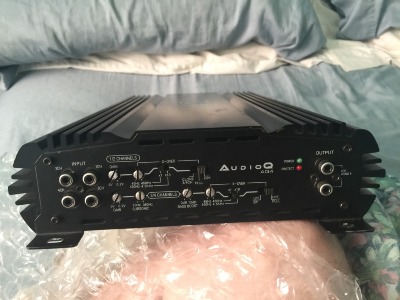
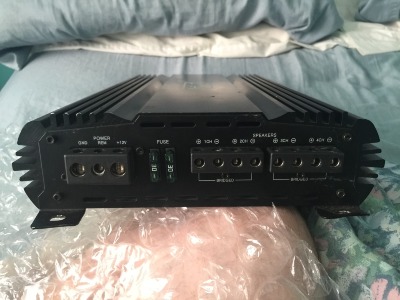
Got the AQ 90x4 back today biggrin.gif

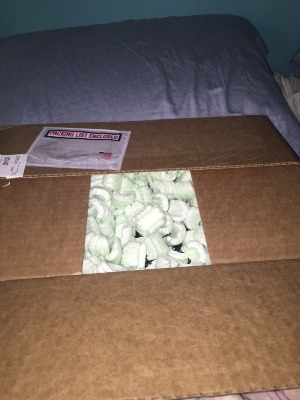
Opened up the box and found this though -__-
C39175B5-FF57-4241-BF8E-CE9C30977563_zpsrkxs3zqr.jpg

I hate packing peanuts

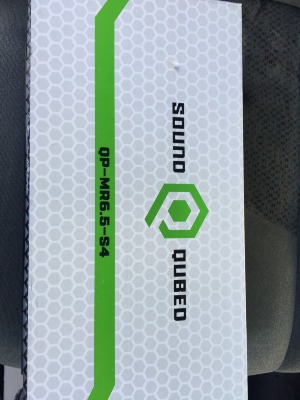
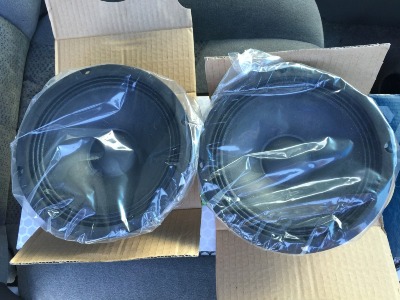
But! After I got them all cleaned up and out of the crevices of the heat sinks, it looks just like it did before. Like a used amp blum.gif but I'm excited to hook it back up and have some damn music again!!! Too pumped!! Now I just need my PA's to get here, and I'll be a happy camper

66A965E0-8A5E-4522-8EEC-CEFDA8A9DE32_zpshs4zqgrc.jpg

3915EAAB-5AE5-4F95-8A53-90B17A00089A_zpsro2967eb.jpg

FF75B654-F9B9-4045-9DF2-5F6D8B94BA45_zpswfvv6wzx.jpg

Thanks for checking out my little build
 
OP
OP
reedal

reedal

Full Access Member
Joined
Sep 20, 2015
Posts
265
Reaction score
88
Location
Virginia Beach, VA
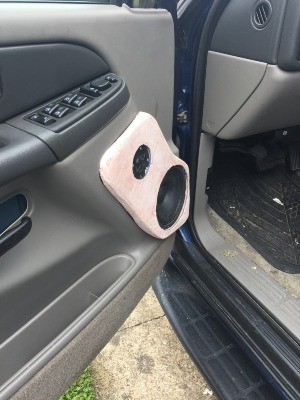
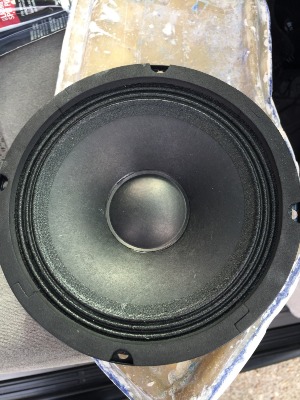
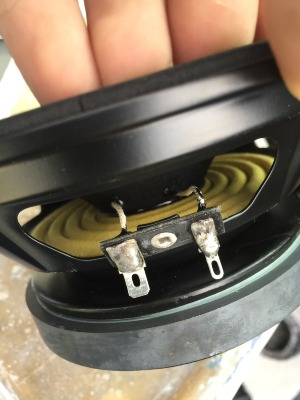
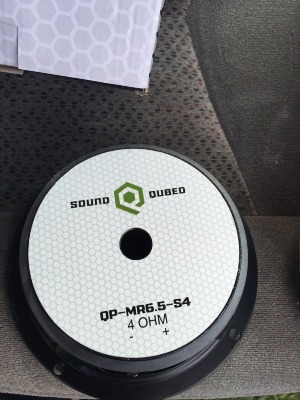
Well I put the not finished door pods in. I threw some paint on them for some color, but I'll sand it all off and finish sanding them smooth. They're pretty rough looking, but I got music again. Duty today so tomorrow when I leave the ship I'll get to work on them again. I love the PA's. Loud, clear, and sharp notes.

4664DF97-BC7B-4148-ABD2-9ECB66C076D2_zpsjg9zzalq.jpg

AD89E064-74C9-4DB2-B0C1-5C34812AE8E3_zpsbyf4mlon.jpg

58E5DC1D-63E4-4BD7-995D-02A39E1DB10A_zpslcdawb5r.jpg

62F7C3C0-7D82-496A-8122-21C10689E412_zpsflfntjda.jpg

4046D534-20A0-4500-A129-99DF8A5F186D_zpsf1xehcxf.jpg

Thinking about using Velcro to secure the pods to the door panel. Anyone done that before?
 
OP
OP
reedal

reedal

Full Access Member
Joined
Sep 20, 2015
Posts
265
Reaction score
88
Location
Virginia Beach, VA
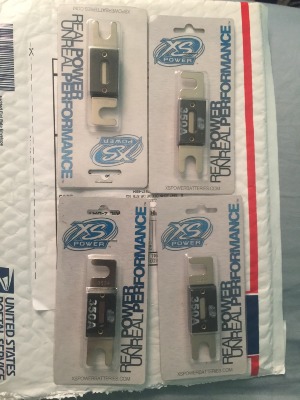
Came home to find my fuses waiting for me today.
D1DCA612-EEFA-4A13-A240-9A65F926628F_zps9grkhfqk.jpg

Unfortunately that one that doesn't say 350A in white is a 250A. So there was a little mix up when they packaged it I guess, but I've contacted showtime electronics and am awaiting their reply. They've had great customer service so far, so I'm sure that this will take no time at all to be corrected.
 
OP
OP
reedal

reedal

Full Access Member
Joined
Sep 20, 2015
Posts
265
Reaction score
88
Location
Virginia Beach, VA
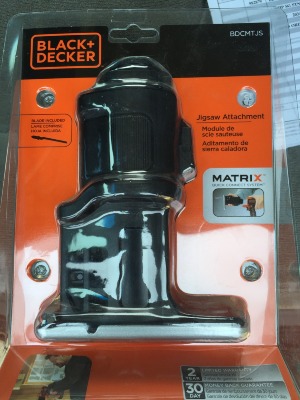
The newest addition to my power tools

C7550117-EC21-4BAF-A81D-51C60DF09F79_zpswv0mcy3g.jpg

Jigsaw attachment for my B&D matrix. Home Depot surprised me with the shipping time though, when I bought it the message said it wouldn't be available for store pickup until July 9th thru the 15th, and I just ordered it yesterday afternoon, already picked it up today. Kudos to Home Depot.

Now, for round 3 of making my door pods. Hopefully for the last time.... At least for a while. Just wasn't satisfied with the first two
 
OP
OP
reedal

reedal

Full Access Member
Joined
Sep 20, 2015
Posts
265
Reaction score
88
Location
Virginia Beach, VA
So, it's been a while since I updated.

I've been working on my 3rd set of door pods. Version 1 was never seen, never used, they sucked. Version two, there are a couple pics of them, nothing after body filler. They were kind of a failure. Didn't like the shape, my bracing didn't hold up very well when I wrapped them but I tried working around that, and then finally they just didn't look good to me in the doors. No finished pics of those.

Here is version 3. I'm still not happy with them, so I'm going to do them again one day. Couple mistakes were made, but it's a learn as I go, to figure out what works best for me with the tools I have and the space I have to store my stuff, which isn't much at all.

Start of my protective layer for the door panels
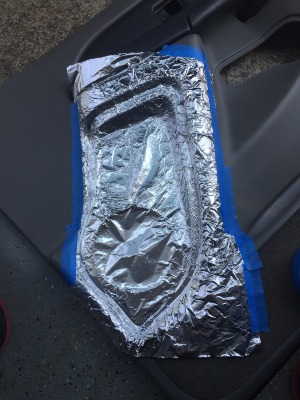
288F3C82-772D-4693-8571-E73D8062016F_zpsvii8331x.jpg

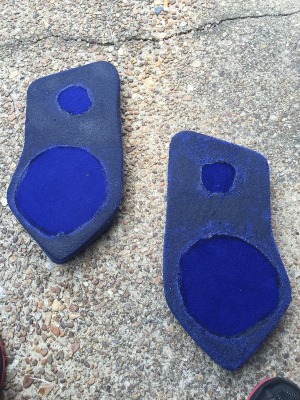
Decided to test my jigsaw attachment by going a different route. Instead of making speaker rings, I decided to make a cutout of the factory grills. Here was mistake number one. I cutout the shapes before making the cutouts for the mids/tweets to mount to. I feel it might be easier that way next go-around.
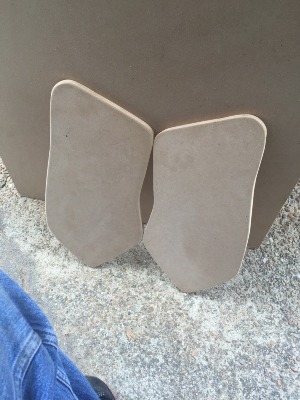
A4FF4C9A-7C8D-4588-A827-CD8728EC2925_zpsc7tivc9d.jpg

And now for mistake number two. I decided to use the fiber glass cloth as my base. And it worked as I intended. The mistake I made was that for whatever reason I didn't put a second layer down. I meant to add the chop mat on top of the cloth to make it more rigid and add strength, because the cloth is kind of flimsy even after resin. So I added the chop mat after the cloth dried, which helped, but it wasn't the same as it should have been.
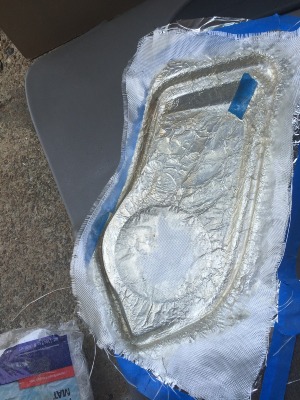
B1975C96-C302-4997-A48D-72048E602049_zpshqzy5p0p.jpg

Here it is with the chop mat on top of the cloth. A lot of excess, I know.
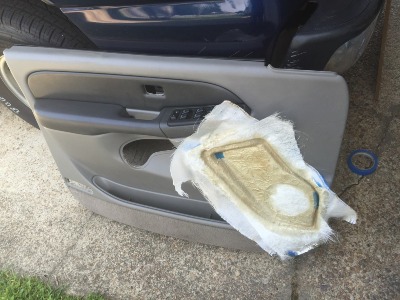
59DB572B-92C6-4816-9BE4-0A9104916A12_zpsfgzoba4e.jpg

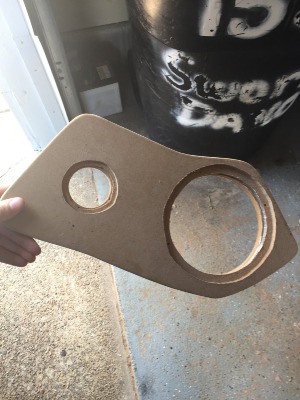
Here are my cutouts. 1/2 inch MDF Home Depot gave me for free back in January.
5839E91E-D972-44C3-B226-2B980459F155_zpsmoob3rn3.jpg

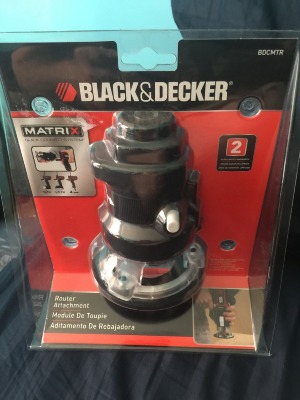
My issue with these is that I could not freehand with my router bit for the dremel very well. As you can see. So next time around, I'll have a circle jig to use in conjunction with my router attachment I bought for the matrix drill
BDA66D05-C7FB-4A2D-AE2A-E1439A5B4683_zpst4vw6nqg.jpg

Now granted, with my money I've spent on these attachments, I could have had some that are probably a little better. But I figure why not give it a shot. Not that great compared to some of the other power tools of the same kinds that I have used in the past, but they get the job done... After recharging the battery a few times every day.

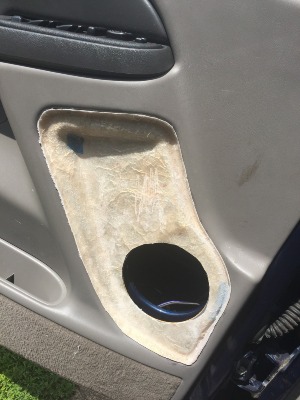
A perfect fit
820158B0-2090-43AC-9F7F-79DB481CAF40_zps4bmn68a8.jpg

On both sides, but I only show the one because it's a mirror image.

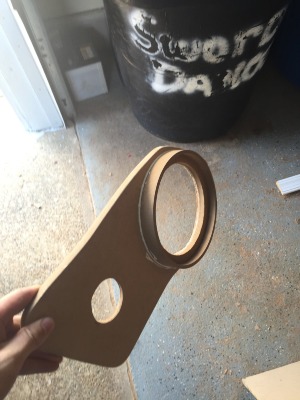
This, I kind of just decided to try out. Bought these cheap mdf rings a while back for $8 for the pair. So I thought I'd stick them on here for some bracing, and it did the job I wanted.
DB1E4C25-FB90-4759-85B5-A1FDB030CB74_zpsm51cul80.jpg

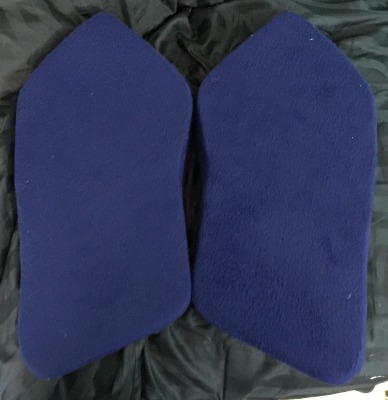
Glued the cutouts to the fiberglass, and wrapped them in some fleece
05565235-0134-4B7C-8662-7BE9FC82A04D_zpsd7t4hexc.jpg

Resined up
F21A959C-6A4B-4A6E-9199-59E212D2B670_zpsgpjiut7w.jpg

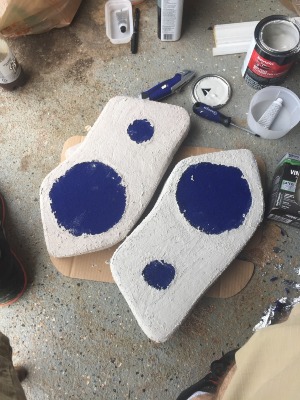
A very rough body filler job. One I didn't use enough hardener cream, the other that's tinted reddish was actually just enough, it looks rough, but that one turned out best.
5B3C8599-B0E2-468C-BAE8-E42BBDFF272C_zps2nmx1gbz.jpg

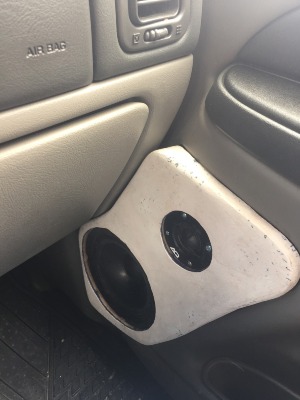
A little bit of sanding and test fitting. Here's my last mistake. When I body filled them, I went too far down with it, so I had to carefully cut away at the body filler to get the pods to fit in the stock location again. Tedious, it sucked, and lesson learned for next time. I think I'll put a protective layer over the panel and just body fill the pod while its attached to the panel.
9C88E4C0-615D-4319-A145-7A29BB46DF69_zpsyspfnj3r.jpg

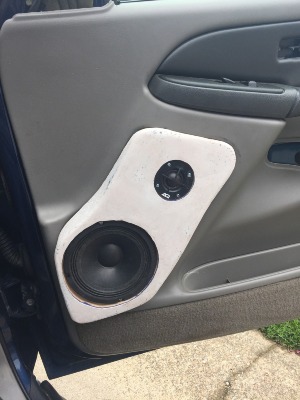
Because of the body filler and my poor job at cutting it to get it to fit again, there are gaps :/
514E7C90-E67E-40B2-87F5-68D2A796AB40_zpsgffz73uh.jpg

DC1EF5E3-B5D5-4C36-A1F8-E11DE31CA6AC_zpsly6akh83.jpg

That's all I have for now. Not sure what I'll do with these for color. I know it'd be a waste, but it's better than looking like body filler. Next time, I've got a better idea of how to do it. Trial and error, trying to get an idea as to what others have done, etc. But I won't give up until I get it right.

Until next time.
 
OP
OP
reedal

reedal

Full Access Member
Joined
Sep 20, 2015
Posts
265
Reaction score
88
Location
Virginia Beach, VA
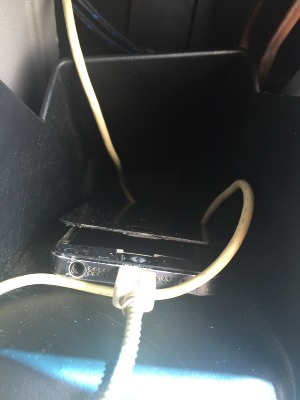
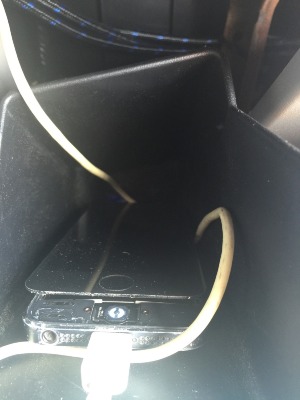
So the other night my cousin opened my glove box.... We found this..
0071FBFE-C865-4101-BEB8-149A70AF9944_zpslk984nqf.jpg

02F6C79B-C9DA-4937-BEB4-8B4276D3C5CE_zpsxmzocp3p.jpg
iPhone 5 I got in 2013 sometime. I got the 6+ in March of this year and the 5 is just my music source hooked up to the 80prs. I leave it in the glovebox and have only taken it out a few times to update some new music. I guess it lives a violent life of vibration in the glove box in order for the screen to come off like that.
 
OP
OP
reedal

reedal

Full Access Member
Joined
Sep 20, 2015
Posts
265
Reaction score
88
Location
Virginia Beach, VA
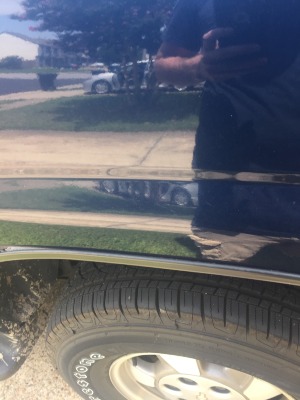
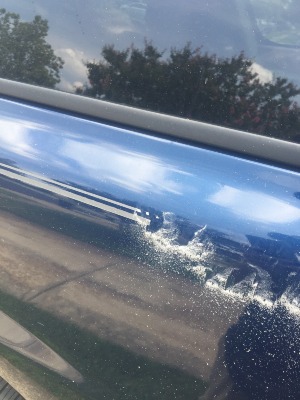
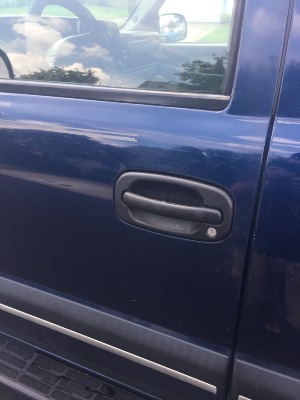
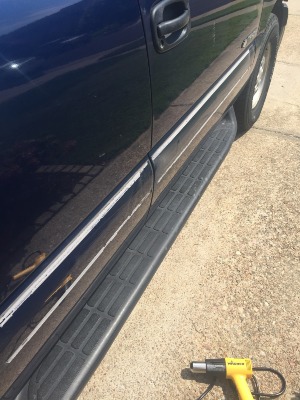
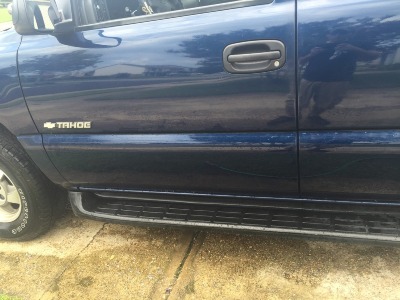
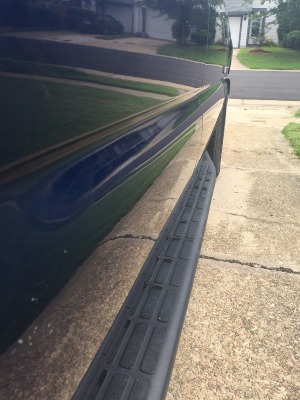
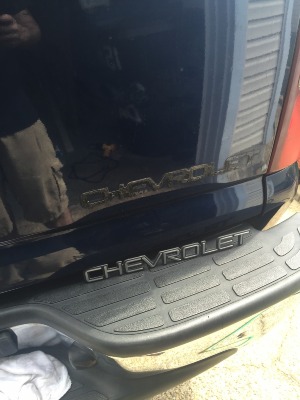
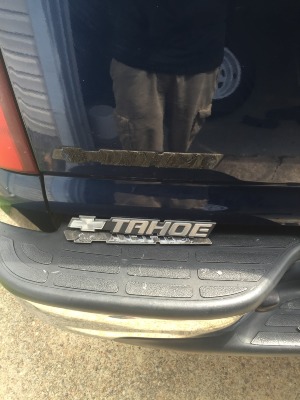
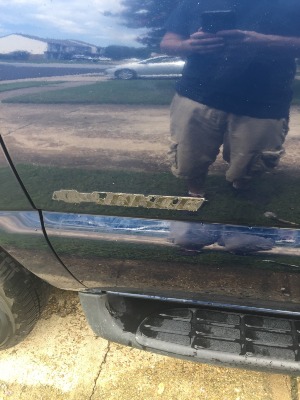
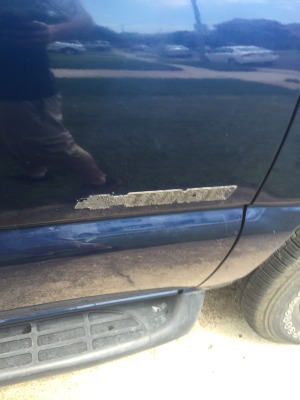
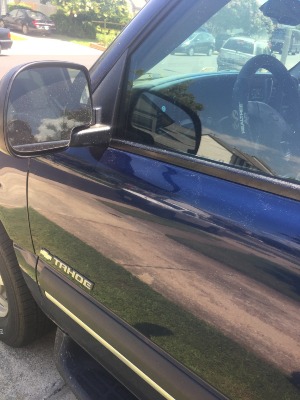
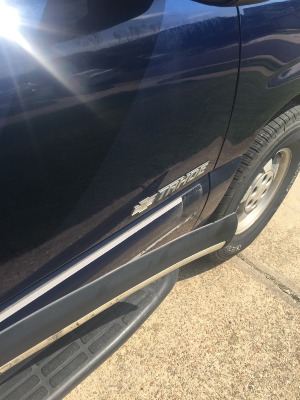
I thought I would share the process of me debadging/destriping the body of the Tahoe.

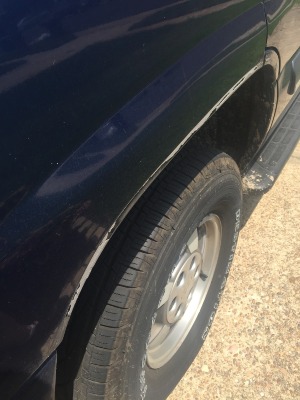
Wheel-well trim
0B039F06-F6AA-47B0-8DE4-5A09F4BE7E56_zpsrc21ahhy.jpg

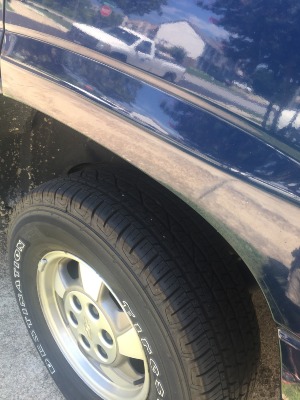
Wheel-well trim removed, I used a card to peel that adhesive off
A2A4CCE1-D2B0-42E7-AECA-30612DF2B450_zpsyfoklyyf.jpg

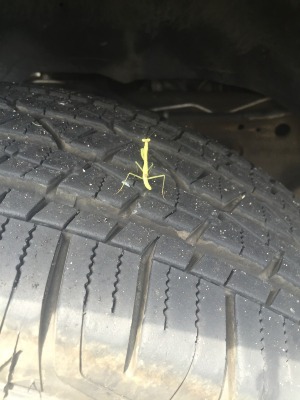
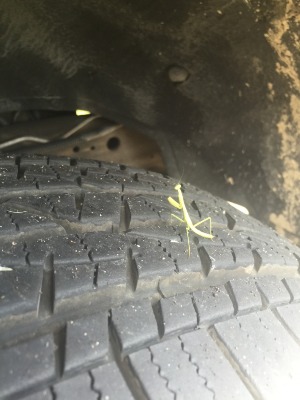
Found this little guy chillin while I was doing the front passenger side
C09C62C1-403D-4FFB-9D0A-9B11F6A92BFB_zpsfcyyraei.jpg
70497917-4B40-4855-9210-CF4C7454382B_zpse9i15lpg.jpg

Bye-bye
4B71D2BF-2303-4B72-BECB-245F368FD71E_zps9l0qpvlw.jpg

Then I started on the stripes just below the windows
DD01788C-6E42-4FDB-9802-36FFD091F7A4_zpsdkiebflx.jpg

Two drill batteries dead by the time I got this far on the first side
5D855590-0DD2-4373-BC3B-40B08AD72557_zpspfb3iqrb.jpg

All "erased"
08EAF04D-7C87-448B-81B6-AF36C5143FDD_zps4imkgyjc.jpg

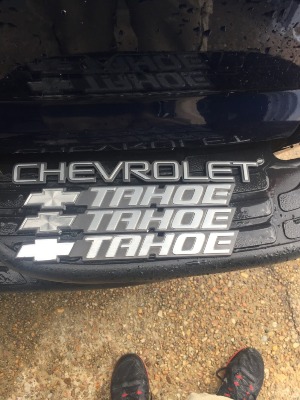
Took it to the car wash after to wash all of the eraser dust off and it needed a wash anyways. Tomorrow I plan on starting the black with chrome trim on the doors. After that will be the Chevrolet and Tahoe badges on the fenders and hatch. At some point I'll take off the roof racks
 
OP
OP
reedal

reedal

Full Access Member
Joined
Sep 20, 2015
Posts
265
Reaction score
88
Location
Virginia Beach, VA
So on my way home today, some ******* ******* on the interstate decided to flick their ******* cigarette into my passenger window and I didn't realize it. I got home and now there's a ******* hole/burn in my passenger seat.

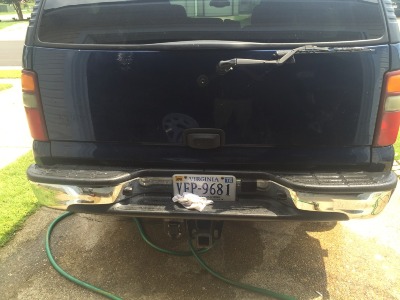
But anyways, onto better news. The Tahoe is officially debadged! Minus the emblem on the grill of course.

Side panels on the doors (is there a specific name for them?)
21576262-E1D0-4376-9DA0-B4F2110152F7_zpszwtozhut.jpg

Passenger side off
5BFAE37B-A222-4843-A6E7-1EBAF7168CD4_zpsnfue6zlb.jpg

All tape and adhesive removed
3B92CBF1-5F05-4C5F-81F2-DD313FBE4327_zpsdqiodwao.jpg

A0842562-F5A6-42BE-B86F-CE1023220258_zps1ib0w1ln.jpg

Pulled off the name tags.
1806A0CF-5BA7-4936-8134-124EFA86983D_zpsfnelhiij.jpg

E619F2D2-4011-4EFE-B332-00555D8E5D71_zpsiyrdlmht.jpg

54CD939C-5061-4551-8F2B-0AFBFDFE6DF6_zpsc4yyxibt.jpg

771975B5-DC4A-4190-92E4-11CA74A45EE7_zpsvzotunne.jpg

Three "hoes" and a Chevy later wink.gif
F279BE6B-D618-42FA-A485-9DE75F4E0FDC_zpsdovq3mbo.jpg

A726045C-8500-458B-892F-0AA53ACD1B17_zpsuplrgtov.jpg

Next appearance item should be the roof racks. Not really sure what to do with them when I take them off though. I guess take them to the local landfill. Anyone need some 03 Tahoe roof racks and two third row seats?
 
OP
OP
reedal

reedal

Full Access Member
Joined
Sep 20, 2015
Posts
265
Reaction score
88
Location
Virginia Beach, VA
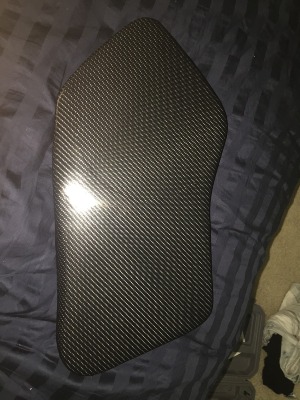
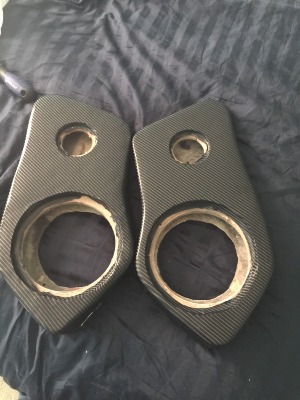
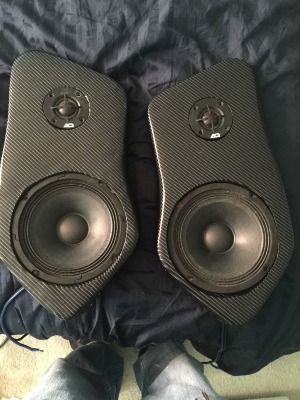
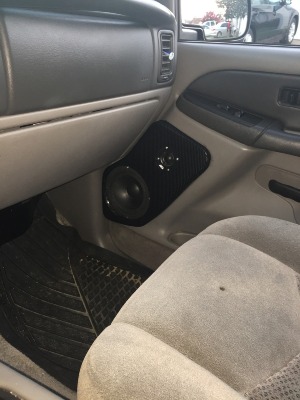
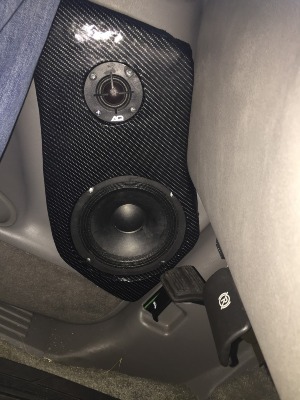
Decided to wrap the door pods after the wife left for school. I used the 4-D Carbon fiber adhesive backed vinyl I had previously bought for the previous set of door pods. I grabbed my heat gun, pulled off the backing of the vinyl, and went to work.

F0AB0112-2A08-49AC-8799-9A398039A708_zpsxsnf76te.jpg

55C759CA-EC3F-4EED-A321-1F52445C582B_zpsv6av9rg5.jpg

0EB65885-C55A-4E3A-903B-142E0DDADEE9_zpsrkve61gd.jpg

You can see that damn cigarette burn in my seat from yesterday >sad.gif so pissed!! The seats/carpet and rest of the interior were in damn near perfect condition other than needing a good vacuuming.
07522D5E-4C6E-4932-8FA9-AF7D570AAB36_zpslpkp5spp.jpg

860FA6AD-5FB8-4857-AB84-0B7C76296A71_zpsekciz2fs.jpg

I'm satisfied. Much easier to stretch over the edges and corners when that heat gun is aimed at it, but I need a third hand to make it easier.
 
OP
OP
reedal

reedal

Full Access Member
Joined
Sep 20, 2015
Posts
265
Reaction score
88
Location
Virginia Beach, VA
Thought I'd take a quick video on my way home tonight. One day I'll find a good spot to park and get a full video tour.


Forum statistics

Threads
132,962
Posts
1,877,389
Members
97,888
Latest member
emzahansky

Latest posts

Top