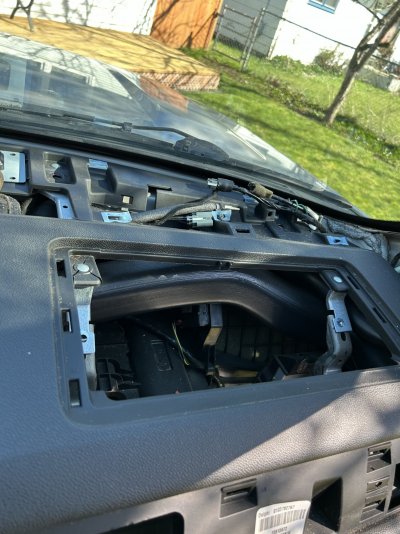
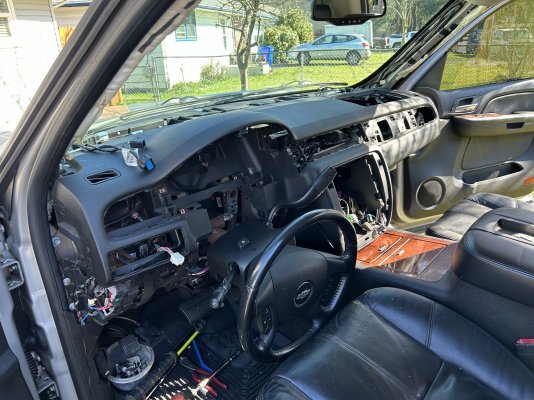
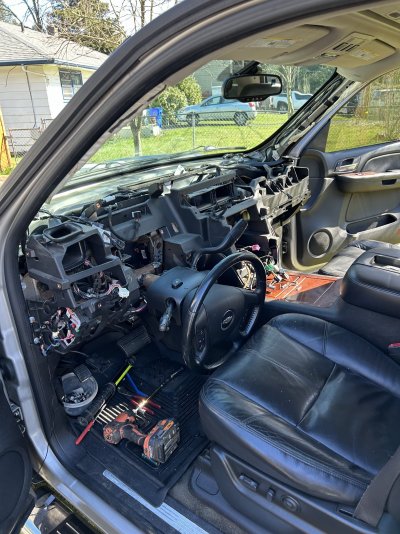
No my mistake, I was trying to look at those pics on my phone last night and I couldn't see they were removed. The PO of mine trimmed mine to get to those bolts. Those top bolts are fun to get to aren't they?No, do I need to? I did pull them to install the shocks. Actually they’re still off because I was messing with the wiring to get that DTC to go away.
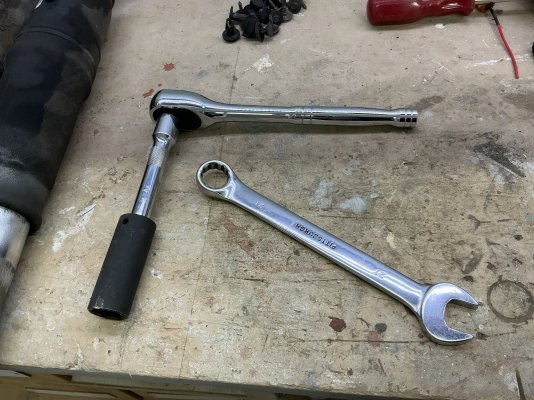
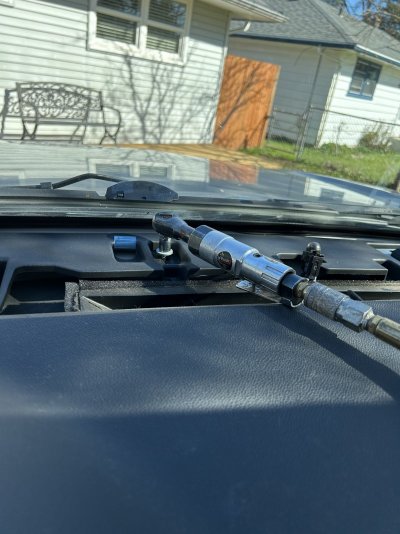
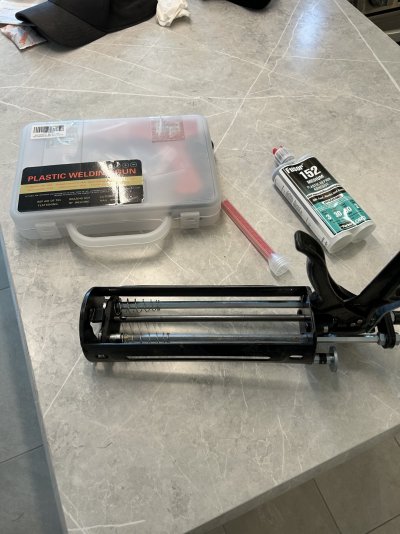
Here is my custom knuckle busting wrench I made to reach the inside bolt heads.
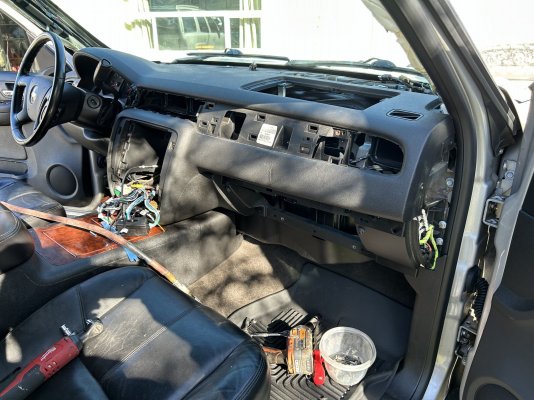
Passenger side rear upper shock bolt - HOW??!!
Yet another reason I am glad I own a GMT800.