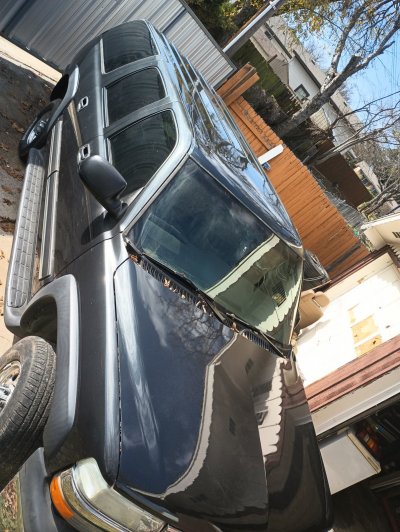
strutaeng's 04 2500 4x4 project Suburban

Disclaimer: Links on this page pointing to Amazon, eBay and other sites may include affiliate code. If you click them and make a purchase, we may earn a small commission.

OP
OP
strutaeng

strutaeng

Full Access Member
Joined
Aug 10, 2023
Posts
1,256
Reaction score
2,717
Location
Dallas, Texas
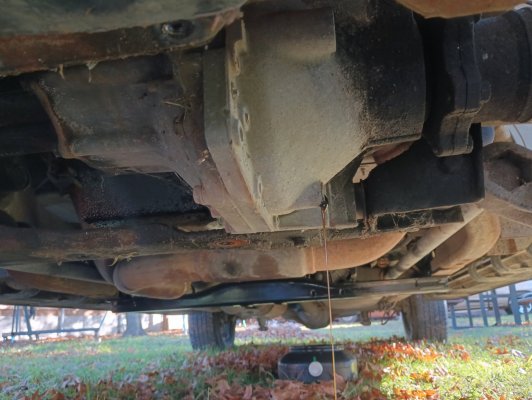
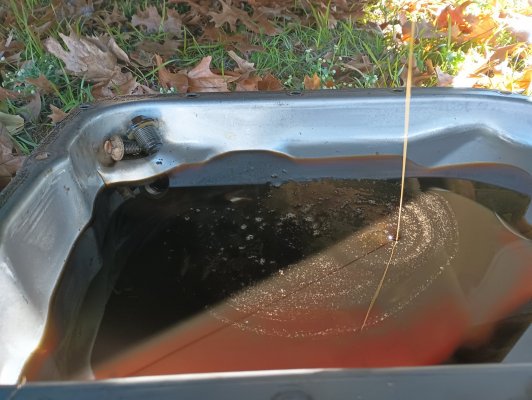
I got the Smurf blue stuff in the mail today. I filled the TC by sticking a 3' piece of clear vinyl tubing and put a funnel and filled it off to the side, above fill hole level. Of course, I overfilled it and spilled some on the ground. Doh!

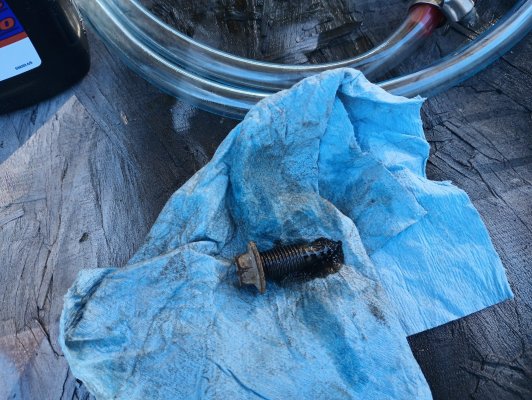
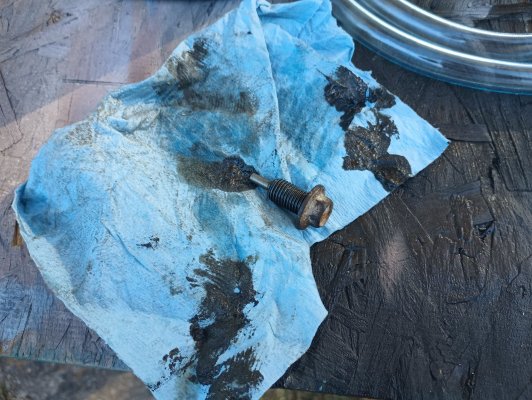
I also drained the front differential. The magnetic drain bolt had a TON of residue. IDK if this had ever been replaced TBH. Refilling that was also the same way with the tubing and funnel, but much easier because you can route the tubing through the front wheel and keep an eye of the fill hole. I had a drain pan under it, which I should have done when I was filling the TC...

I also put fresh ATF Dex VI. Shifted through the transmission gears and the TC gears. Everything seems good. :)
 

Attachments

  • IMG_20241130_150511466_HDR.jpg
    IMG_20241130_150511466_HDR.jpg
    257.7 KB · Views: 7
  • IMG_20241130_150517054.jpg
    IMG_20241130_150517054.jpg
    319.5 KB · Views: 7
  • IMG_20241130_151320299.jpg
    IMG_20241130_151320299.jpg
    548.8 KB · Views: 7
  • IMG_20241130_151356847.jpg
    IMG_20241130_151356847.jpg
    458.5 KB · Views: 7
OP
OP
strutaeng

strutaeng

Full Access Member
Joined
Aug 10, 2023
Posts
1,256
Reaction score
2,717
Location
Dallas, Texas
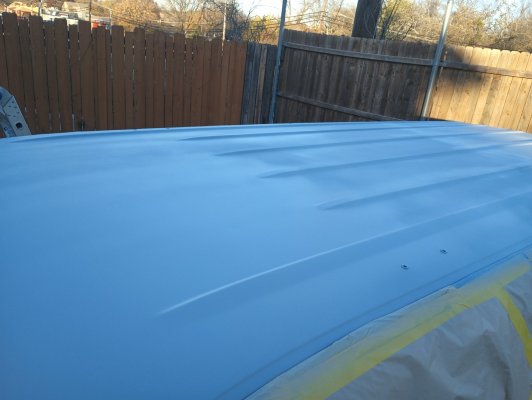
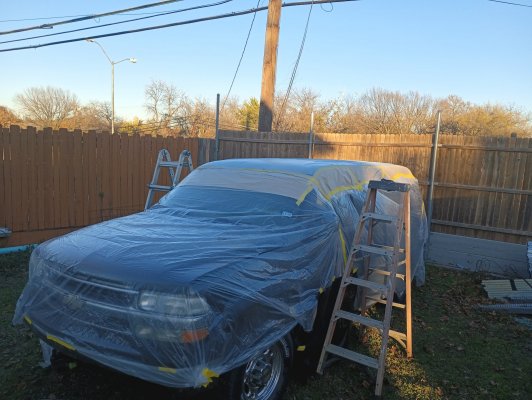
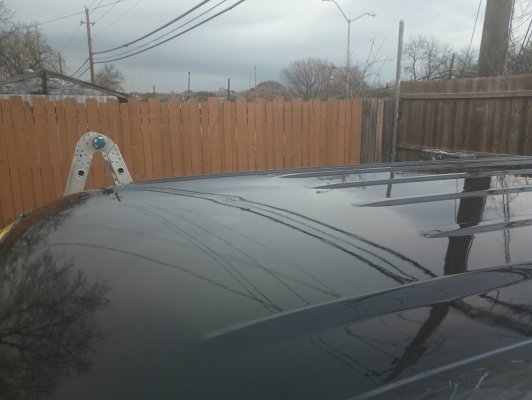
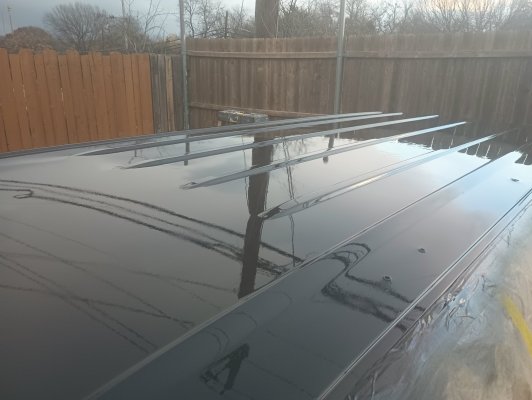
I was finally able to apply 2k sealer to the roof since the weather warmed up a bit. It's kinda of beating trying to reach the middle with a gun full of paint leaning over a ladder. We have some chances of rain tomorrow... we'll see...
 

Attachments

  • IMG_20241214_164055006.jpg
    IMG_20241214_164055006.jpg
    208.7 KB · Views: 5
  • IMG_20241214_164044032.jpg
    IMG_20241214_164044032.jpg
    382.7 KB · Views: 5
Last edited:
OP
OP
strutaeng

strutaeng

Full Access Member
Joined
Aug 10, 2023
Posts
1,256
Reaction score
2,717
Location
Dallas, Texas
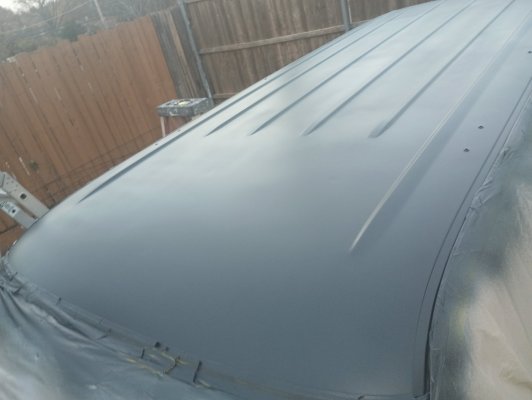
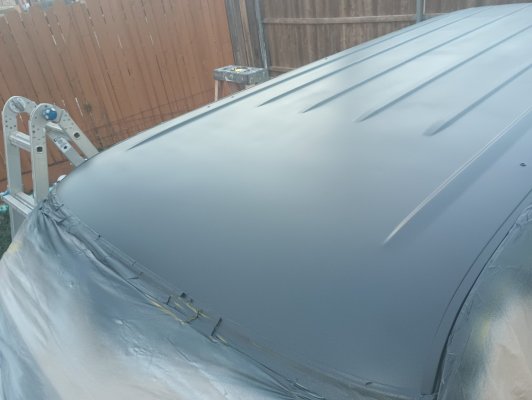
I was able to do the basecoat yesterday. It had rained overnight but later we got sun and it warmed up. But then the wind picked up, LoL. And my trees were dropping leaves. I was kinda pissed TBH.

Anyways the base turned out ok. I had some "tiger stripes" after the second coat, but I did a third "drop coat" with reduced pressure and farther gun distance and everything evened out nicely. I think I'm going to deflate the tires because reaching the middle on a ladder is hard when I do the clearcoat.

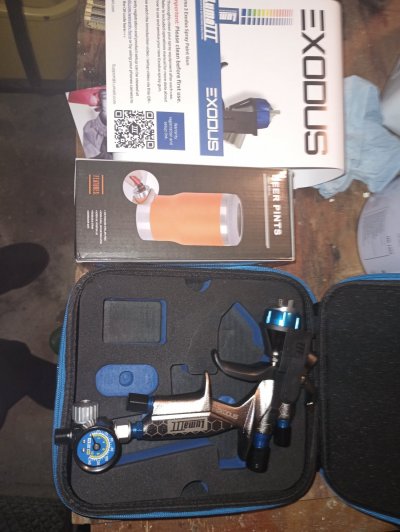
I also got myself a nicer gun, but I haven't used it yet. It's a Lumma III (rebranded Meiji Finer Core). Most pros. that do YT videos have good reviews on it and it was on sale. I figured I'm saving some money doing this job and at this point might as well invest in it.
 

Attachments

  • IMG_20241215_171220122.jpg
    IMG_20241215_171220122.jpg
    153.4 KB · Views: 3
  • IMG_20241215_171218121.jpg
    IMG_20241215_171218121.jpg
    183 KB · Views: 3
  • IMG_20241213_132406173.jpg
    IMG_20241213_132406173.jpg
    286.8 KB · Views: 3
Last edited:
OP
OP
strutaeng

strutaeng

Full Access Member
Joined
Aug 10, 2023
Posts
1,256
Reaction score
2,717
Location
Dallas, Texas
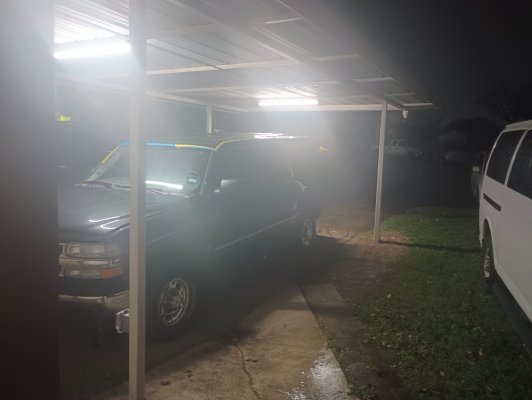
I applied the clearcoat. Deflating the tires made a HUGE difference. Then the dark clouds started to roll in. I had to unmask the plastic in a hurry, reinflate the tires and moved it to our front carport... literally just minutes before the rain started falling.

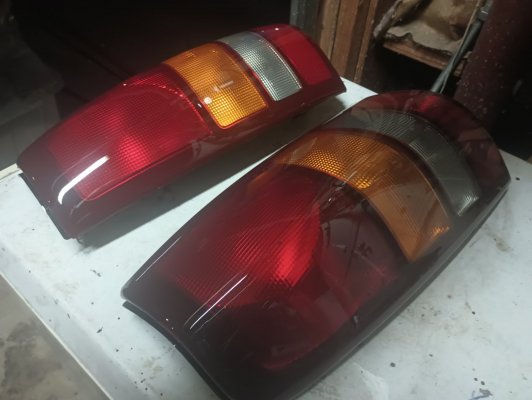
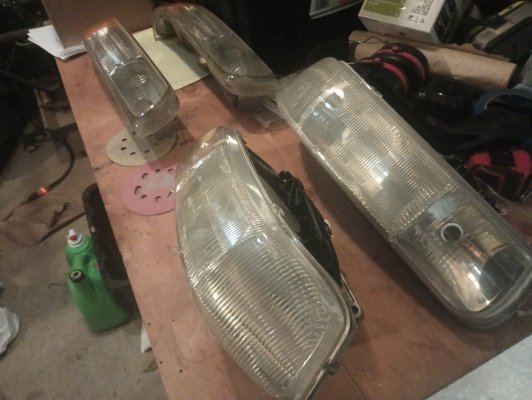
I also cleared my Silverado taillights and headlights since I had a bit of clear left over.
 

Attachments

  • IMG_20241216_180158034.jpg
    IMG_20241216_180158034.jpg
    188.2 KB · Views: 3
  • IMG_20241216_174005236.jpg
    IMG_20241216_174005236.jpg
    170 KB · Views: 3
  • IMG_20241216_174123436.jpg
    IMG_20241216_174123436.jpg
    256.4 KB · Views: 3
  • IMG_20241216_171140424.jpg
    IMG_20241216_171140424.jpg
    212.2 KB · Views: 3
  • IMG_20241216_171137158.jpg
    IMG_20241216_171137158.jpg
    213.5 KB · Views: 3
OP
OP
strutaeng

strutaeng

Full Access Member
Joined
Aug 10, 2023
Posts
1,256
Reaction score
2,717
Location
Dallas, Texas
This looks great!!!!
Thank you! I was really second guessing myself there after the sanding and sanding... But it was worth it!

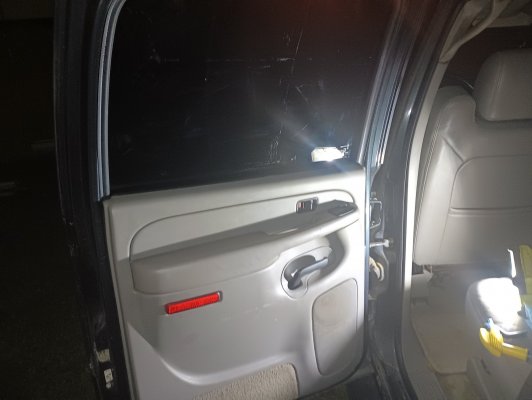
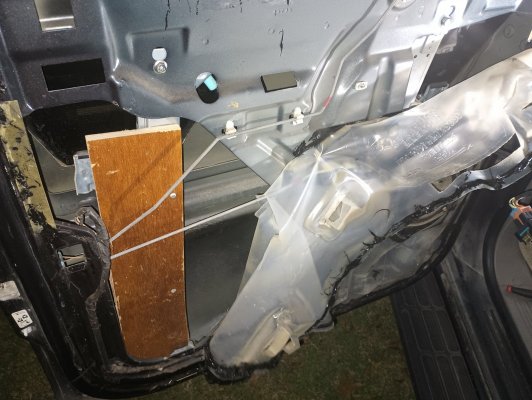
In other less exciting news, my driver's side rear door window started dropping several weeks ago. I bought the window regulator assembly and when I popped the door panel, there was this piece of plywood screwed in there! LMAO

I'm guessing the previous owner did this as some sort of "temporary" fix. SMH. Anyways, I replaced the regulator assembly and window works again :)
 

Attachments

  • IMG_20241217_204000716.jpg
    IMG_20241217_204000716.jpg
    252.5 KB · Views: 5
  • IMG_20241217_194811744.jpg
    IMG_20241217_194811744.jpg
    346.4 KB · Views: 5
Last edited:

Bigburb3500

Full Access Member
Joined
Jun 7, 2024
Posts
285
Reaction score
562
Thank you! I was really second guessing myself there after the sanding and sanding... But it was worth it!

I'm other less exciting news, my driver's side rear door window started dropping several weeks ago. I bought the window regulator assembly and when I popped the door panel, there was this piece of plywood screwed in there! LMAO

I'm guessing the previous owner did this as some sort of "temporary" fix. SMH. Anyways, I replaced the regulator assembly and window works again :)
I had an 01 2500 Burb a while back and had bought it dirt cheap. Had tons of issues but the more rugged fix I did was for the defrosters. It was an LT with all the options (except Quadrasteer) but at some point a PO ripped out the servo that moved the blend door. To remedy this, I tied a piece of wire and fed it thru the dash… pull for defroster’s and push for vents
 

Forum statistics

Threads
132,659
Posts
1,872,236
Members
97,463
Latest member
Jsturge
Top