02 Base for my son

Disclaimer: Links on this page pointing to Amazon, eBay and other sites may include affiliate code. If you click them and make a purchase, we may earn a small commission.

OP
OP
Snowbound

Snowbound

Jim
Joined
Nov 23, 2016
Posts
1,055
Reaction score
2,477
Location
Chicagoland (Lockport)
On my truck I’m still waiting for my custom intake piping and Y-bridge before I tear into that. But I put in LED headlights and fog lights and also put in switchback parking/turns on the front. They are white for parking lights and go amber on turns. They are bright and don’t cause hyper flash because of the built in resistors.
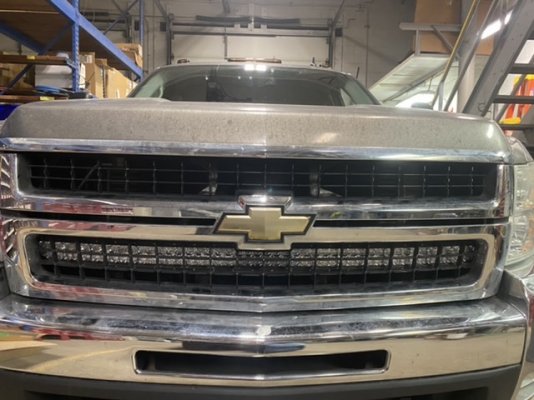
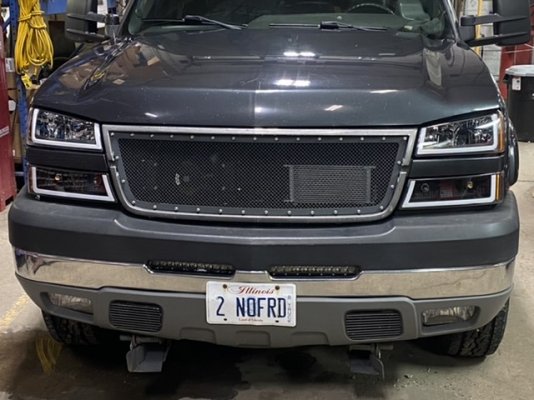
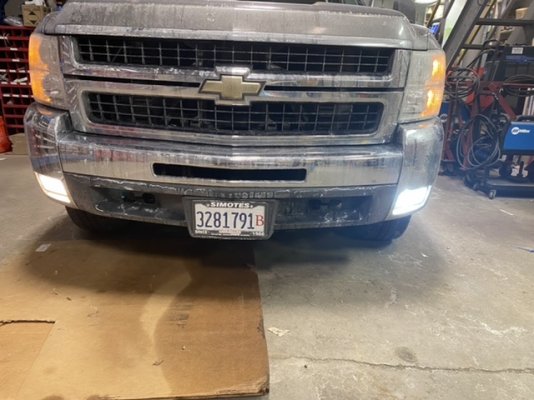
After I did that, oncoming traffic think I have my brights on so I get flashed often. The lights have a good cut off line and they are aimed correctly but because they are bright people assume. So I usually just give them a flash back to let them know I don’t have brights on. On my other truck I installed 2 light bars in the bumper cut outs so when someone would flash at me they would get every light on the front of truck when I flashed back.
FE7CB340-5F9A-47CB-AE66-43B1384C1BE7.jpeg

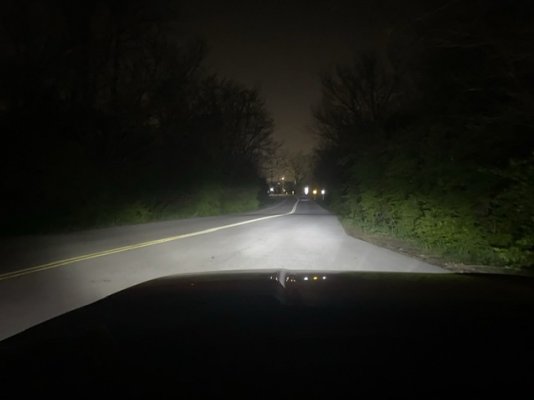
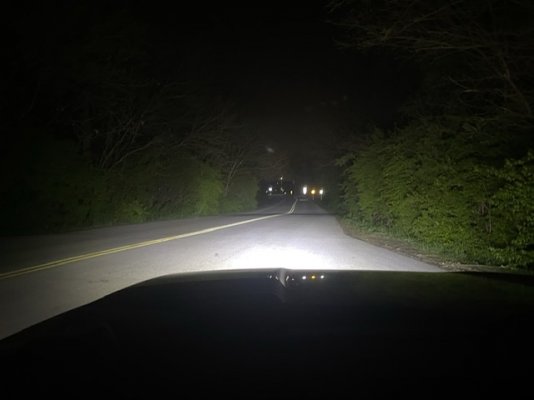
So I decided to do the same thing on this one. I was going to order a 32” light bar to fit the single bumper cut out. This pic shows the difference between the LED fog and the halogen.
9F295313-EFEB-4EB3-8927-8B430C98A4E7.jpeg

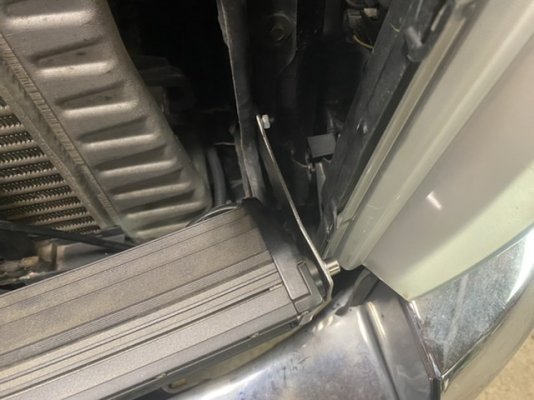
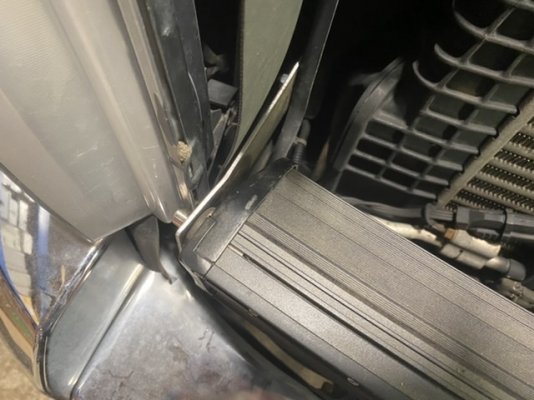
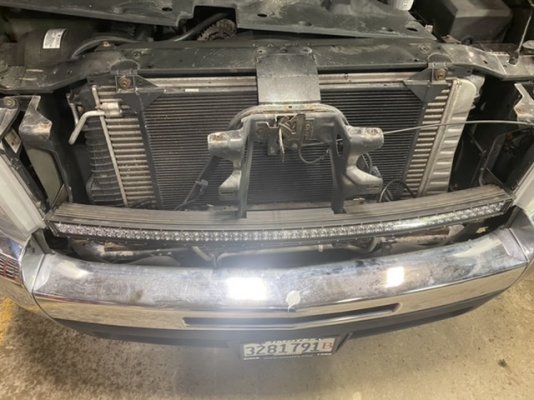
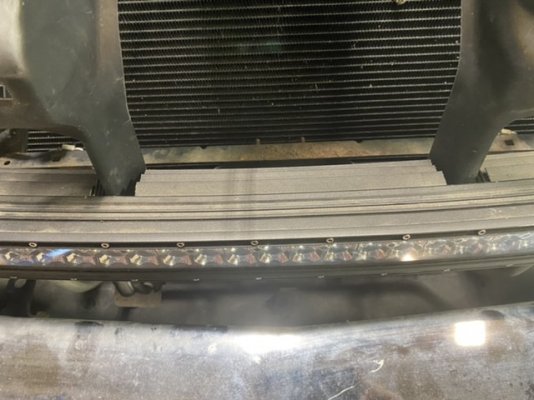
But then I remembered I have this 52” curved light bar I got off EBay for $50. I was gonna put it on my Denali and one time but I just can’t drill holes in door jam for the brackets and I won’t do it to this one either. So I decided to try something else.
8A7251FA-0C2A-4D5C-B989-0A561F811D57.jpeg

I had to trim away some of the cooling find from the back to make it work but it was only $50 and I’ve had this thing kicking around for maybe 4 years.
052EA834-126E-4AE6-83C8-B178673CD86A.jpeg
 
OP
OP
Snowbound

Snowbound

Jim
Joined
Nov 23, 2016
Posts
1,055
Reaction score
2,477
Location
Chicagoland (Lockport)
I know some of you guys like to see my nightmares that I have at work. I walked into one a few weeks ago.
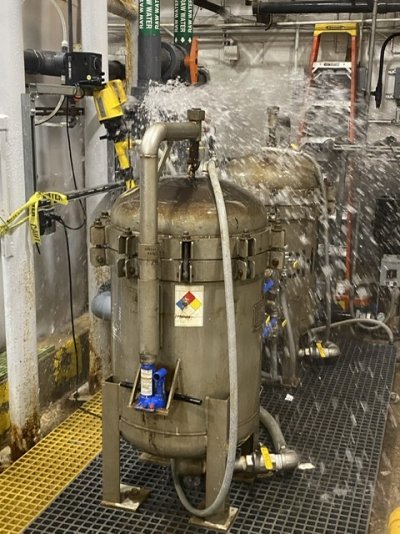
4” PVC valve blew apart on raw water line going to filters. Now mind you this was after I shut the water off and it was just draining.
854AF8BA-7931-4F5F-B501-0B839915A693.jpeg
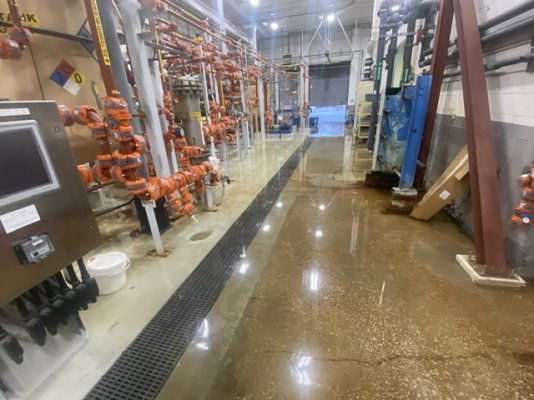
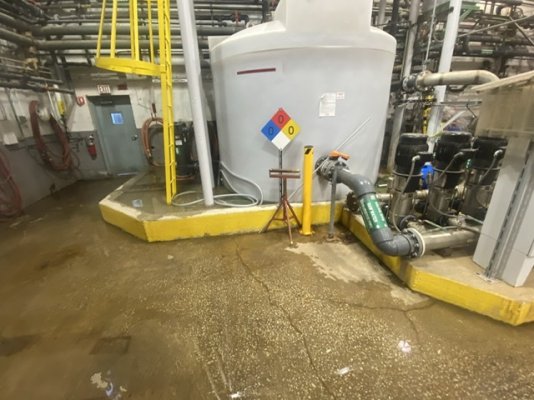
The pumps run at 80psi @ 1850 GPM so needless to say, it flooded us out.
CEC4D449-08BF-4CE2-9D07-5F80A9EF5066.jpeg
D1A5D64D-E118-4093-9208-6B19FA80FE78.jpeg

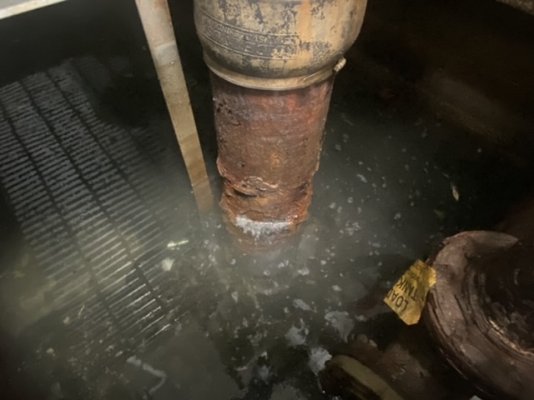
As I’m repairing the broken valve, which I had to cut sections of the pipe out and glue in new because the valve end wouldn’t come out of the end cap, the room there starts flooding again. I’m checking around looking for the source of this water. I can clearly see it’s coming up from the drains but I can’t find the source. It’s gotta be an underground pipe that is close to a drain, then it dawns on me, the return line that runs back to the quarry is in one of the main floor drains.
F8F9AAE6-46C7-4970-8C58-C3DB06C53F0A.jpeg

This pit doesn’t usually have this much water in it but of course it was full after that valve broke. But I’m watching the water churning like there’s a open water line in there somewhere.
So I shut down the quarry pumps and let the pit drain down and the above picture is the return line that goes underground back to quarry. I took the pic after it drained down, the water was up to the grating when I first went in there.
 
Last edited:
OP
OP
Snowbound

Snowbound

Jim
Joined
Nov 23, 2016
Posts
1,055
Reaction score
2,477
Location
Chicagoland (Lockport)
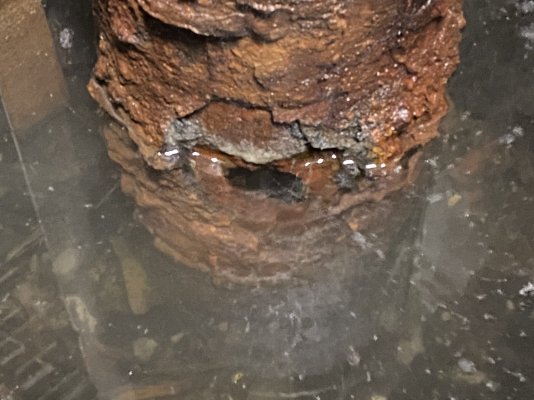
After it drained some, that’s when I saw where the source of water was coming from.
F6587B3B-0B9B-4A2E-A74A-0DE06A91EF71.jpeg

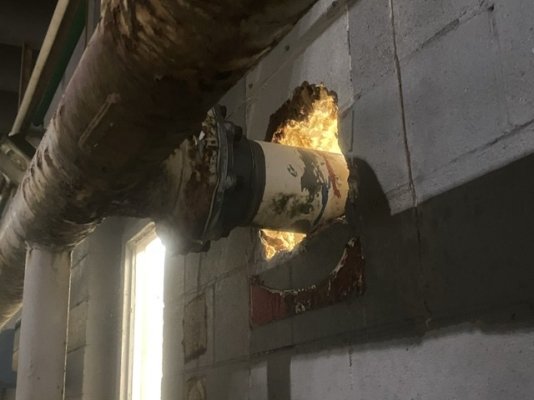
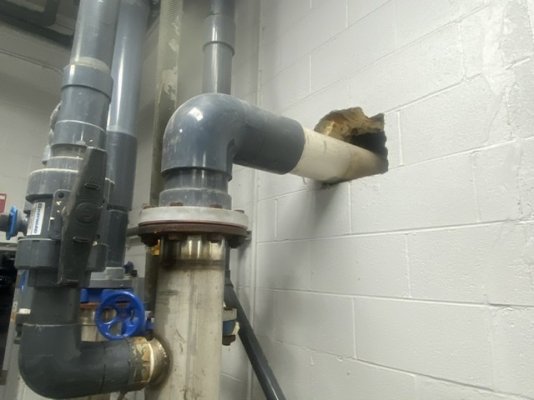
There is this 8” return line and also a 6” return line so I figured I would just direct the return water thru the 6”, turn the pumps down to 60PSI so I could get the plant fired back up again. Without water, we have no cooling to heat exchangers, no feed to RO so I’m not making clean water for making bleach or keeping boilers supplied. (Most boilers are a closed loop system meaning when the steam condenses it returns to make up tank and then gets put back into boiler. Not at our facility. Our steam traps dump on the ground so all 3 of our boilers need a constant supply of water. It’s dumb but the cost to return the condensate is astronomical because we would have to pump it back to boilers, heat trace and insulate the lines.)
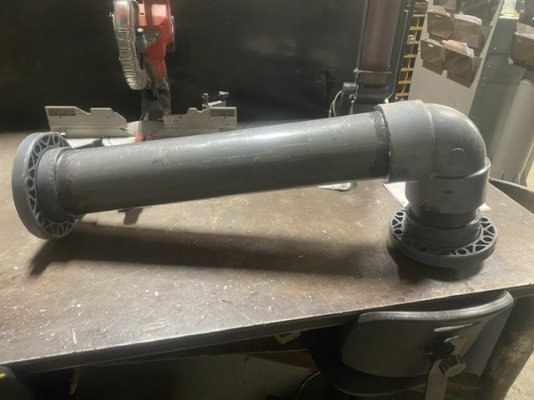
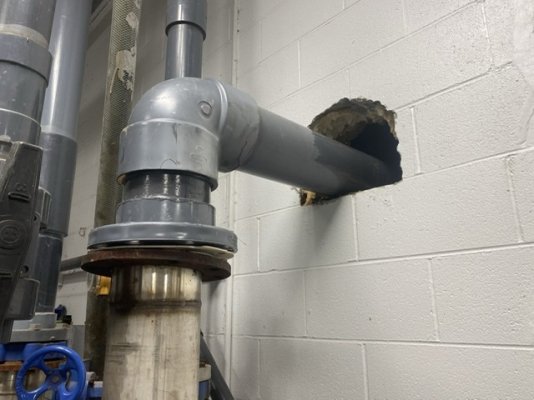
So I closed off the 8”, and fired the pumps back up and set them to 60PSI. That put a lot of pressure on the 6” line and the flange started leaking. So now I had to make up a new section of pipe because that flange was cracked. And I had to break out a big enough section of brick to get the flange thru the wall.
0B21FD52-97E7-4691-B385-57E72C3BC55B.jpeg
93EC5584-27BC-486D-B991-B7F0A39204A5.jpeg

I left it leaking just so we could start up production again. Praying it didn’t let loose while I was making up new section of pipe.
D13500DE-BD87-44AF-8A31-4C58CB867811.jpeg
 
OP
OP
Snowbound

Snowbound

Jim
Joined
Nov 23, 2016
Posts
1,055
Reaction score
2,477
Location
Chicagoland (Lockport)
After a few hours I had operators shut down again so I could get new pipe installed. The glue is suppose to have 24 hrs of dry time before putting into service but I don’t have that kind of time. There is no night shift supervisor so I have to make all the calls myself and deal with the consequences of my decisions when the day shift comes in. I do whatever I can to keep production going but there’s times where I have to make the judgment call to shut down. This is our busy season now, we shipped out just over a million gallons of bleach last month so that machine has to be running non stop at 170GPM just to keep up with what is going out. But I have to get this done so we don’t have a catastrophic failure causing us to be down for hours.
0566B4D8-7C50-4F66-8883-C1066BBE3CA5.jpeg

So I get the new pipe on after cleaning up the flange faces and installing new hardware and gaskets. Fire back up and no more leaks so I get production back going again.
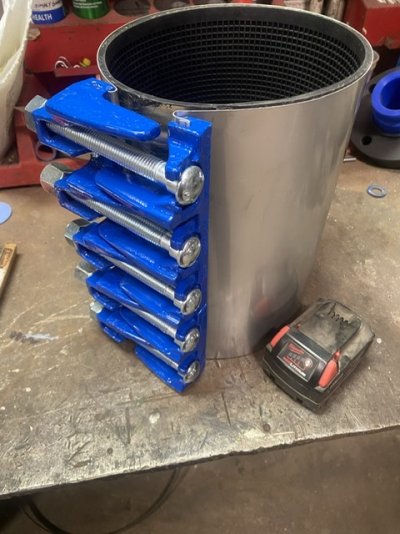
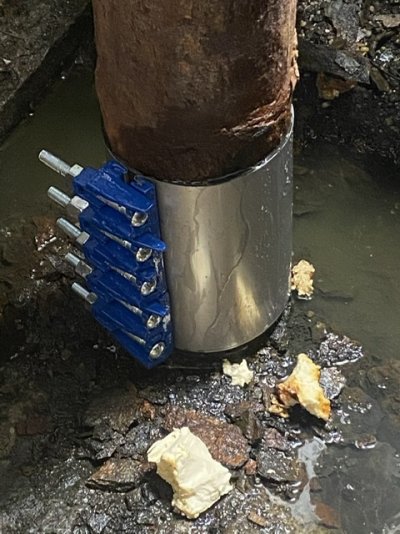
I dropped a sump pump in drain pit and pump out the water to expose the bad return line. There’s no way I’m welding to this rusty pipe. I cleaned it up with a wire wheel on a 4” grinder. I was afraid to hit it with a grinding disk thinking it would just go thru the pipe. My first thought was to slap a piece of rubber over the hole and secure it with some large hose clamps just so I could build a wood box around the pipe and mix up some concrete to fully encapsulate the bad pipe. But I didn’t have any concrete on hand. So I started digging thru our parts room and I got lucky and found an 8” morris clamp.
28B66A5F-9484-44E1-92B4-25E00D5F85F9.jpeg

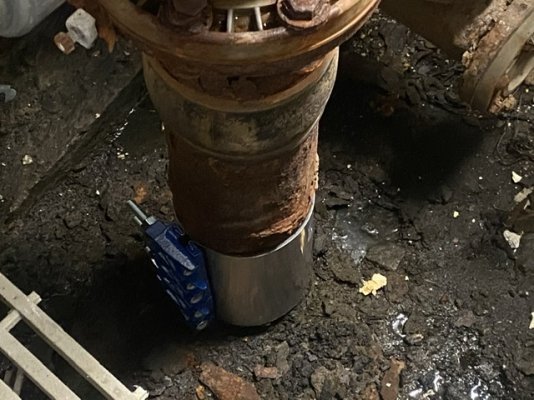
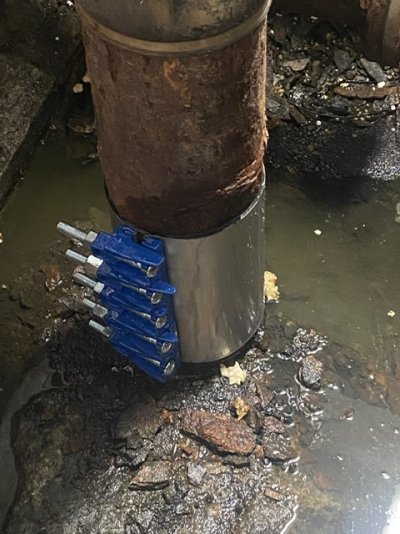
I was able to get that installed and tightened down. I didn’t want to go crazy on the bolts but I snugged it up.
E2029111-A7C5-4A66-8588-3E59081309C8.jpeg

Then I opened the valve for the 8” return line and this was what I had.
922A19F8-F3B5-4482-B260-C15F4EE32DE3.jpeg
 
OP
OP
Snowbound

Snowbound

Jim
Joined
Nov 23, 2016
Posts
1,055
Reaction score
2,477
Location
Chicagoland (Lockport)
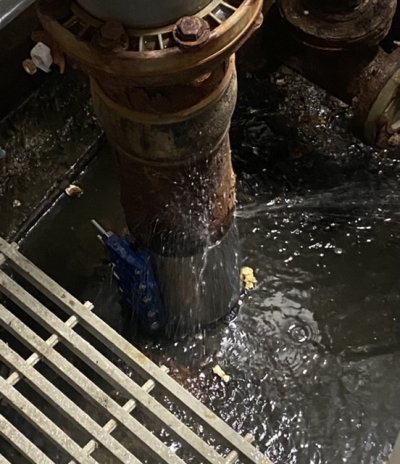
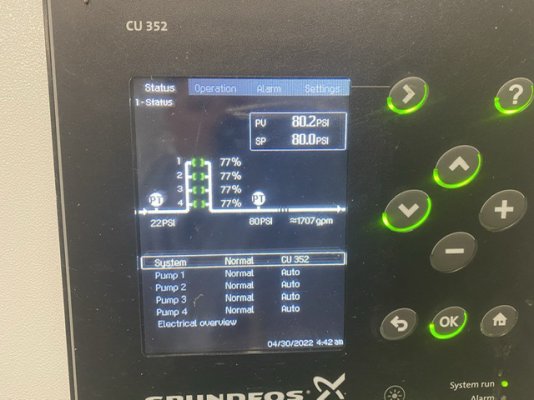
So I shut that line back off and cranked down on the bolts some more. Opened the valve back up and no leaks surprisingly. But I was only at 60PSI. So I went out to the quarry pump house and turned the pumps up to 80PSI.
920F98AB-64EC-4B2A-B8ED-2BE98F53B7B1.jpeg
Walked back to water room and saw this.
607047AA-B36D-4747-98B3-6DCD47F22F90.jpeg

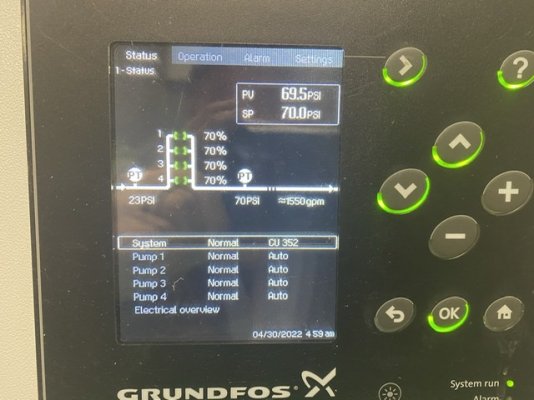
I was about as tight as I wanted to go on them bolts so I tried 70PSI.
534459FF-5E2D-4A96-AD5E-144A82E62C67.jpeg

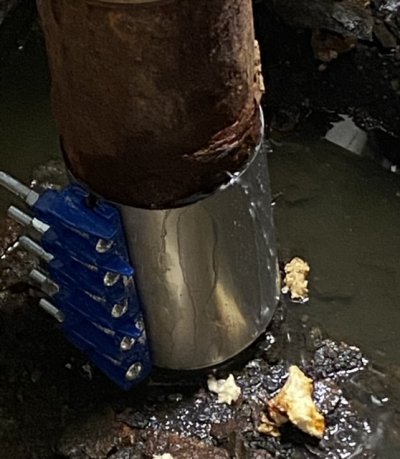
It’s holding.
283AFF02-464A-4B42-BF79-FEBB3DDE6163.jpeg

Just a slight dribble so I put another 1/8 turn on bolts and it stopped.
 
OP
OP
Snowbound

Snowbound

Jim
Joined
Nov 23, 2016
Posts
1,055
Reaction score
2,477
Location
Chicagoland (Lockport)
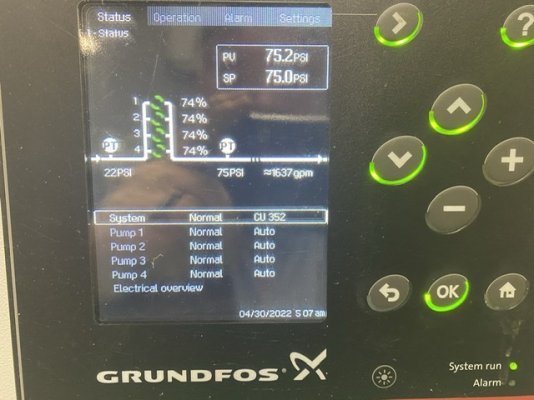
Let’s see what happens at 75.
18165B83-9DDE-4ABC-A3BE-5F1C810CE68C.jpeg

I’m leaving it there. Everything is running as it should. The heat exchangers are pulling at least 30° off the product on bleach and making dilution so I’m good with that. Bleach machine is running at 180 GPM trying to play a little catch up and so far the Morris clamp is doing it’s job.
542E703A-55DD-48EC-8C85-6302F42CF982.jpeg

It was a night from HE LL. I was beat. Got a “atta-boy” from the plant superintendent and I told him what I wanted to do with encapsulating it in concrete and he thought that was a great idea. Later he called me while I was in bed and told me the retards in charge want to do a permanent fix and one of the other maintenance guys suggested running a 10” stainless line overhead back to quarry. My concern was if that bridgework would carry the load of two 10” pipes full of water and he wasn’t sure but said that’s a good question. So I gave him the suggestion of calling out one of those companies that installs the liners in old piping. Gave him the company name and number so we are waiting for a quote on that. We got a quote for $160k, yes, one hundred and sixty thousand dollars to install a 10” thin wall stainless line overhead back to the quarry. I told them I would do it for $100k if they bought the pipe. Lol.
So hopefully that company comes out and lines that pipe for us. I don’t know how long that clamp is gonna last and I still might pour concrete around it.
Just thought I’d share some of the stuff I get myself into here at work.
 
OP
OP
Snowbound

Snowbound

Jim
Joined
Nov 23, 2016
Posts
1,055
Reaction score
2,477
Location
Chicagoland (Lockport)
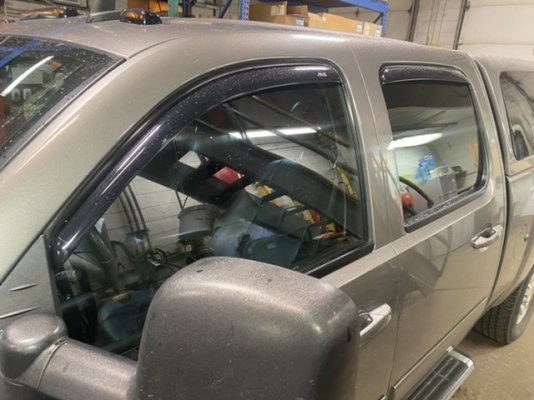
Couple other things I did to the truck that I just remembered, I had a broken vent visor so I removed them all and went to the in-channel ones. That double sided tape is a PITA to remove. Had to use plastic razor blade and then a lot of adhesive remover to get it all off. Then I used cutting compound and polish to blend it in so the lines weren’t visible anymore.
46407FD3-F886-4F3A-8944-8B58AEBCF41C.jpeg

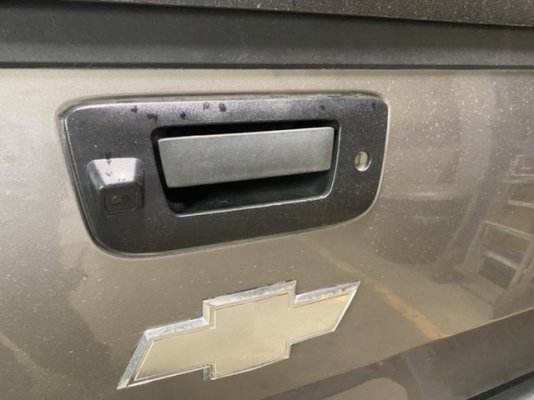
Then I installed my Pioneer 7” touchscreen head unit and put on a factory tailgate handle bezel reverse camera.
2F945808-CFE0-4C45-B81E-5C123CCAC8F9.jpeg

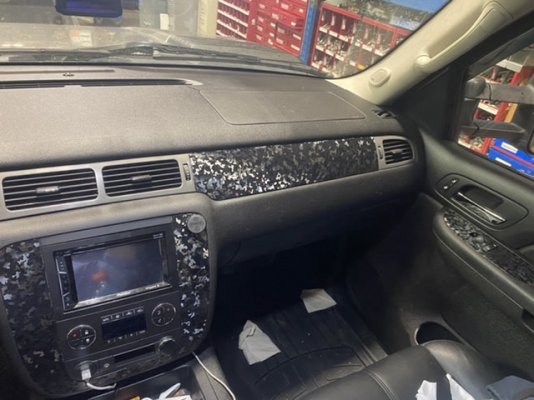
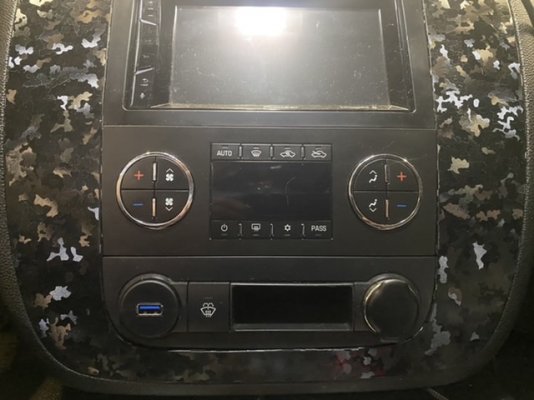
I wanted to do something different and get rid of the wood grain interior trim. I didn’t want to do carbon fiber and I thought about some brushed aluminum vinyl wrap I had but instead I orders some black camo print vinyl. I’m not sure if I like it but until I find something else, it’s fine.
F85BDEA5-FE85-43E3-A579-A190D2D9FD4C.jpeg

And I changed one 12v outlet to a USB plug for my phone so I don’t have just a wire sticking out from under the dash.
B8194F3C-1B7B-4FBA-BF81-BC5D3D387F5A.jpeg
 
OP
OP
Snowbound

Snowbound

Jim
Joined
Nov 23, 2016
Posts
1,055
Reaction score
2,477
Location
Chicagoland (Lockport)
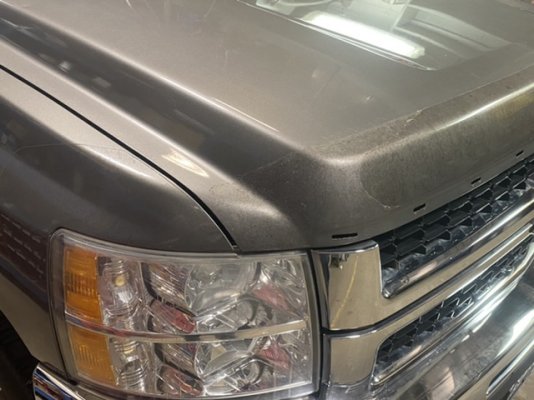
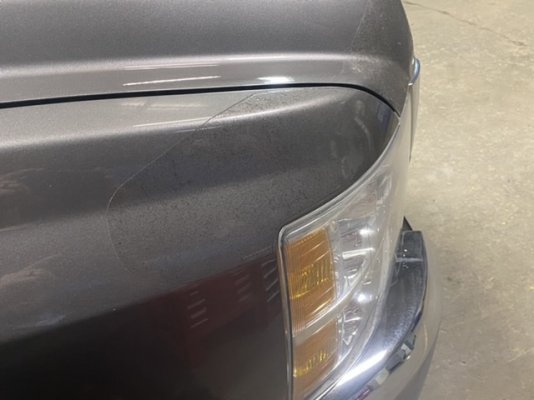
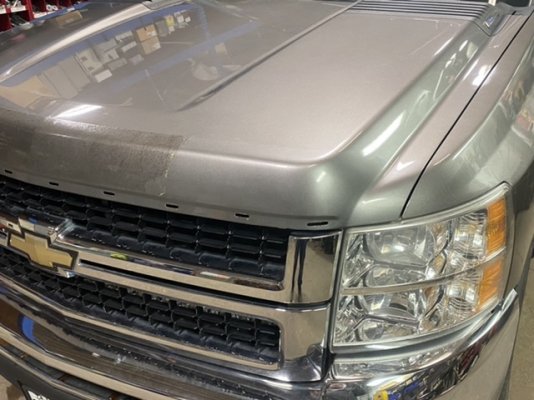
Whoever thought putting this clear vinyl on the hood and fenders to protect from rock chips should be shot!
FD7A2EEE-904B-4486-99FD-9A3E63C71005.jpeg

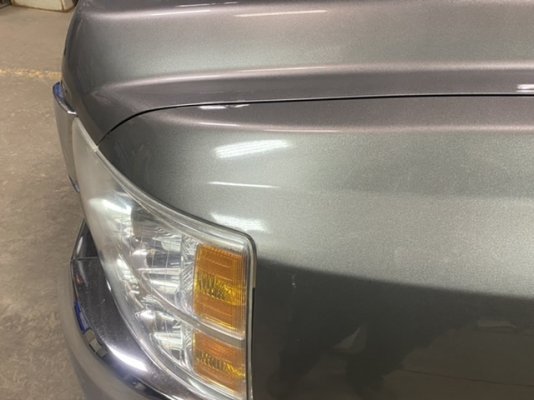
This stuff is a complete nightmare to remove and leaves a ton of glue behind. I tried soaking it with Goo-Gone and it barely does anything to it. I had to use my eraser wheel on a drill to get it off. It’s very time consuming to say the least. I tried heat gun, acetone and gasoline but the eraser wheel is the only way to do it. I get about 4-6” off every couple days when I have 2 hrs to go at it. This straight up blows. Don’t ever do this.
4019977A-F600-435A-B87E-FC1ABED4252F.jpeg
8FD6C867-2A81-487E-BE19-35510B34E9B8.jpeg
6B3EA00E-7415-4B5B-9A56-C24CC6FDDBF1.jpeg

After all the glue is off I had to polish the surface just like I did the vent visors. I was thinking about buying a new hood and painting it.
 

Forum statistics

Threads
132,774
Posts
1,874,071
Members
97,609
Latest member
bdewitt205
Top