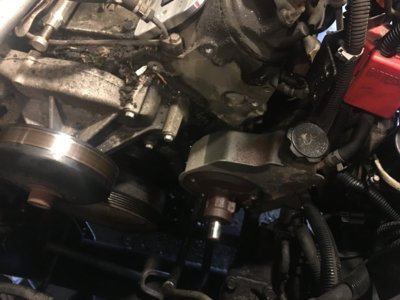
And the fun begins....
You are using an out of date browser. It may not display this or other websites correctly.
You should upgrade or use an alternative browser.
You should upgrade or use an alternative browser.
About20's FI build (slow build)
- Thread starter about20ninj45
- Start date
Disclaimer: Links on this page pointing to Amazon, eBay and other sites may include affiliate code. If you click them and make a purchase, we may earn a small commission.
about20ninj45
Full Access Member
- Joined
- May 13, 2014
- Posts
- 1,120
- Reaction score
- 330
about20ninj45
Full Access Member
- Joined
- May 13, 2014
- Posts
- 1,120
- Reaction score
- 330
Mini update. Didn't want to use the stock Tb so I switched to the ls7 92 mm tb. Since it's designed for 07+ vehicles, I had to get an xlink to plug into the stock wiring and attach to the Tb so I could control it.
This method isn't plug and play, you actually have to modify the dbw electronic Tb tables in the pcm.
I also ordered the wrong TB spacer but didn't realize it until after the Amazon 30 day window. That's the bad side to letting parts sit in the box untill your ready to use them
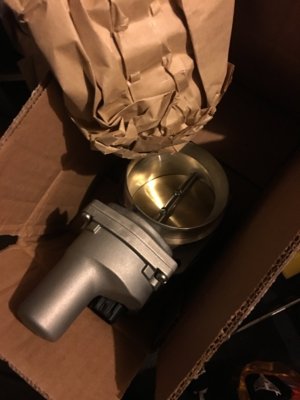
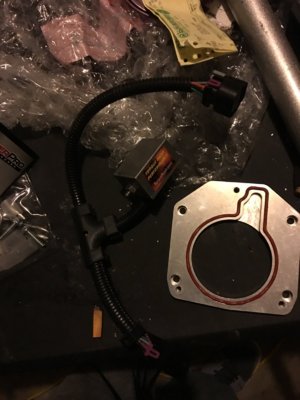
The xlink is also in the pic on the table.
This method isn't plug and play, you actually have to modify the dbw electronic Tb tables in the pcm.
I also ordered the wrong TB spacer but didn't realize it until after the Amazon 30 day window. That's the bad side to letting parts sit in the box untill your ready to use them


The xlink is also in the pic on the table.
about20ninj45
Full Access Member
- Joined
- May 13, 2014
- Posts
- 1,120
- Reaction score
- 330
Installing the accessories bracket was pretty straightforward... So I thought. I had issues with the power steering pump and I actually got the tool kit for the ps remover stuck.
My plan was to just pull it off and install the electric ps pump from a Volvo. Once I removed the pump I. Prices there was tons of hydraulic lines that tied into the hydro post and I couldn't get access to them without removing other things, so I said to hell with it and just put the stock one back on. I also somehow managed to bend the pulley for the ps pump and it was out of alignment.
I was successful in straightening it out, put only time will tell or if I start throwing belts.
about20ninj45
Full Access Member
- Joined
- May 13, 2014
- Posts
- 1,120
- Reaction score
- 330
After installing the ps pump on the bracket, I thought I was in the home stretch, but project snowball reared its ugly head. For starters the accessories bracket moved the alternator to close to my abs pump and the bolts wouldn't line up because of the clearance.
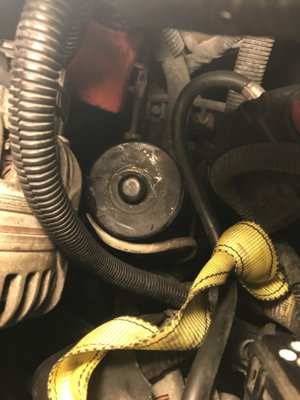
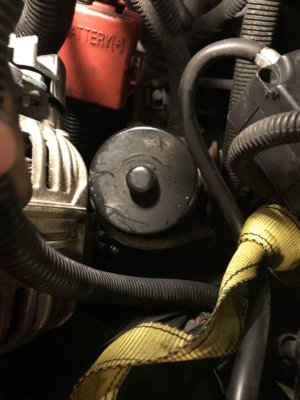
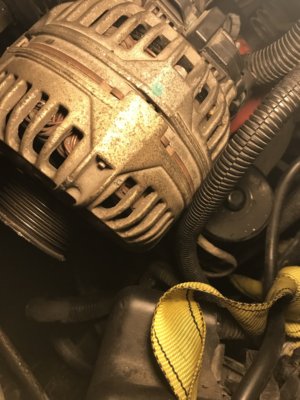
So I had to reach out to the manufacturer of the bracket and explain my issue. I said he would come up with a fix and should have something for me within a few days. Waiting was like watching paint dry and that timeframe ended up being close to 2 weeks, not to mention poor communication/busy schedule.


So I had to reach out to the manufacturer of the bracket and explain my issue. I said he would come up with a fix and should have something for me within a few days. Waiting was like watching paint dry and that timeframe ended up being close to 2 weeks, not to mention poor communication/busy schedule.
about20ninj45
Full Access Member
- Joined
- May 13, 2014
- Posts
- 1,120
- Reaction score
- 330
After installing the new bracket , you reuse your existing older pulley and install a smaller idler supplied with the kit as well. Ran into another problem there. The damn holes were drilled to close for both idlers, so with the belt on, it runs against itself... Ffffffffffffffcccc
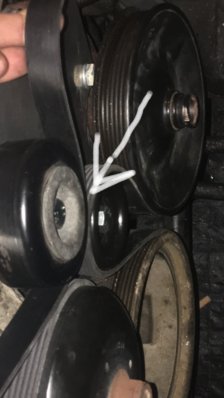
The remedy to that was to buy a smaller pulley idler since the fbody idler was to big. There's two sizes when it comes to the fbody idler 72 mm and a 65, but they don't tell you that. They have the same part numbers, so you would have to measure them to actually tell.
Edit* also forgot to mention that I had to measure for a belt. When doing so they tell you to leave the belt tensioner alone while taking measurements. I said f the, because for one, the belt will stretch and come off and two, I want as much load on the belt as possible. My measurements came out to be 107.49 inches. I used the tailors measure and multiplied by .35 to get close to the actually length including thickness, since belts are measured from the back side.
Last edited:

about20ninj45
Full Access Member
- Joined
- May 13, 2014
- Posts
- 1,120
- Reaction score
- 330
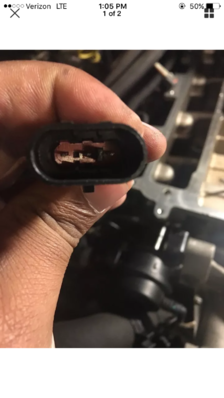
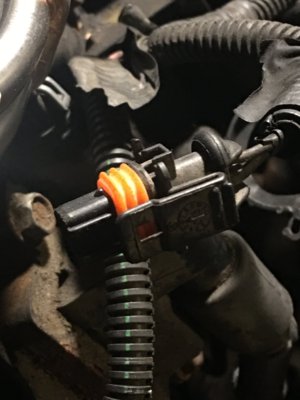
The zr1 lid comes with a 3 bar map sensor. In order to use the sensor, you have to repin the map sensor harness. Pins b and a need to be swapped. Since I'm ditching the maf, the tan and black wires need to be removed from the maf sensor (5pin) harness and ran to the IAT sensor in the lid. It didn't matter how you wire them.


about20ninj45
Full Access Member
- Joined
- May 13, 2014
- Posts
- 1,120
- Reaction score
- 330
I forgot to take pics of the head adapters fit the blower install, but they go on her side down. It's a PIA to align them so that the bolts go in. The bolts go thru the supercharger base and into the heads.
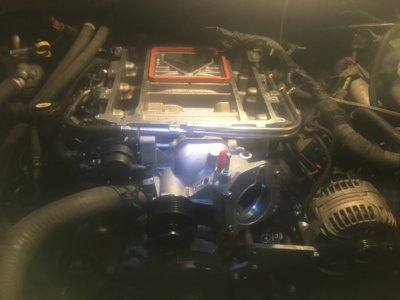
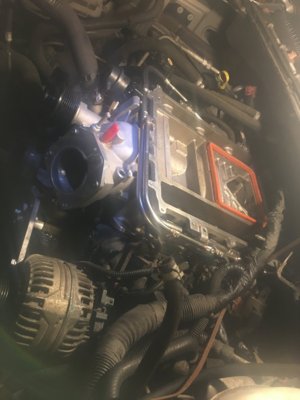
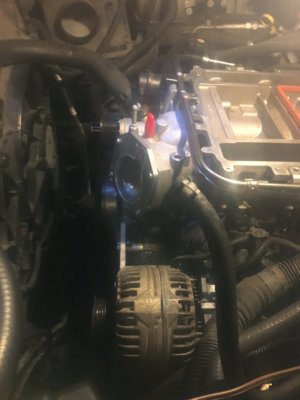
You will also notice that there is a gasket that goes under the lid before you bolt it on. ( Orange )


You will also notice that there is a gasket that goes under the lid before you bolt it on. ( Orange )
Similar threads
- Replies
- 38
- Views
- 2K

