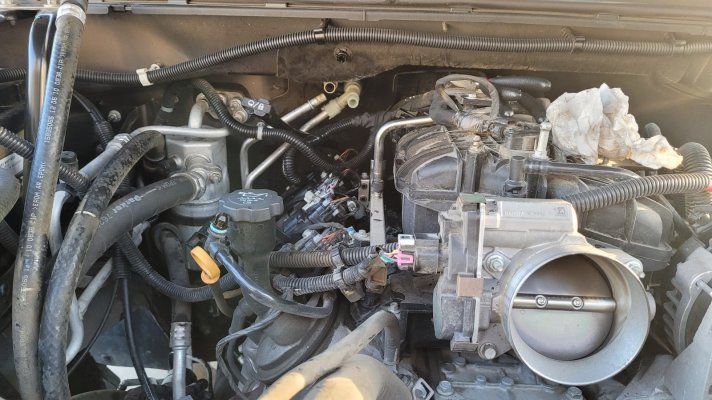
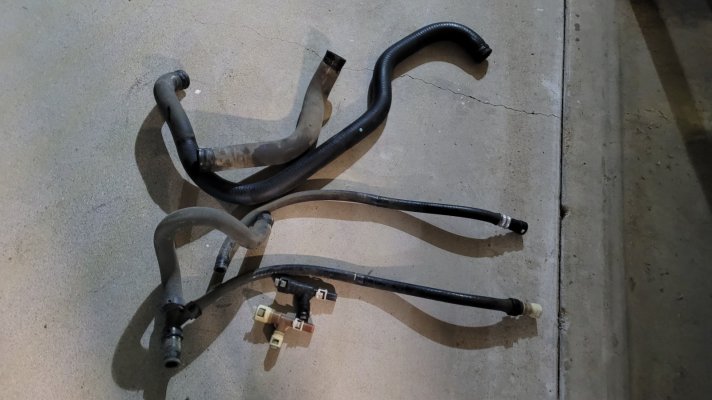
Considering removal of the front diff (assuming easy, keep reading) in order for ease of oil cooler and trans cooler lines + a leaking axle seal on passenger side (slide hammer did not work so believe case may have to be split in half to access). Silly perhaps but bear with me.
My Denali is AWD - full-time, not the selectable hi/low 4WD unit. I've watched the below video a few times, and it seems (dare I say it?) easy... mind you this appears to be a 4WD front diff unit
not AWD based on the wiring connection (*correct me if I'm wrong though).
Does anyone know if there any special considerations for removing the AWD front diff unit vs that of a 4WD one, which may/may not be contemplated by this video?