Here is my write up on how to do this yourself. First let me start by saying I'm not super handy- but this was really simple to do yourself.
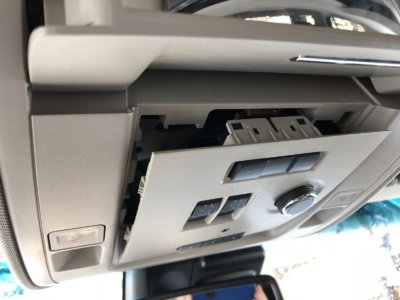
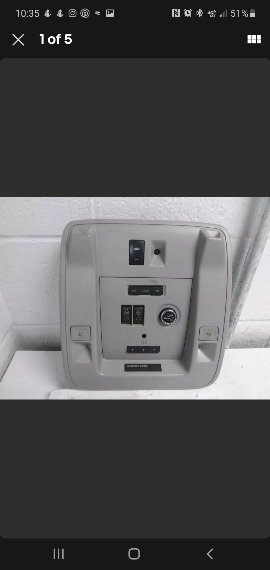
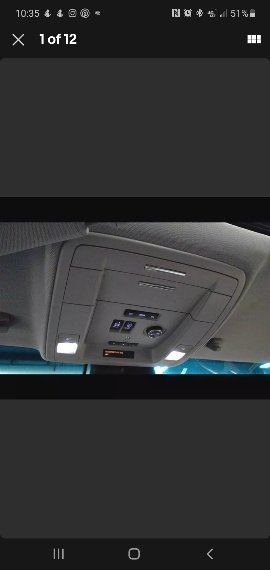
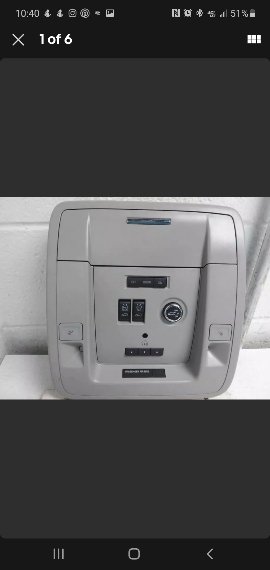
Step 1 is to remove the inner part of the over head console- flip down the sunglass holder so you can get your hand in there. Give a gentle tug and it pops right out.
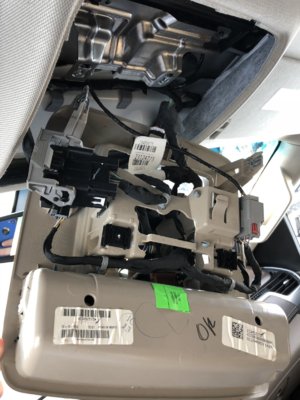
step 2- pull the center console far enough down so you can access 2 Phillips head screws- that is all that hold the outer console to the roof. hardest part of this step is pulling all the wires and harness out of your way. the back of the center panel is held in by a "tongue and groove" in the back( closest to the windshield) it requires a firm down and in pull to get it to pop out- this was the scariest part for me because I was a bit nervous my gorilla tactic was going to break those clamps. now you unscrew- the main console will drop down
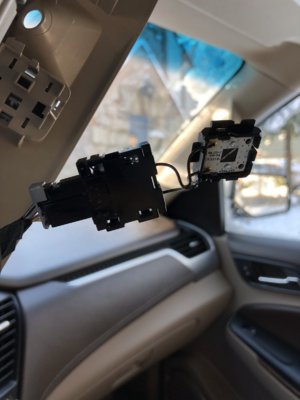
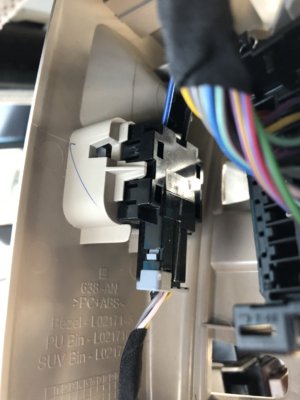
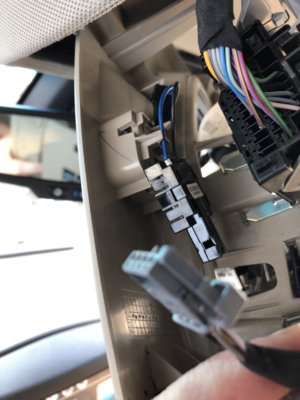
step 3- removal of the old lamp assembly- disconnect the male and female connector. the little light diod is clipped in to a slide clip- just pop it out
and put in new light module.
step 4- repeat on other side.
step 5 test the lights - all good ! now reverse steps to put back together- once again screw back the 2 phillips- hardest part again is clicking in the back of the main cosole. then simple pop back the middle console piece and your done.
part # GM 23396157. You will need 2. I purchased from GMpartscenterplus in Chandler AZ. The list price is $53.50, I paid $37.52 each with free shipping. They arrived in 3 days.
I hope this helps- simple easy fix
View attachment 188587 View attachment 188588 View attachment 188589 View attachment 188590 View attachment 188591

