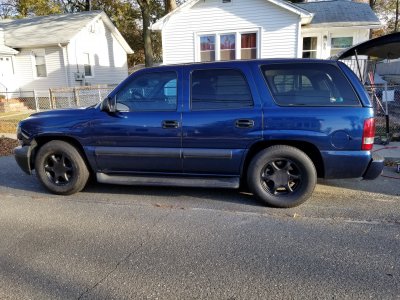
Nearly 4 years later, my 2001 Team DC Audio build

Disclaimer: Links on this page pointing to Amazon, eBay and other sites may include affiliate code. If you click them and make a purchase, we may earn a small commission.

OP
OP
Thatsquishykid717

Thatsquishykid717

Annoying guy with the loud stereo
Joined
Jan 3, 2017
Posts
478
Reaction score
1,646
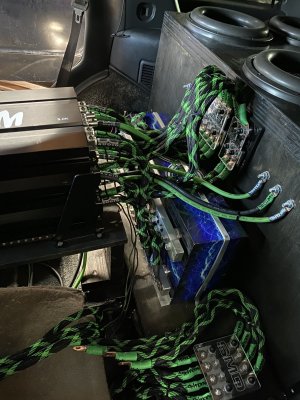
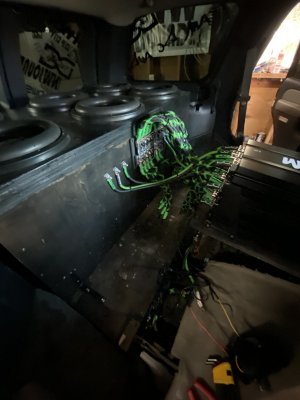
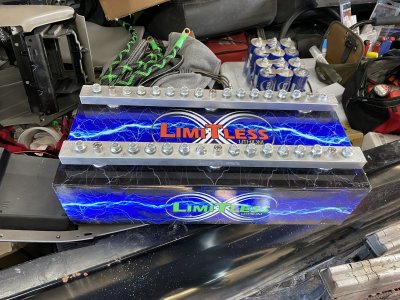
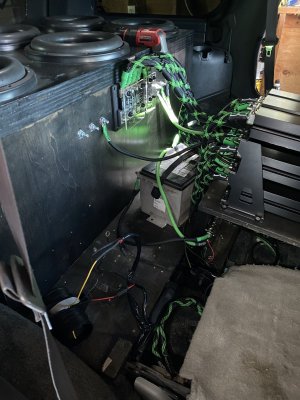
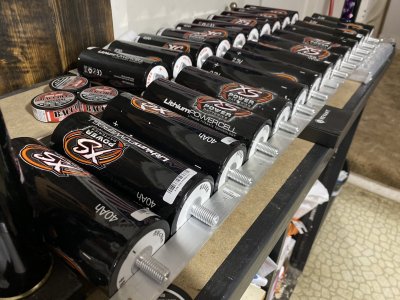
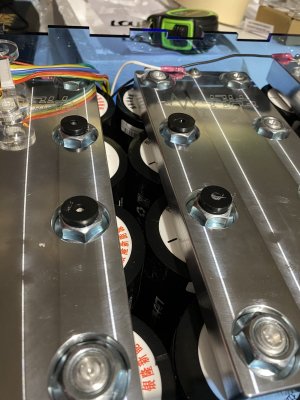
So since last year a local buddy has bugged me about buying my limitless lithium battery. Which I have been down to sell it but there was a big jump in people wanting lithium cells and everywhere was sold out of most options for awhile. Last week he hit me up again and o saw the ones I wanted are back in stock so I pulled the limitless out and ordered the new cells. Also getting rid of the 2 banks of super caps because those will be unnecessary now. BE596F51-3B3B-4600-9E7A-B7C8B5A97391.jpeg6ABFFCAF-5386-4CC0-9300-CBABD16A084F.jpeg326BFA74-3002-4157-B68E-3611864DCFCB.jpeg142D5F6F-C9F5-473C-93D7-D59118BB8C31.jpeg
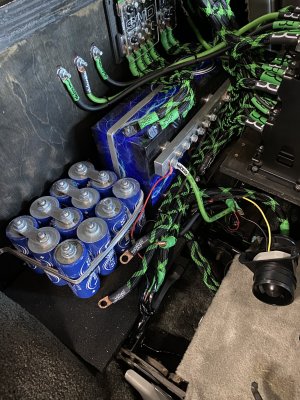
F3BE2604-16F5-43F7-84AB-7E0BC654F83E.jpeg
Currently waiting on the new cells to show up. Should be here by the end of this week or early next week.

new battery setup will be:
160ah XS Power LTO lithium.
Full Tilt Audio buss bars
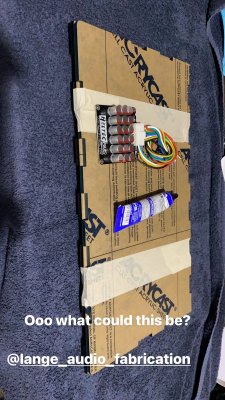
and an acrylic LAF battery case.

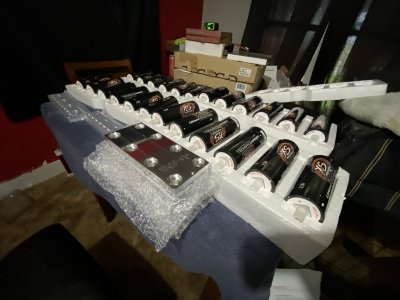
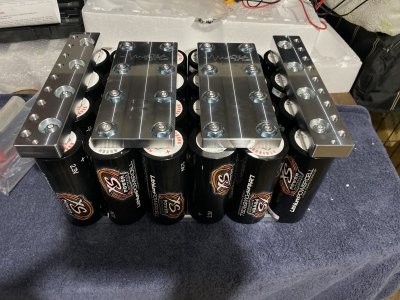
These are similar in design to the caps I was running in the sense that they are similar shaped sells that will be connected together to form the battery. 40ah cells. 6 connected in series create a bank. I have 24 cells coming to make a 160ah bank.

this new setup will be far superior to the limitless and I should have very little if any voltage drop when the stereo is all the way up. Been wanting to switch to this setup for awhile now and am stoked it’s finally happening.

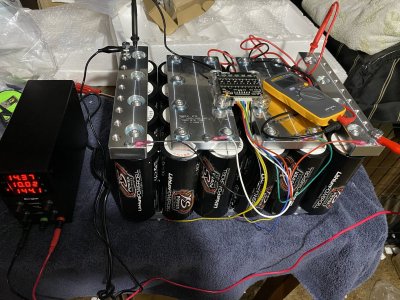
so once these come in I have to balance the cells together, assemble, then charge the bank to about 15.5v
With this setup they run safely up to 16.2v. I will be running my voltage around the 15.5-15.8v range which is where they really shine.
 

Tonyrodz

Resident Resident
Joined
Feb 16, 2012
Posts
31,500
Reaction score
46,749
Location
Central Jersey
Who dis? New build thread ;)?
Lol, long time no see! I'm jealous of your declads! Love those. So how were you able to get that outer crappy cap off? Your buddy dipped them? Or you got them off from using the paint stripper?
For the seats--you could reuse the seat frames, and buy new foam and covers off ebay or the seat shop for the proper year seat style--instead of looking for completely new seats. Just an idea.....
 
OP
OP
Thatsquishykid717

Thatsquishykid717

Annoying guy with the loud stereo
Joined
Jan 3, 2017
Posts
478
Reaction score
1,646
Who dis? New build thread ;)?
Lol, long time no see! I'm jealous of your declads! Love those. So how were you able to get that outer crappy cap off? Your buddy dipped them? Or you got them off from using the paint stripper?
For the seats--you could reuse the seat frames, and buy new foam and covers off ebay or the seat shop for the proper year seat style--instead of looking for completely new seats. Just an idea.....
No joke I know it’s been a long ass time I need to be better at keeping this updated haha. Yes that is very true about the seats I have looked into doing that as well but gonna be expensive if I go that route and most of the seat companies I have seen only do leather not any cloth. So I used the old 2x4 and sledge to pop the cladding from the backside, then plastic chisel to pop the foam off. Then once he got them he dipped them in a acid stripping tank to get all the adhesive and stuff off the wheel.

I am stoked on the declads I’ll be about 500-600 total into them once they are powder coated. Probably will throw them on once they are done and run them till I get the new wheels.
 

Tonyrodz

Resident Resident
Joined
Feb 16, 2012
Posts
31,500
Reaction score
46,749
Location
Central Jersey
No joke I know it’s been a long ass time I need to be better at keeping this updated haha. Yes that is very true about the seats I have looked into doing that as well but gonna be expensive if I go that route and most of the seat companies I have seen only do leather not any cloth. So I used the old 2x4 and sledge to pop the cladding from the backside, then plastic chisel to pop the foam off. Then once he got them he dipped them in a acid stripping tank to get all the adhesive and stuff off the wheel.

I am stoked on the declads I’ll be about 500-600 total into them once they are powder coated. Probably will throw them on once they are done and run them till I get the new wheels.
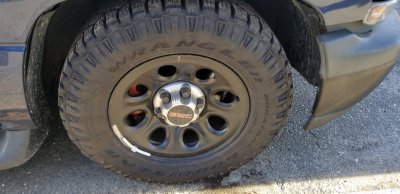
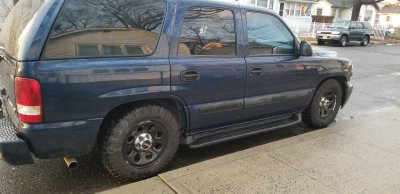
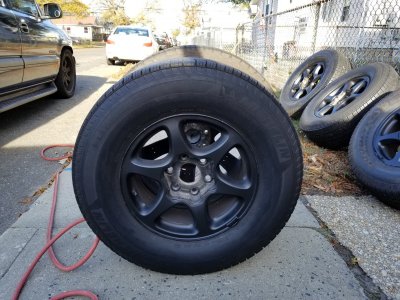
Looking to replace your current rims? I like your current setup. I like that big lip, deep dish look. I wouldn't want to mess up those declads running them in the winter. I bought a these from a Silverado/Sierra--20201215_141325.jpg 20201214_160825.jpg
Running them with these tires right now--for winter, but once winter is over, I'm gonna swap tires over and make these my winter setup--20171112_140319.jpg 20171112_145708.jpg
These are NBS Denali rims that I dipped black. They WERE perfect except for that typical GM clear coat--thus the dip.
 
OP
OP
Thatsquishykid717

Thatsquishykid717

Annoying guy with the loud stereo
Joined
Jan 3, 2017
Posts
478
Reaction score
1,646
Looking to replace your current rims? I like your current setup. I like that big lip, deep dish look. I wouldn't want to mess up those declads running them in the winter. I bought a these from a Silverado/Sierra--View attachment 272251 View attachment 272252
Running them with these tires right now--for winter, but once winter is over, I'm gonna swap tires over and make these my winter setup--View attachment 272253 View attachment 272254
These are NBS Denali rims that I dipped black. They WERE perfect except for that typical GM clear coat--thus the dip.

those work and don’t look to bad! problem for me is the drop spindles making 17’s hard to fit without cutting my ball joint stud. We don’t have that harsh of winters and no salt on the roads. Some de icer yes but if I end up driving anywhere with bad roads it gets washed off quickly. So the declads won’t get messed up.

yes the plan is to go to 22’s. Don’t worry I won’t get away from some sort of dish or offset. The wheels I originally was looking at are 22x10 but 0 offset so they will sit flush/slightly poke out. But from what I am seeing they are not easy to find. Might end up with a 22x10 -19 so basically same as my current setup but just a slightly bigger wheel. Haven’t fully decided yet.
 
OP
OP
Thatsquishykid717

Thatsquishykid717

Annoying guy with the loud stereo
Joined
Jan 3, 2017
Posts
478
Reaction score
1,646
Alright the past couple weeks has been a shit show to say the least!

had a bunch of problems with shipping. Everything took longer than expected for the battery stuff but as of last night it’s all done...almost lol. I’ll get to that.

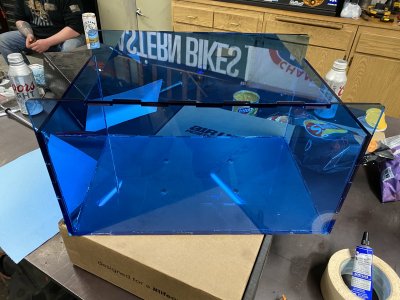
so the LAF acrylic batter case came in. As you can see its diy assemble and acrylic weld together. Well I didn’t get pictures but after I assembled and glued the bottom to the sides I thought it looked small. After measuring it I found out yes it was small. It was a 120ah case not a 160ah case. Luckily LAF is only a couple hour drive from me so I went there and swapped the case with him.
154A8F6A-2294-4B57-BEEE-C4458B22E6EB.jpeg
Here is the right case assembled F6647ACA-4E53-4E34-B30C-A76308444D2A.jpeg

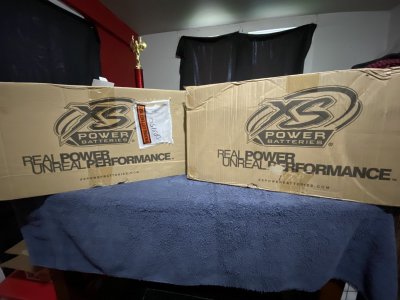
And then out of much surprise ESPECIALLY from FedEx of all shippers. My lithium cells were delivered on a Sunday haha I seriously was shocked.
5C698608-975A-4CF8-AABB-8068530F2B7E.jpeg 0CDA5852-31DE-4652-963B-737EF388DA1E.jpeg
Got them all laid out parallel to passively balance before assembly. This ensures they are within hundredths of eachother on voltage.
ACD67AF7-CF16-4BD0-A332-F213B32C4DF6.jpeg
 
OP
OP
Thatsquishykid717

Thatsquishykid717

Annoying guy with the loud stereo
Joined
Jan 3, 2017
Posts
478
Reaction score
1,646
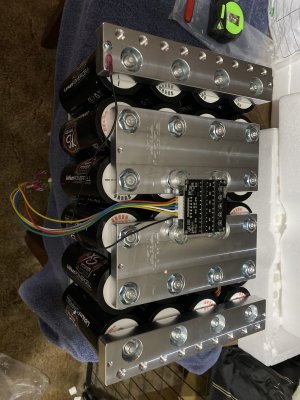
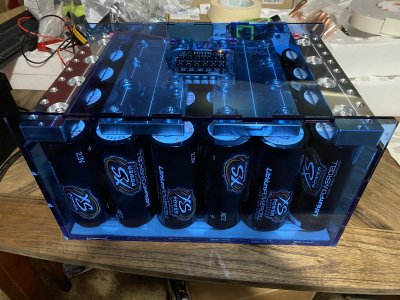
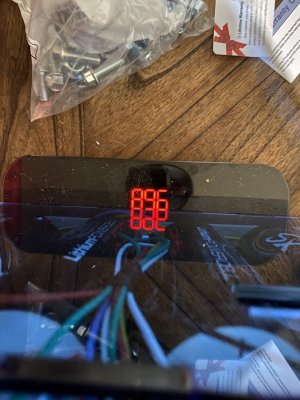
After waiting a full week for hardware to finally show up I got the bank assembled and it was sitting at about 13.6v. Got the balancer connected and charged it to 15.6 in prep to go into the Tahoe. ED717EA8-E2D1-4360-84BF-0FAD36CF834C.jpeg1DDAA2FD-96DC-49ED-8346-15F1B71671C1.jpegAAB9C0FD-2D40-4B8E-ADF8-E5059DFBAAD7.jpeg
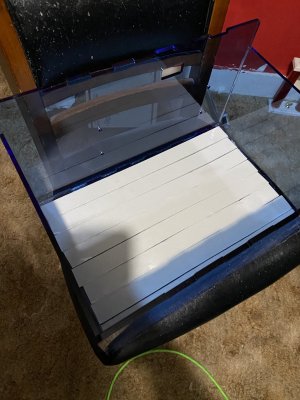
Since I do have the battery in front of the sub box it will see a lot more vibration so I put a layer of canopy foam at the bottom of the battery case and underneath the battery case as well.
2B1A3378-73BD-449E-9344-5AC53E2A543F.jpeg
Got the battery in the case and I’ll tell you what it’s not the lightest to try to gently put into an all acrylic housing hahaha
F4D59F7B-8428-4E7C-BFE9-EC348AB2D6B8.jpeg
 
OP
OP
Thatsquishykid717

Thatsquishykid717

Annoying guy with the loud stereo
Joined
Jan 3, 2017
Posts
478
Reaction score
1,646
So at 89.6 pounds it’s heavier than my limitless was but it’s also about 3x the power id say

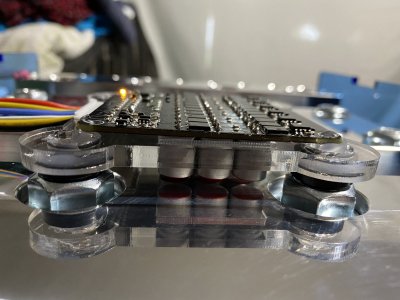
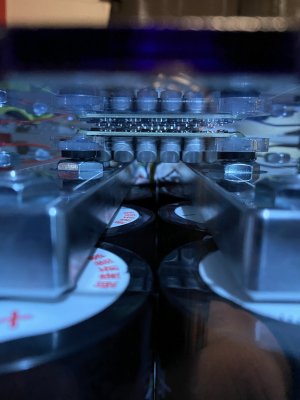
F9B8E975-1E75-4D4F-B742-04F0B667C3D3.jpeg the balancer sits on a little acrylic holder I also got from LAF but I used some rubber isolators to keep as much vibration away from it as possible. F9BB055F-8C1B-4297-AEA7-0B9A3A76F166.jpeg 8257F6E6-7511-4C01-B8CF-9CC0A122492C.jpeg D81031B2-BA7D-49EC-9809-520F5C9EA3AD.jpeg
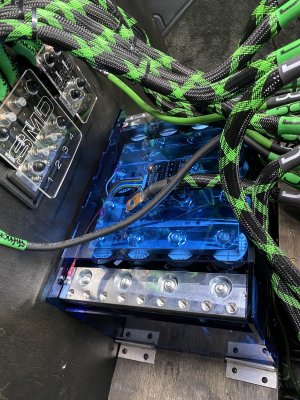
Yesterday at around 4 I finally started to work on the Tahoe! Battery is in its location!
4BDF387D-84B3-4DDE-870F-AAAFE85CD522.jpeg
 

Forum statistics

Threads
132,092
Posts
1,862,280
Members
96,560
Latest member
Chllinone
Top